Sunday, February 16, 2025
Hip Hop Hooray Slimline

H everyone welcome back the Rubber Buggy blog we love comments and new crafty friends! Today I am sharing the new “HipHop Hooray” collection from Graphic 45. This collection is field with images perfect for Easter, even a Birthday and heck anything you want! Yes! It’s that versatile 🥰

I used a slimline 3 window die to make scenes in each of the windows. I also created a shaker for the last window…

I love the colors and super adorable images this set gets am A+++ from me. Join us in our FB group for a personal giveaway from me only. This is not associated with the Rubber Buggy the items were paid for by me! I feel it’s going to be a year full of change and all POSITIVE 🥰
Sunday, February 9, 2025
Spring Popup

Hi everyone welcome back to the Rubber Buggy blog. It’s been awhile since we have shared so I think it’s about time

I created this fun Spring card using Craft O Clock “Spring Charming” extras with a fun 3d popup house

Products Used
Sunday, October 6, 2024
Autumn Greetings Shadowbox

Hi everyone today I am sharing a shadow box using the new Graphic 45 Autumn Greetings collection.

I used this cute deer who looks like Bambi out of the ephemera pieces which has phrases and so much more…

Saturday, June 29, 2024
Folio Mini

Welcome back to the Rubber Buggy blog it has been quite some time since anything has been posted so it’s time to get back to the basics ❤️. Today I am sharing a mini using the Photoplay Folio kit and Simple Stories “Vintage Linen Market”

Inside pages of the folio mini which you can add your own spin


This is the mini pocket album that goes in the pocket
Monday, January 8, 2024
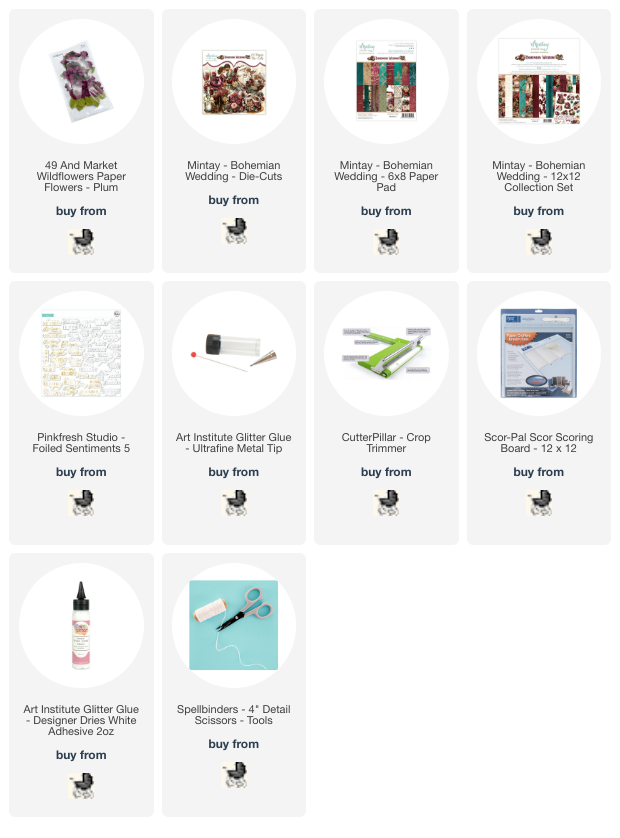
Bohemian Slider

everyone it’s a New Year and with that comes new inspiration and new crafty goodies from The Rubber Buggy❤️

I created this slimline card using Bohemian Wedding from Mintay the deep dark sultry colors in this paper collection is absolutely stunning 🤩

Thank you for visiting
Saturday, November 11, 2023
Diecut Shaker

Hi everyone welcome to The Rubber Buggy blog today I am here share this shaker that you can create in a matter of seconds using Mintay latest release :

1. Fussy cut the balloon arch from one of the sheets from the 6x6 collection
2. Adhere acetate to the back and add some foam tape to give it height
3. Add some sequins that coordinatesh with the colors and walls
Thank for stopping by
Thursday, August 17, 2023
Christmas Slimline

Welcome back to the Rubber Buggy blog today we have team
Simply Monica sharing a slimline card using the newly release Mintay collection called: “White Christmas “

She Spring Fence chipboard from Scrapaholics to create a fun scene along with a Mintay Winter Time chipboard sentiment

I hope everyone enjoyed this slimline perfect for Christmas and be sure to check out the new goodies arriving weekly in the store along with amazing inspiration in the Rubber Brigade Facebook group here : https://m.facebook.com/groups/422471871530403/?ref=share&mibextid=S66gvF
Subscribe to:
Posts
(Atom)


