Saturday, August 29, 2020
Stamperia Sweety Planner
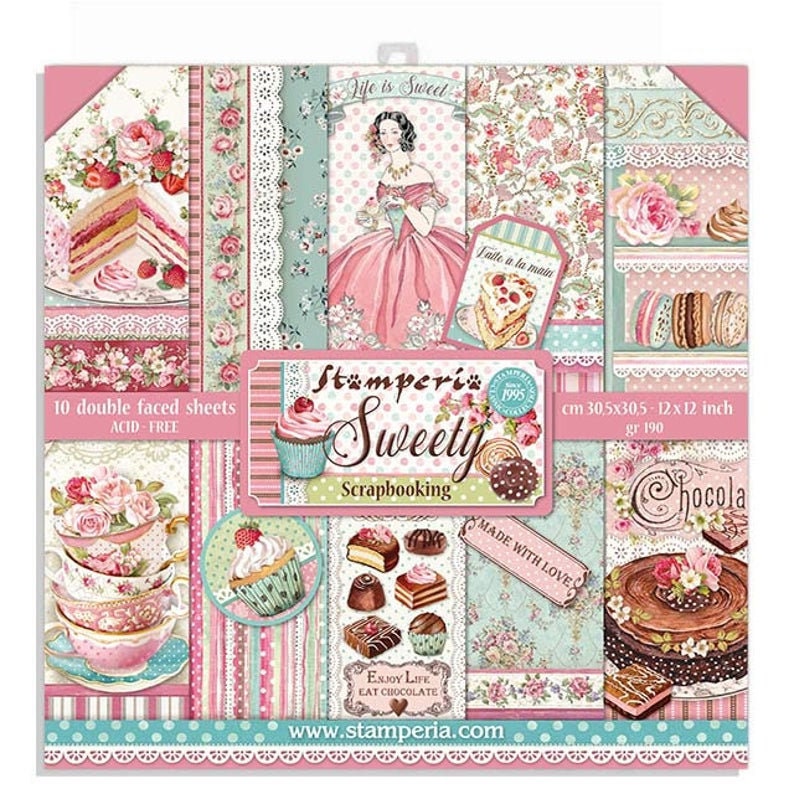
Welcome back and Nancy, here. Today, I have a 2021 Deluxe Monthy Planner purchased on Amazon altered with Stamperia Sweety collection to share with you! It’s always nice to start a new year with something sweet. The Stamperia Sweet Memories Chipboard was also used for this project. Last week, I made the birthday card out of this paper collection that will be given with the planner. Click HERE to see the birthday card.
The Stamperia Sweety paper is so completed to do this planner with the gorgeous venice lace, chocolate, cupcakes and tea cups included in this paper pad. The Stamperia Sweet Memories Chipboard was also used on this project.
Make sure to check out the additional Stamperia Sweety collection of moulds, chipboard, that are sold separately and available at The Rubber Buggy:
Stamperia Soft Moulds - Tea time, Sweety,
Stamperia Die Cut/Sweety
Stamperia Chipboard Sweety and Stamperia Sweet Memories Chipboard

 I used a hot glue gun, Scor-tape and Beacon 3-n-1 Advanced glue to adhere the lace, flowers and cardstock on the planner. I poked out the Sweet Memories banner from the Stamperia Decorative Chips - Sweet Memories package. I sponged on a small amount of glue and sprinkled glitter and adhered it with Beacon 3-n-1 glue to the cardstock. I used a ole Spellbinder die frame that was cut out with gold metallic cardstock and glue it with the Stamperia journal found in the Stamperia Sweety paper pad.
Below are some of the gorgeous pages in this collection. In addition for this paper pad, the Stamperia Sweety collection also has 3D cupcake and ice cream moulds, stickers, die cuts that are sold separately.


Throughout my planner, I used many of these images found in this paper collection like the tag below that was cut out and glued next to the cupcake. I added a white doily behind the cupcake with pink flowers and rhinestone embellishments.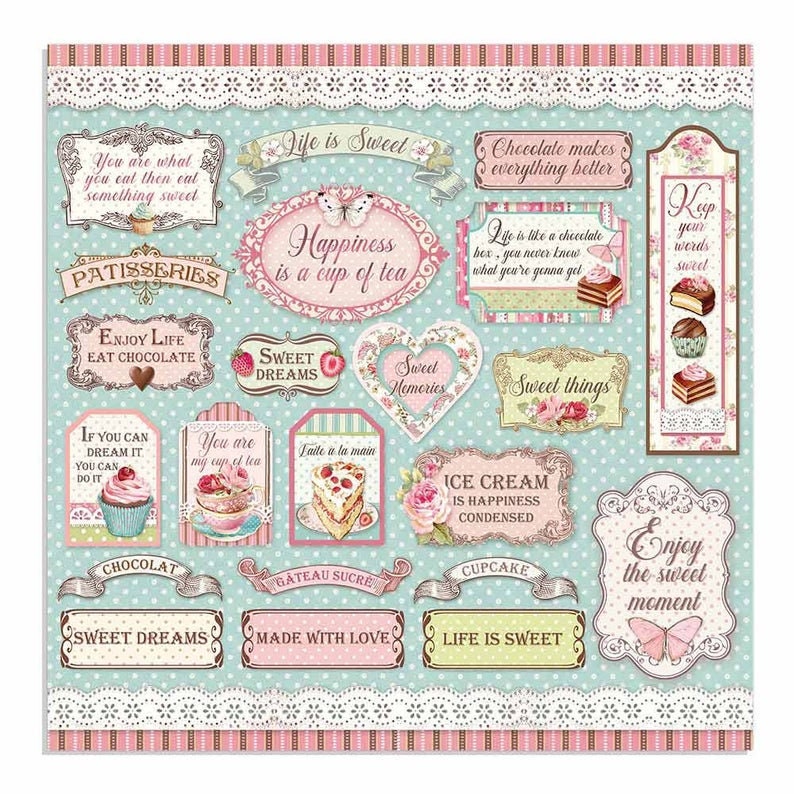
I placed the sheet of images (below) found in this paper pad that can be cut out easily with scissors but through my Brother's Scan and Cut and it cut it all out in 2 minutes. Make sure to use a pencil around some of the images for the Brother's Scan and Cut to identify what to cut out. For a trial run, you may want to copy it out first and then put it through the Brother's Scan and Cut machine to figure out what images are too light around their edges that you don't want cut out. I found this out in my trial run that some of the whites inside the images were cut out which I didn't want.
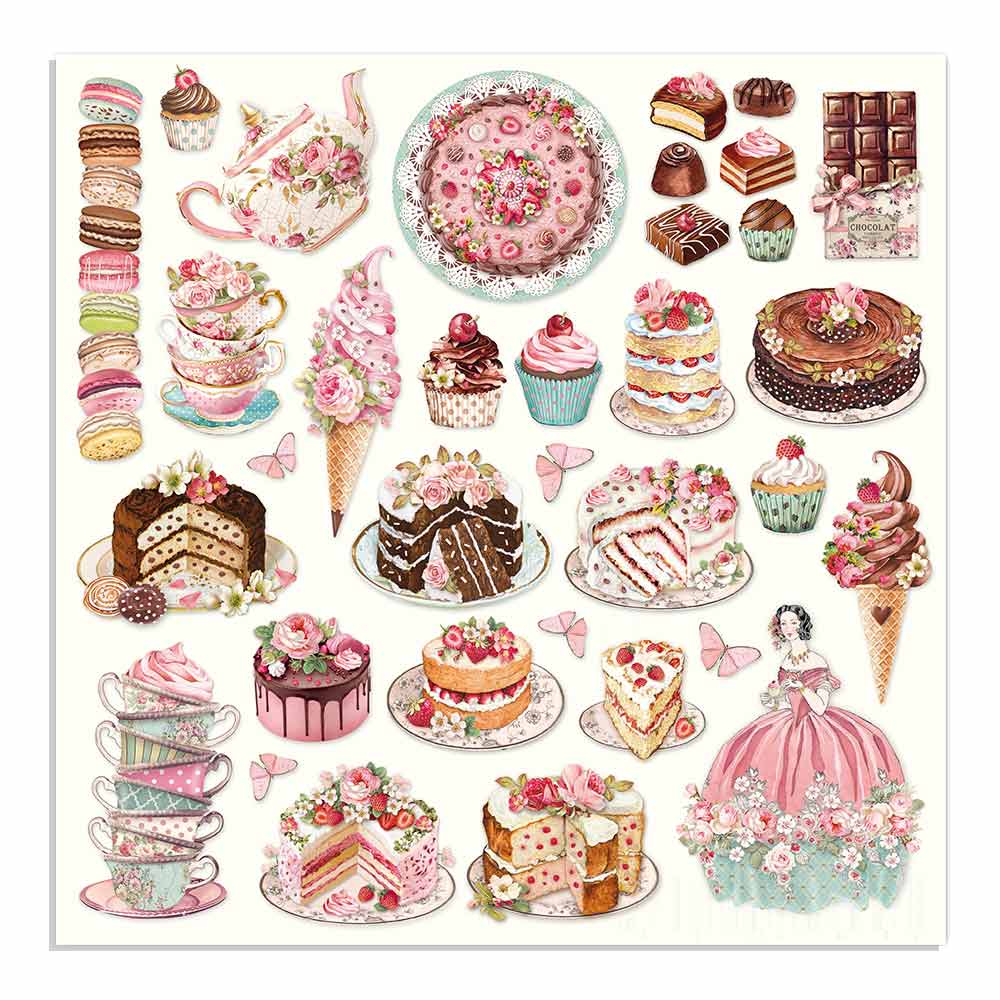
I just love placing my chocolates and butterflies around various pages in this monthly planner.
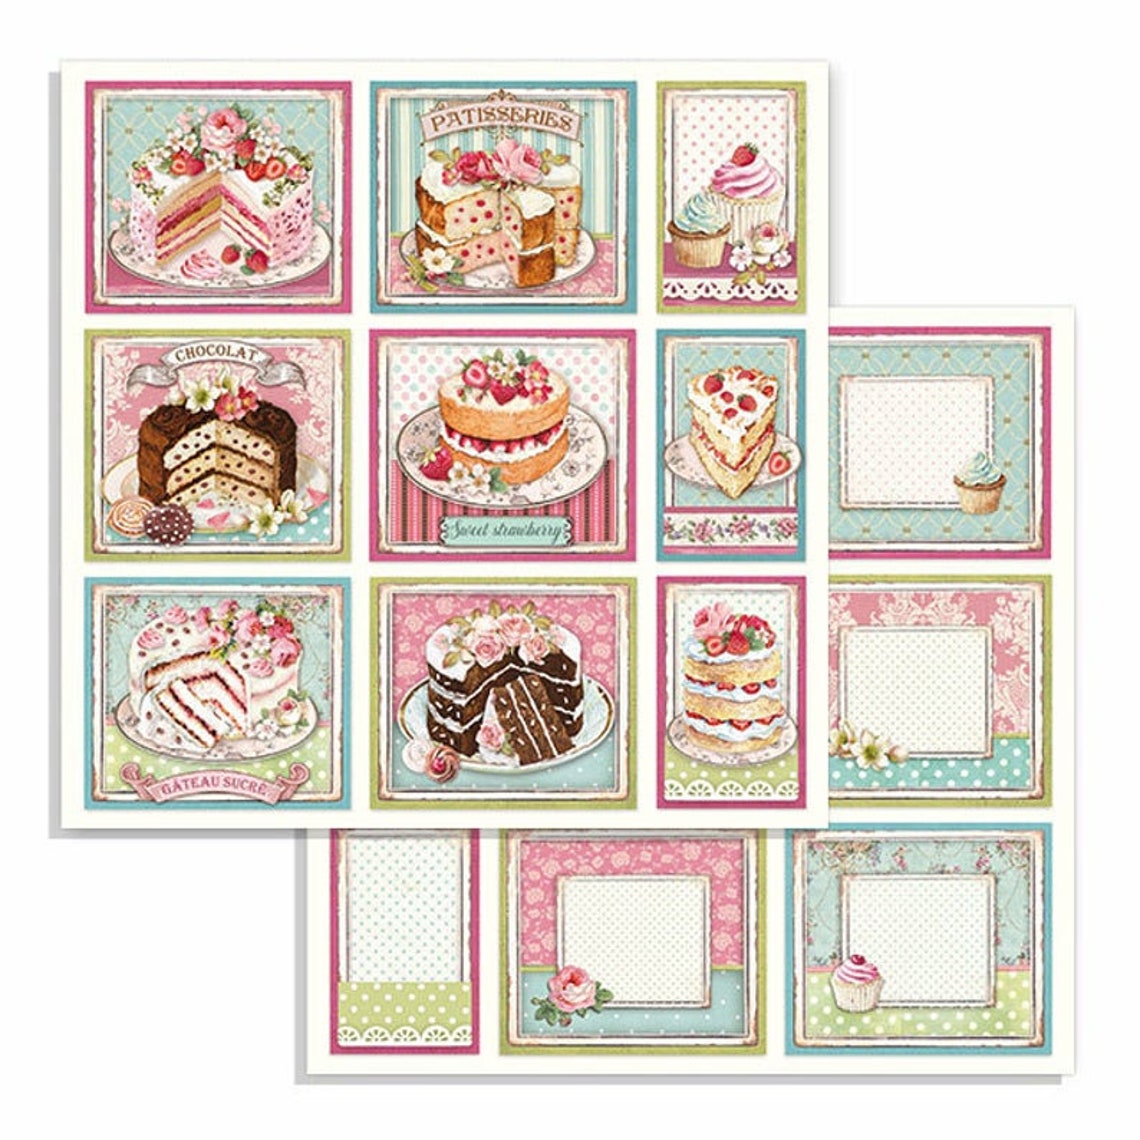
 I cut out a couple of the tags in this paper collection and used my glue to adhere them to these colored tags. The planner already that these pockets so I covered the outside of the pockets with this paper and placed the tags inside the pocket. I added a doily to the outside of the circle brown cake and added some of the images that was previously cut out with my Brother's Scan and Cut machine or you can easily cut these out.

 Picture above is the other side of the tags.
The Stamperia Sweety paper is so completed to do this planner with the gorgeous venice lace, chocolate, cupcakes and tea cups included in this paper pad. The Stamperia Sweet Memories Chipboard was also used on this project.
Make sure to check out the additional Stamperia Sweety collection of moulds, chipboard, that are sold separately and available at The Rubber Buggy:
Stamperia Soft Moulds - Tea time, Sweety,
Stamperia Die Cut/Sweety
Stamperia Chipboard Sweety and Stamperia Sweet Memories Chipboard


 |
| Stamperia Sweet Memories |
Below are some of the gorgeous pages in this collection. In addition for this paper pad, the Stamperia Sweety collection also has 3D cupcake and ice cream moulds, stickers, die cuts that are sold separately.

Throughout my planner, I used many of these images found in this paper collection like the tag below that was cut out and glued next to the cupcake. I added a white doily behind the cupcake with pink flowers and rhinestone embellishments.
I placed the sheet of images (below) found in this paper pad that can be cut out easily with scissors but through my Brother's Scan and Cut and it cut it all out in 2 minutes. Make sure to use a pencil around some of the images for the Brother's Scan and Cut to identify what to cut out. For a trial run, you may want to copy it out first and then put it through the Brother's Scan and Cut machine to figure out what images are too light around their edges that you don't want cut out. I found this out in my trial run that some of the whites inside the images were cut out which I didn't want.
I just love placing my chocolates and butterflies around various pages in this monthly planner.


So you better get this gorgeous Stamperia Sweety paper while available at The Rubber Buggy.
Thanks for your visit today! The Rubber Buggy has the crafting supplies for your next project. So have fun crafting this weekend with these products. My cards and projects are always posted on Saturday. Keep watching and thank you so much for those wonderful comments as well as suggestions.
Enjoy and Happy Crafting!
 |
Thursday, August 27, 2020
Window Cards with Art Impressions
Hi everyone, Steph Ackerman here today with lots of fun products from the store. Please visit the store for all the fun products I've used today.


I love window cards, don't you? They can be used in a number of different ways.
Using the stamps included in the Art Impressions Window Deco Die, I stamped the curtains and valance with Lawn Fawn Soot Dye Ink on Bazzill Marshmallow Cardstock and another set on Mintay papers then die cut them. I also die cut the shutters from Marshmallow cardstock, then inked with Ranger Distress Tea Dye Ink using a Ranger Ink Blending Tool.

I cut a piece of Maja Design - Summer Crush Flirty pattern paper to fit my card, then using the Art Impressions Window Die, I cut through both layers.

I used the white curtains and valance, placing them on the card around the window with Scrapbook Adhesives 3D Foam Adhesives for dimension.

Using Lawn Fawn Soot Ink, I inked a Penny Black stamp and stamped the phrase directly on the card front.

My 2nd card uses the shutters which had been die cut from a square of Marshmallow cardstock. It was then matted on a scrap of Flirty pattern paper so it peeks out of the shutters. It was then matted on Bazzill Lollipop Cardstock. Another Penny Black stamp was stamped directly on the card.

Thank you for visiting
Saturday, August 22, 2020
Stamperia Sweety Birthday Card
Welcome back and Nancy, here. Today, I have a birthday card made with Stamperia’s new Sweety collection to share with you! Ooh la la!. This collection is so beautiful with papers of gorgeous venice lace, chocolate, cupcakes and tea cups. It’s always nice to start a birthday with something sweet, don’t you think? So into my shopping cart it went and I am so glad!


I used the Graphic 45 Staples-Policy and Decorative Die to make the gift card to insert in the pocket on the inside of the card. Notice the other beautiful labels, corners, and lace dies in this set.


 |
| Graphic 45 Staples-Policy and Decorative Die |
On the back of the card, I cut out the label and adhered it to this section all found in the Stamperia Sweety 12" x 12" paper pad. I added twine and metal embellishments on the side. I cut out the gold corners with the new arrival of the Graphic 45 Staple Collection-Policy and Decorative die set.

Thanks for your visit today! The Rubber Buggy has the crafting supplies for your next project. So have fun crafting this weekend with these products. My cards and projects are always posted on Saturday. Keep watching and thank you so much for those wonderful comments as well as suggestions.
Enjoy and Happy Crafting!
|
Thursday, August 20, 2020
Seek and Travel Cards
Hi everyone, Steph Ackerman here today with lots of fun products from the store. Please visit the store for all the fun products I've used today.

I know we can't travel at the moment, but that doesn't stop us from thinking about traveling. I, for one, am so looking forward to the time when traveling is no longer an issue! The Sizzix Thinlets words were perfect for these cards and they each come with 2 layers. They were die cut from Maja Designs Vintage Ships and Lawn Fawn Kraft cardstock.

I've used Stamping Bella's Uptown Girls - Sunny is Stylish - for both my cards, coloring them with Copic Markers. Fussy cutting around their legs, I used the Lawn Fawn Stitched Rectangle die to die cut them. Weathered Wood Oxide Ink was inked around the edges before they were added to kraft cardstock.

The cards were created from kraft cardstock and a striped panel from Maja Designs were added next. A strip of Maja Designs was matted with kraft cardstock and added to the cards. The girls were added with Scrapbook Adhesives 3d Foam Squares for dimension. The words where then added to the imaged with Tattered Lace Detail Glue.
Thank you for stopping by.
Saturday, August 15, 2020
Stamperia Forest Gift Box
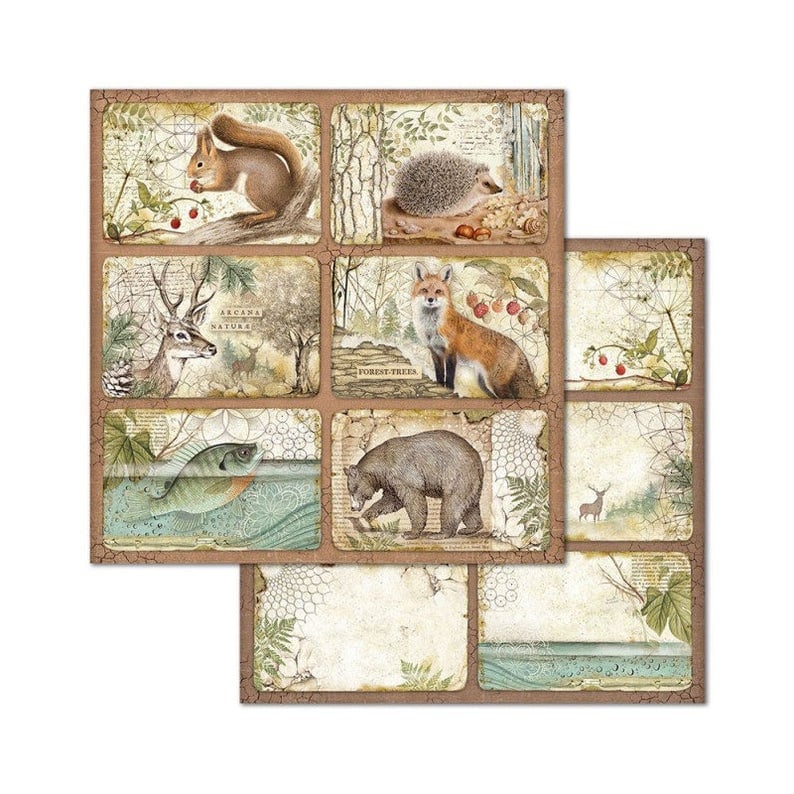
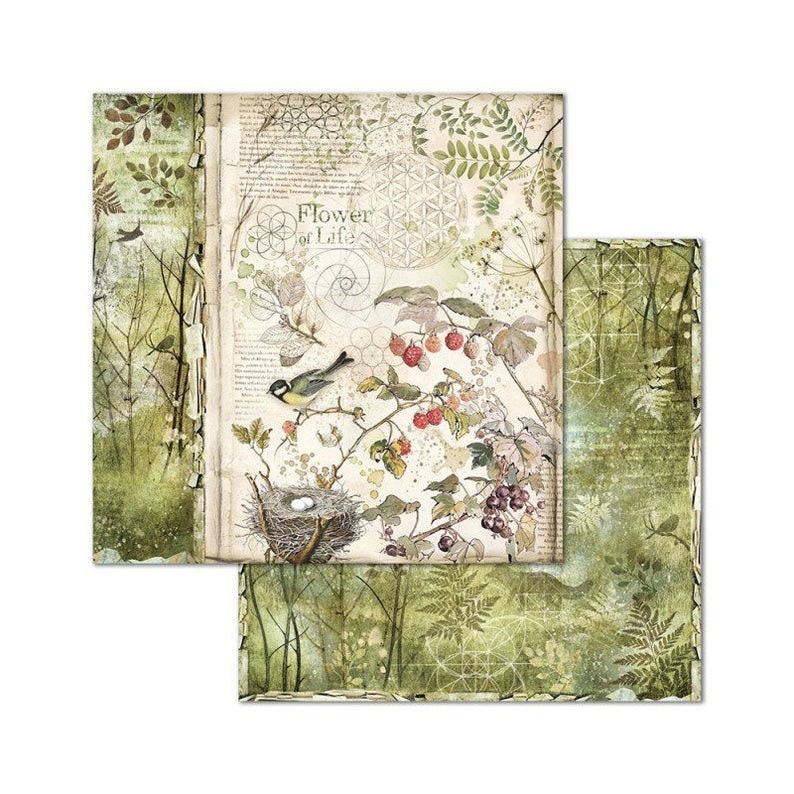
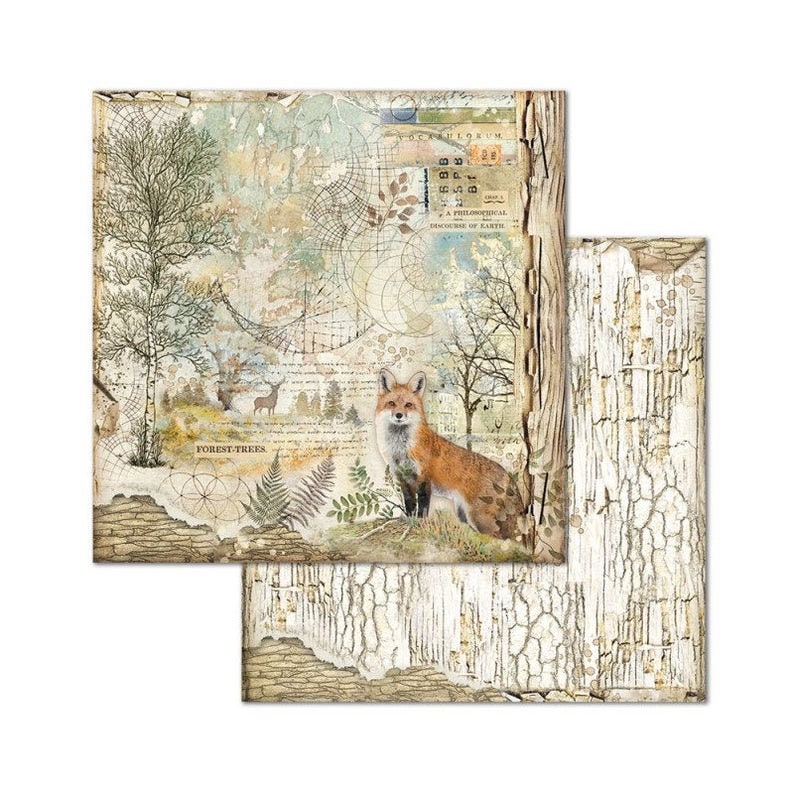
Welcome back and Nancy, here. The perfect start my forest/nature gift box is with the beautiful Stamperia Forest collection! This package contains ten 12x12 inch double-sided sheets with a different design on each side. The Rubber Buggy has all of the wonderful name-brand products and supplies for your next crafty project and cards.
I have so many hunters and fishermen in my family which makes this collection ideal for creating birthday and projects for them. The Stamperia Forest collection also includes stencils, stamps, decoupage papers and rice paper. Everything you need to express your creativity!


I always stamp my name on back of my cards and projects.
I have so many hunters and fishermen in my family which makes this collection ideal for creating birthday and projects for them. The Stamperia Forest collection also includes stencils, stamps, decoupage papers and rice paper. Everything you need to express your creativity!

First I painted the box with green chalk paint before adding the paper. I used the Beacon 3-n-1 Advanced glue to adhere the paper to the wooden box. I added the Stamperia Forest Die Cuts chipboard on the front and inside of the gift box. I used a hot glue gun to adhere the chipboard but glue would have been fine. I collected some bark, tiny pine cones and a stick to add to the box. I made the leather strip from brown cardstock and sponged on the Tim Holtz Distress Vintage Photo and Tim Holtz Distress Espresso ink to give it a leather appearance. Also, I used the Tim Holtz Vintage Photo ink sponged throughout the front, side and inside of the box to give it that worn look.

I was able to scan and add the sentiment to this patterned journal in the Stamperia paper pad and printed it out. Below are the papers from the pad for this box.


Now the gift box is ready to send with local Idaho huckleberry goodies and fishing supplies.

I always stamp my name on back of my cards and projects.
 | |
| Stamperia Forest Die Cuts chipboard
The Stamperia Forest die cuts includes 65 assorted die cut chipboards in this packet that coordinates with the Forest collection.
Thanks for your visit today! The Rubber Buggy has the crafting supplies for your next project. So have fun crafting this weekend with these products. My cards and projects are always posted on Saturday. Keep watching and thank you so much for those wonderful comments as well as suggestions.
Enjoy and Happy Crafting!
|
Thursday, August 13, 2020
Happy Fall Card
Hi everyone, Steph Ackerman here today with lots of fun products from the store. Please visit the store for all the fun products I've used today.

Fall will be here before we know it so I'm starting on fall cards for family and friends. Using a stamp from my stash I stamped it with Lawn Fawn Soot Ink. Then I colored the image with Copic Markers. Then, I used the Lawn Fawn Stitched Rectangle dies to die cut the image.


Fall will be here before we know it so I'm starting on fall cards for family and friends. Using a stamp from my stash I stamped it with Lawn Fawn Soot Ink. Then I colored the image with Copic Markers. Then, I used the Lawn Fawn Stitched Rectangle dies to die cut the image.

Before removing the die, I added color around the stamped image with Distress Oxide Inks in Speckled Egg and Dried Marigold using a Ranger Ink Blending Tool. This gives a nice line of color and a white band around the edge of the image.

I wanted to highlight the design so I adhered it to an orange burlap panel and frayed the edges.

The panel was matted to a wood background panel from Lawn Fawn Knock on Wood Paper Pad. This was then adhered to a white card.

Happy Fall is a Lawn Fawn Border Die, which was die cut from 7Gypsies Paper and adhered to the lower corner of the card using Tattered Lace Detail Glue.

To finish, I added Ranger Liquid Pearls and Nuvo Crystal Drops about the pumpkins.
Thank you for visiting
Subscribe to:
Posts
(Atom)


