Sizzix Tree Rings 3D Embossing Folder Valentine's Cards


These are my samples I experimented with different colors of Ranger inks and cardstock paper as well as tried out using the back embossed piece of cardstock which was an interesting look. I prefer using heavy weight cardstock. My favorite was the copper brown shimmer cardstock as well as the cream cardstock that was sponged with Distress warm inks before embossing. The patterned cardstock that was embossed definitely was an interesting look. When embossing, you only need 1 Cutting Pad since these folders are so thick. Mist your cutout cardstock, especially if it is a heavy weight cardstock, with water on both sides prior to placing the material inside of your embossing folder and running it through your machine three times to achieve full embossing.
 |
Create Birthday Cards using Christmas Elements


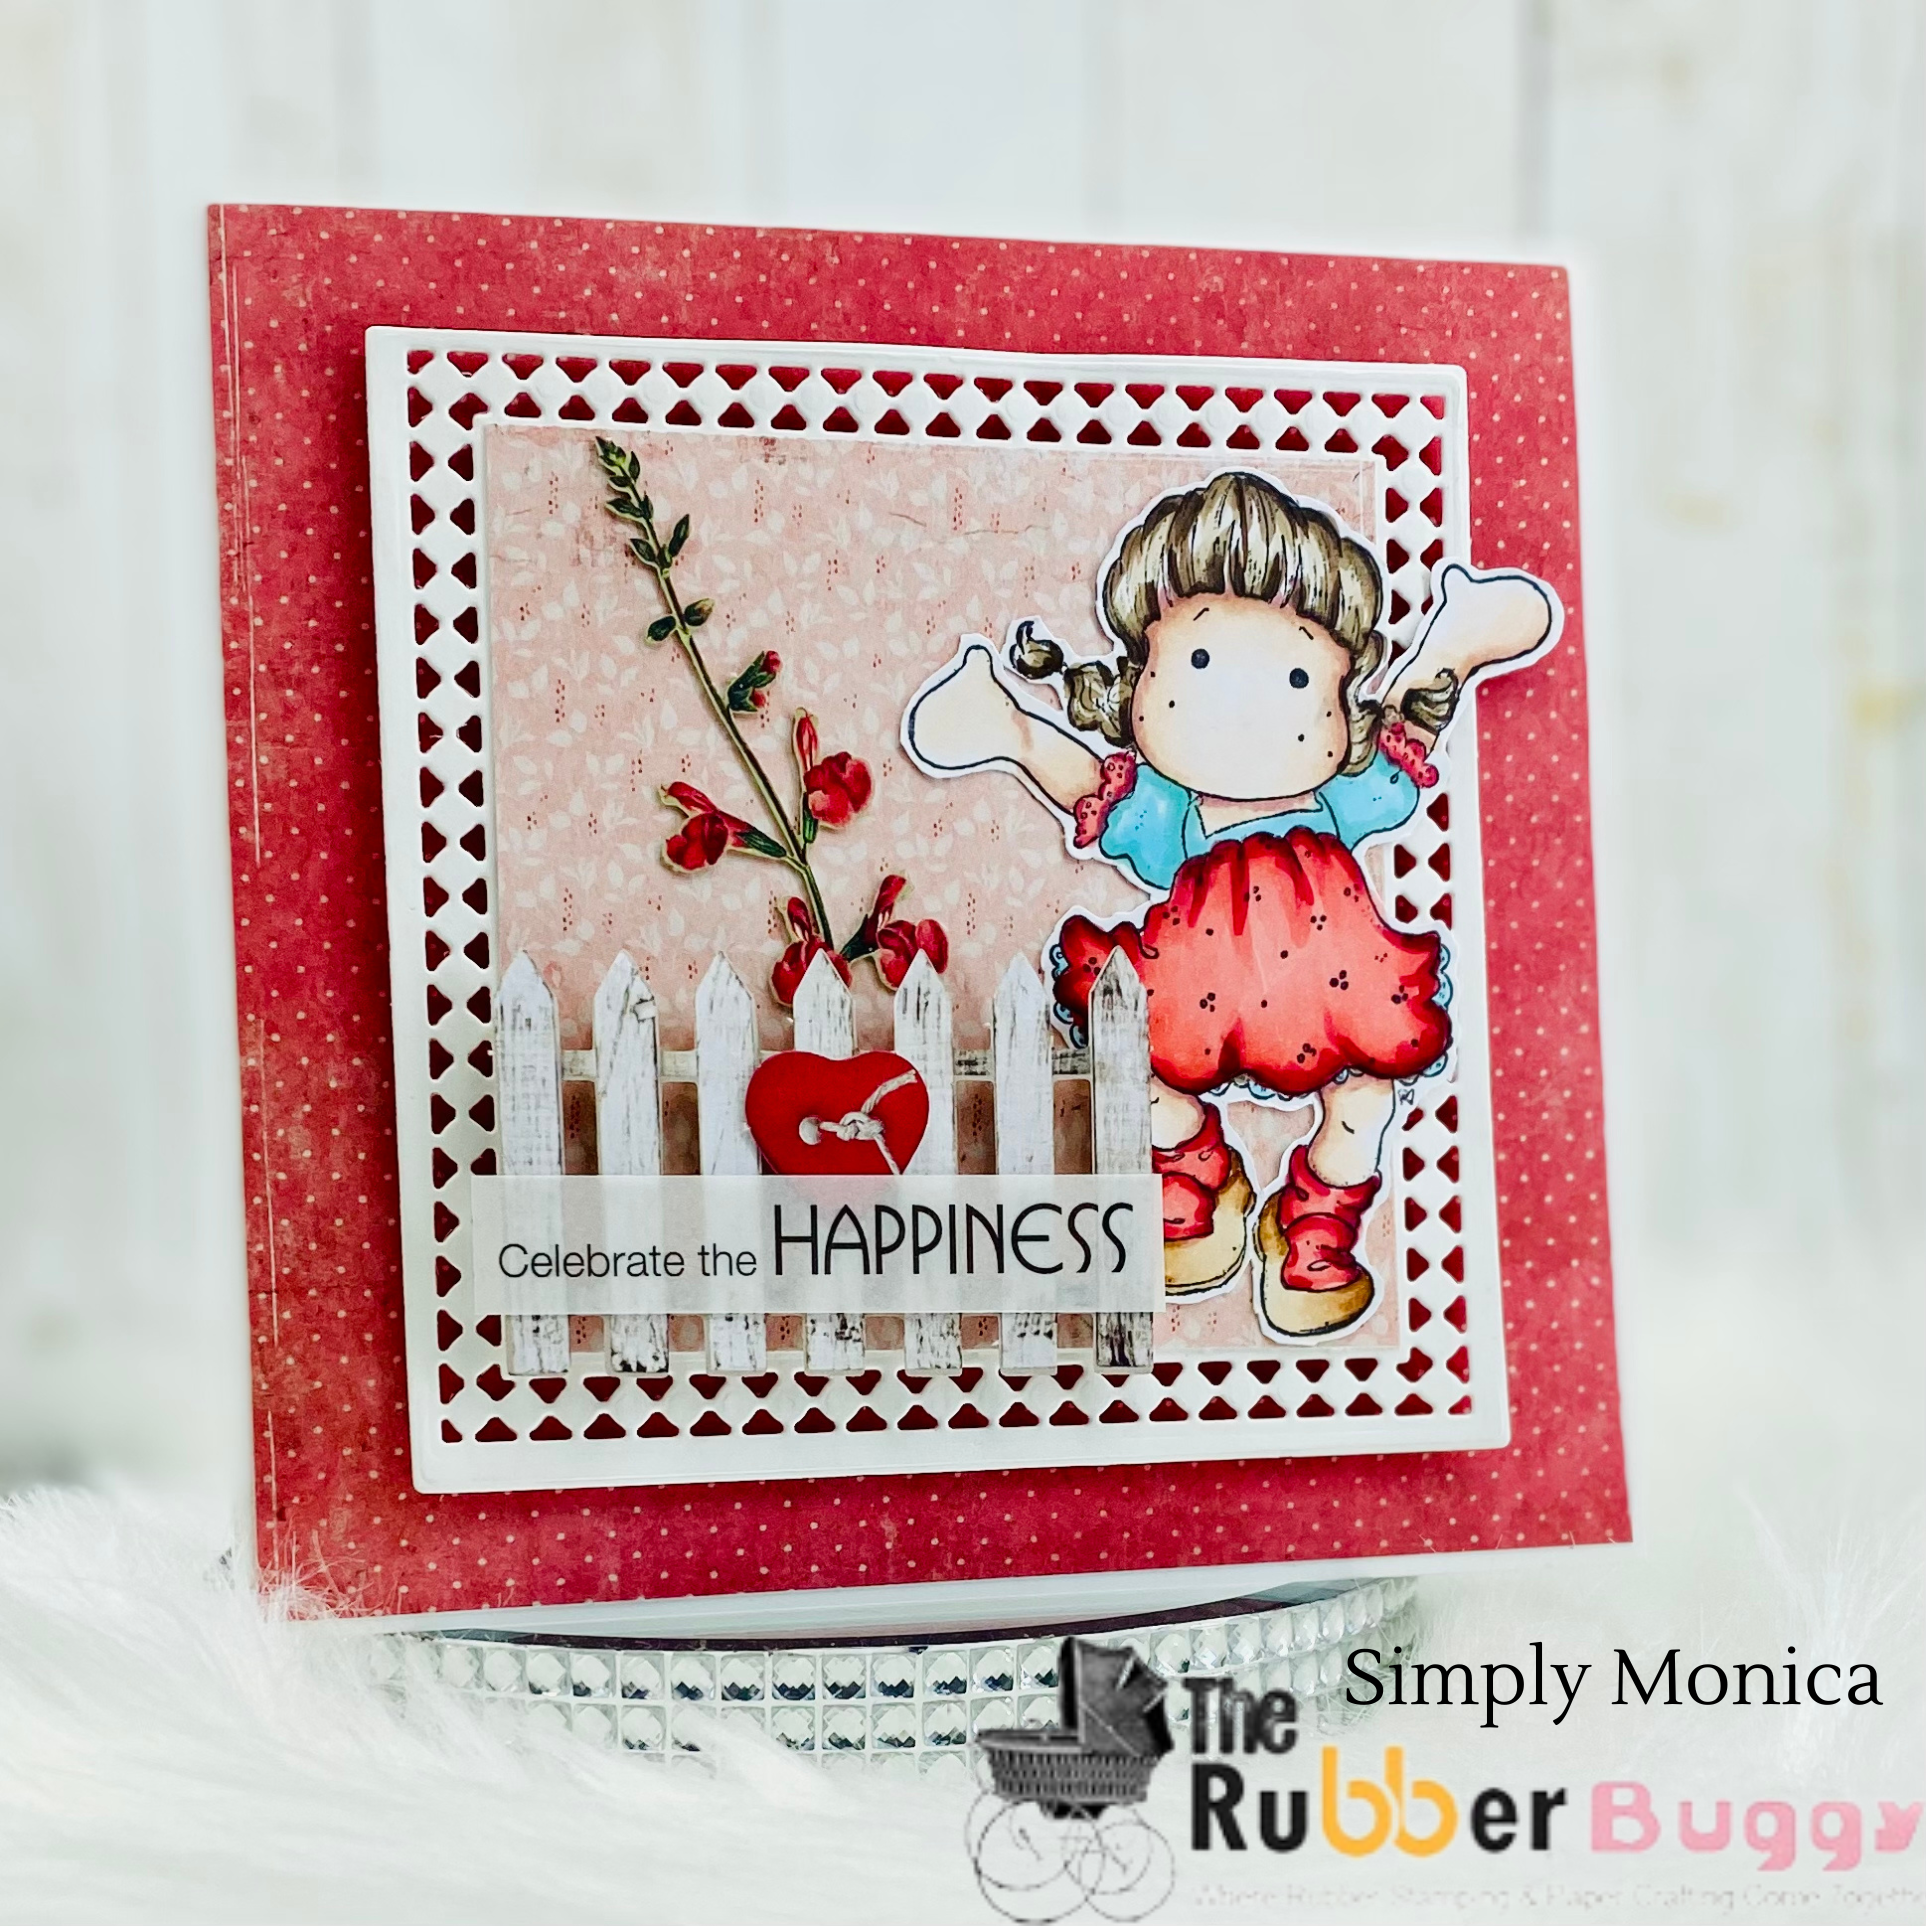
Happiness ❤️


Valentine's Card with Sizzix


|
Sizzix Pine Branch All Occasion Cards


I stamped both of the images first before using the embossing folder. I placed the stamped cardstock and aligned where I want the pine branches to be near the image and then put the embossing folder in my Sizzix Big Shot about three times to get the embossing 3D texture that I was looking for.
I trimmed the panel to 4 x 6 and sponged around the edges with the same colored Distress Inks as the needles for each card. I colored in the stamped images with Distress Watercolor pencils. I cut out a card base of 5 x 7" and score in the center and added the frames before adhereing the panel to the card.
I used an ole Spellbinder nestabilities rectangle die to cut out the frame and embossed it with Sizzix Tim Holtz Lumber embossing folder. I brush the top of the wooden embossing with Distress Oxide Ground Espresso ink.
I added a pine branch with cone using the Tim Holtz Botanical packet on the top card. Second card, I added the fish chipboard from the with the Stamperia Forest Chipboard Die Cuts Embellishment packet and used 3D foam to adhere the fish to the card. I used Beacon 3-n-1 Advanced glue to adhere the jute to the fish as well as to the rest of the card.
All of the supplies used in todays blog are listed below. Click the products to make a purchase. Have fun when your order arrives from The Rubber Buggy and I'll be back next Saturday to share more projects with the new arrivals. Thank you so much for joining me today!
Supplies:
Sizzix Tim Holtz Texture Fade Lumber Embossing Folder
|
Ciao Bella Christmas Vibes Winter Card


Instructions:
- First, score a 6" x 12″ of heavy white cardstock in half at 6″ with My Colors White Cardstock.
- Next, trim a red cardstock of 6" x 6" for the card front from the paper.
- Then cut a 5 3/4" x 5 3/4" of wooden pattern paper from the Ciao Bella Christmas Vibes 12 x 12 collection as well as 5 1/2" x 5 1/2" of the image, center and adhere to the front of the card with Beacon 3-n-1 Advanced Glue.
- I am using a 4" doily and cut out the circle image in the collection and glue in the center of the doily.
- Now fussy cut the ribbon and lace from the Ciao Bella A4 Collection Pad and wrap the ends of the lace and the tape behind the panel. This leaves a neat clean edge on your card. This paper stitched ribbon really helps pull this composition together. That pop of color helps to keep the eye focused on the card.
- Finish by fussy cutting the rest of the images from the packet and glue to the card.
- I added a Tim Holtz Idea-ology Confections Candy Canes using glue for more of a fun card.
That’s it for me today! I’m still trying to get back on track after the Christmas festivities! I hope each one of you had a wonderful holiday with family and friends. It’s so much fun to get together, isn’t it? Now it is crafting our wintery cards for birthday and other occasions and soon Valentine's cards.
So get crafting and have a fabulous day and thanks for visiting.
The Rubber Buggy has the crafting supplies for your next project. So have fun crafting this weekend with these products. My cards and projects are always posted on Saturday. Keep watching and thank you so much for those wonderful comments as well as suggestions. 
|
Countryside