Saturday, February 26, 2022
Get Well card with Stamping Bella Oddball Nurse

Card Measurement: 4 1/2" x 6"
Supplies:
Stamps: Stamping Bella Oddball Nurse
Papers: My Colors 100 lb Heavyweight Cardstock 12 x 12 paper - Emerthyst Glimmer Jewel Purple, White cardstock
Inks: Lawn Fawn Black Licorice Ink, Copic Markers
Adhesive: Beacon 3-n-1 Advance Glue, Scor-Tape 1/8" wide
Additional: 1/4" wide purple ribbon
Instructions:
- Cut 9" and 12" white cardstock and score in center
- Die cut LF (Lawn Fawn) Fancy Large Scalloped Rectangle with purple cardstock and glue to frame.
- Cut 3 1/2" x 5" white cardstock, using 1/8" wide Scor-Tape, adhere purple ribbon on the card and glue to LF Fancy Scalloped rectangle.
- Stamp using Lawn Fawn Black Ink or Memento Black ink the Stamping Oddball Nurse and color with markers.
- Stamp the sentiment with Lawn Fawn Black ink to the card.
So get crafting and have a fabulous day and thanks for visiting.
The Rubber Buggy has the crafting supplies for your next project. So have fun crafting this weekend with these products. My cards and projects are always posted on Saturday. Keep watching and thank you so much for those wonderful comments as well as suggestions.
Enjoy and Happy Crafting!
 |
Thursday, February 24, 2022
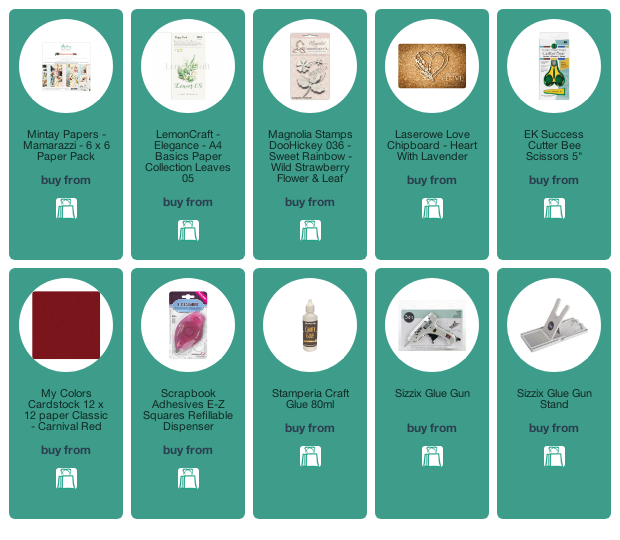
Floral Card

Welcome to the Rubber Buggy blog. Today I am sharing a card using the newly released papers from Mintay called Mammarazzi" rhymes with Papparazzi and has all the elements they need. Such a cute fun set. I scored my cardstock to 6x6 and added the patterned paper to match leaving a slight edge.

I used Laserwoe Lavender Heart as the focal point and surrounded it with some paper flowers I made using a Doo Hickey die set.

Layered everything together to finish my card.


Thank you for visiting
Saturday, February 19, 2022
Stamperia Romantic Thread 3D Pop Up Card


I watch a video from MixedUpCraft on how to create a multi-panel popup card and used her measurements to create mine. She created a thorough U-Tube video on how to score and assemble the panels onto the card and I created my U-Tube video below using The Rubber Buggy products of Stamperia Romantic Threads for the instructions in this card.
Supplies:
Tools: Misti My Petunia Stamp Tool, Scor-Pal Score Board or Tonic Studio Score and Cutting Board
Adhesive: Beacon 3-n-1 Advance Glue, Scor-Tape, Hot Glue Gun
Chipboard: Stamperia Romantic Threads Chipboard
Additional Supplies: Coral Rose Handmade bow, 5mm pearl string, coral thread, 28 Lilac Lane Desert coral colored buttons, Venice lace, Wild Orchid Craft flowers, sewing pins and beads, Type the sentiment and cut with banner die similar of Lawn Fawn Banner die. Sponge on Ranger Distress Vintage Photo ink on side of banner. Rick Rack ribbon.
I created a written tutorial as well as a short video to show an easy way to assemble the panels to follow since I won't be able to do a lengthy video due to our limited internet service in our area. I created a guide using the colored letters in each box below to match the panels with cutting and score measurements for you to follow. If the U-Tube doesn't display, click HERE.

Tip #1: Use the scoring tool to score and fold the paper. After scoring, I like using the straight side of the score bone tool or edge of a ruler by dragging the long edge of the bone or ruler slowly down the fold of the paper for a crisps professional folded look.
Tip #2: Decorating each panel: All panels are decorated with the pattern paper with 1/4" less of the measurement of the front of the panel. Just measure the side or top of the panel and subtract 1/4".
Example for Panel B: 6" x 5" with measurements of 5 3/4" x 4 3/4" of decorative or solid cardstock centered on each panel.
Tip #3: I created the U-Tube for visually showing assembling each panel since it is difficult to create well written instructions on this. When assembling the panels like for Panel B, glue both edges and fold down to the center score line of the card. Fold the card and press. When you open the card, the panel will open up to the 3D. Do this for the other panel. Otherwise see my short U-Tube for visual instructions will explain this in more detail.
So get crafting and have a fabulous day and thanks for visiting.
The Rubber Buggy has the crafting supplies for your next project. So have fun crafting this weekend with these products. My cards and projects are always posted on Saturday. Keep watching and thank you so much for those wonderful comments as well as suggestions.
Enjoy and Happy Crafting!
|
Thursday, February 17, 2022
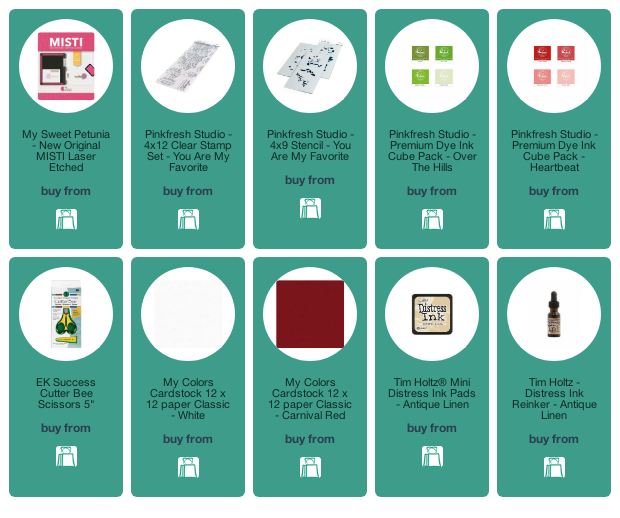
Watercolor


I next stamped it onto some white cardstock and heat set the ink just to be sure the ink was dry before I started to color the image. This prevents smearing.

I then used various inks from the Pinkfresh line to color in the image. I stamped the inks onto my glass mat and used a paintbrush to pick up the colors I wanted to use.
Saturday, February 12, 2022
Lawn Fawn Reveal Wheel Valentine's Card

I you aren't familiar with the Lawn Fawn Reveal Wheel assembling, Lawn Fawn has made a nice tutorial on instructions for the reveal wheel and if you haven't done this before, I would highly recommend you watching it. The reveal wheel has four sentiments stamped on the wheel. So when I turn or spin the scalloped wheel, I will see each sentiment in the heart window. I colored the skunks in Copic markers
Supplies:
Lawn Fawn - Fancy Scalloped Rectangle Stackables Lawn Cuts
Lawn Fawn Scent With Love Clear Stamp
Lawn Fawn Scent With Love Add-On Clear Stamp
Lawn Fawn Valentine Hearts Border Lawn Cuts
Lawn Fawn Quilted Heart Backdrop: Portrait Lawn Cuts
Lawn Fawn You're Just My Type Stamp Set
Lawn Fawn Reveal Wheel Heart Add On
Lawn Fawn Reveal Wheel Die Set
My Colors 100 lb Heavyweight Cardstock 12 x 12 paper - Watermelon Pink Optional
Copic Markers
Lawn Fawn Black Licorice Ink
Beacon 3-n-1 Advance Glue
My Sweet Petunia Stamp Tool
Instructions:
- Cut pink solid cardstock at 4 1/2" x 5 1/2" and score in center
- Die cut LF (Lawn Fawn) Fancy Large Scalloped Rectangle and glue to solid pink cardstock
- Die Cut LF Quilted Heart Backdrop in white and pink cardstock and then glue to LF Fancy Scalloped rectangle.
- Using both die cut in the set, cut out Valentine Heart Border white and the other pink. On the white hearts, stamp every other heart with the Lawn Fawn I Could Have Texted stamp sentiments on each heart. Glue together the heart border and cut out the length at 4" and glue on the card
- Stamp the skunks, balloon, flower bouquet and heart banner with the Lawn Fawn Black ink and color. Glue to card.
- Add a small white bow to the center of the banners.
So get crafting and have a fabulous day and thanks for visiting.
The Rubber Buggy has the crafting supplies for your next project. So have fun crafting this weekend with these products. My cards and projects are always posted on Saturday. Keep watching and thank you so much for those wonderful comments as well as suggestions.
Enjoy and Happy Crafting!
|
Thursday, February 10, 2022
Magnolia
Hi everyone today I am here sharing a card I made using this cute Magnolia stamp set. I colored the image using distress inks.


Saturday, February 5, 2022
Stamping Bella Curvy Girl With Holiday Gifts Celebrate card and Tag
I am just loving the Stamping Bella Curvy Girl With Holiday Gifts stamp. This adorable stamp set features an adorable girlie with holly in her hair and her arms full of presents which is perfect for this time of year including for a birthday card or for any occasion during this holiday and winter season! Nancy, here to share this stamp set along with other supplies available at The Rubber Buggy.


So get crafting and have a fabulous day and thanks for visiting.
The Rubber Buggy has the crafting supplies for your next project. So have fun crafting this weekend with these products. My cards and projects are always posted on Saturday. Keep watching and thank you so much for those wonderful comments as well as suggestions.
Enjoy and Happy Crafting!
|
Subscribe to:
Posts
(Atom)


