Showing posts with label Distress Inks. Show all posts
Showing posts with label Distress Inks. Show all posts
Thursday, February 17, 2022
Watercolor


I next stamped it onto some white cardstock and heat set the ink just to be sure the ink was dry before I started to color the image. This prevents smearing.

I then used various inks from the Pinkfresh line to color in the image. I stamped the inks onto my glass mat and used a paintbrush to pick up the colors I wanted to use.
Thursday, September 23, 2021
Stained Glass Poinsettia
Hi everyone, Steph Ackerman here today with lots of fun products from the store.



This Poppystamps Stained Glass Poinsettia die allows you many options to create.
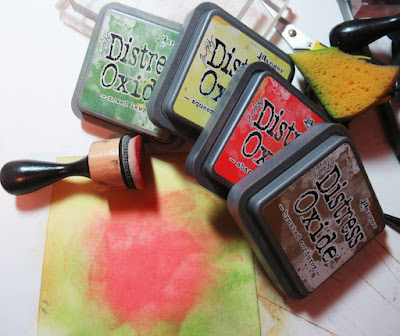
Using assorted Distress Oxide Inks in Squeezed Lemonade, Brushed Corduroy, Abandoned Coral and Mowed Lawn - I created the first background.

Using Tim Holtz Idea-ology Kraft Cardstock, I die cut the poinsettia and placed it over the inked background.

The panel was then die cut using Lawn Fawn Stitched Rectangle dies, then added to another panel of Ranger Kraft Cardstock. The left over inked panel panel was added to a black card.

I used the die again with Ranger Kraft Cardstock and adhered it to green cardstock.

I die cut the poinsettia a second time and filled in the petals. The 5 prominent petals were added to the panel with Scrapbook Adhesives 3D Foam Adhesives for dimension.

The panel was matted on brown cardstock, then onto a torn panel from the Simple Stories Simple Vintage Farmhouse Garden paper pad, then finally onto Ranger Kraft Cardstock before being added to the card.

Finally I die cut Lawn Fawn Border Line Dies - Happy Holidays and Merry Christmas - and adhered them to each card.
Thank you for visiting
Thursday, September 2, 2021
Thanks with Stamping Bella
Hi everyone, Steph Ackerman here today with lots of fun products from the store.


Ciao Bella has some beautiful stencil and I've used Ciao Bella Blossom stencil to create the background of my card. I first inked the stencil with Ranger Distress Oxide Ink in Abandoned Coral.

Since I was using the stencil on dark cardstock, I then used Ranger Clear Embossing Powder on top to give the design dimension.

Since I usually get embossing powder everyway, the Sizzix Anti-Static Funnel Tray by Tim Holtz is the perfect tray to keep the powder confined and then it easily poured back into its original jar.

I matted the panel with white cardstock.

Wrapping the panel with ribbon, I then added the panel to a card created with Bazzill Pale Rose Cardstock using 3D Foam Adhesives for dimension.

I stamped Stampingbella's Daisy Squidgy and colored her with Copic Markers. Thanks, which was included with the stamp set, was stamped and tied to the ribbon with Baker's Twine.

Thank you for visiting.
Thursday, September 10, 2020
Stamperia Designed Cards
Hi everyone, Steph Ackerman here today with lots of fun products from the store. Please visit the store for all the fun products I've used today.


Thank you for visiting
Stamperia has a line of decorative chips that can be used for assorted projects. I've used the Rose and Butterfly chips to create my cards today.

Start by inking the leaves and flowers with Copic Markers. Then lightly ink the lattice panel with Tim Holtz Squeezed Lemonade Ink. Use Tattered Lace Detail Glue to adhere the panel to the card base.

Using Liquid Pearls in Dazzle and Garnet, fill in the roses. Use Liquid Pearls in Electric to fill in the leaves. Place aside to dry. Once dry, I added some more liquid pearls to fill in the cavities.

Along the right side of the card, add a strip of Bazzill Gumdrop Cardstock. Ink the Stamperia Butterflies with Tim Holtz Tattered Rose Ink and adhere just the bodies to the cards, leaving the wings free. Hello Friend, from the Memory Box Bird Sanctuary Clear Stamp set was stamped on Marshmallow Cardstock with Lawn Fawn Black Licorice Ink, die cut and matted with Gumdrop Cardstock. It was added to the card with Scrapbook Adhesives for dimension.

For my second card, I chose to ink the roses with Tim Holtz Tattered Rose and Fired Brick Inks. The leaves were inked with Bundled Sage Ink.

Using Maja Designs Shades of Sweet Coral, Tear the panel and ink with Fired Brick before adhering to the card. Stamp the dots in Black Licorice Ink using a stamp from the Bird Sanctuary collection. Also stamp Hello friend on a scrap of the Coral paper. Assemble the card and adhere the roses and leaves. Place the sentiment across the bottom edge and place one of the left over leaves on the strip.

Thursday, February 13, 2020
3D Floral Card
Hi everyone, Steph Ackerman here today with lots of fun products from the store. Please visit the store for all the fun products I've used today.


Fold on the 3" score, folding inwards to create a stand up card.

Using 2 sheets of pattern paper from the Love Letters paper pack from the Mintay pattern paper collection, I adhered one to the scored section to create the base layer. Next, I fussy cut the flowers from the second sheet as I wanted to create a 3D effect with the flowers. Use Heartfelt Creations Flower Shaping Essentials to form the flowers.

Lightly ink the flowers with Tea Dye Distress Ink using an Ink Blending Tool.

Place the fussy cut flowers on the base layer with Scrapbook Adhesives 3D Foam Squares. For more dimension, I doubled the squares.

Die cut the 2 sets of circles using Lawn Fawn Small Circle Dies and Lawn Fawn Large Circle Dies. On the smaller circles stamp phrases from Art Impressions and 49th and Market using Memento Tuxedo Black Ink.

Tuesday, November 26, 2019
Merry Christmas From All Of Us

Hi Everyone it's Jennifer here and I have used the
Oddball Snowman and the Lawn Fawn Peekaboo Backdrop
to Create this Shaker Card Christmas Card.
Oddball Snowman and the Lawn Fawn Peekaboo Backdrop
to Create this Shaker Card Christmas Card.
I have used 3 of my favorite Oxide Inks for backgrounds
Chipped Sapphire, Blue Print Sketch and Broken China.
I have then sprayed it using perfect pearls in a spray bottle of
water that gives it an Awesome Sparkle. I then did a white splatter
with watered down Copic Opaque White and a brush.
I glued the Mountains onto the bottom of it.
I glued the Mountains onto the bottom of it.

I coloured my Snowman up using
Copics
Copics
Snowman - C00, C0, C01, C3
Reds - R39, R37, R35, R32
Greens - G12, G16, G19
Orange - YR12, YR15, YR68
Black - C05, C07, C09
Reds - R39, R37, R35, R32
Greens - G12, G16, G19
Orange - YR12, YR15, YR68
Black - C05, C07, C09
I covered the back of the Die with a piece of Acetate and then
used 3D foam around all the edges to create a Shaker.
I then filled one section with white beads ar little foam balls.
3D Taped the Snowman on the front and a sentiment to finish it off.


Bazzill

I hope you all have a Great Crafting Week
Jennifer
Jennifer
Tuesday, August 13, 2019
You've Been Busy

Hi Everyone it's Jennifer here with a card I created
using only white card stock. I created the background
using Distress Inks Picked Raspberry and Salty Ocean.
using only white card stock. I created the background
using Distress Inks Picked Raspberry and Salty Ocean.
First of all I made my card and Die Cut
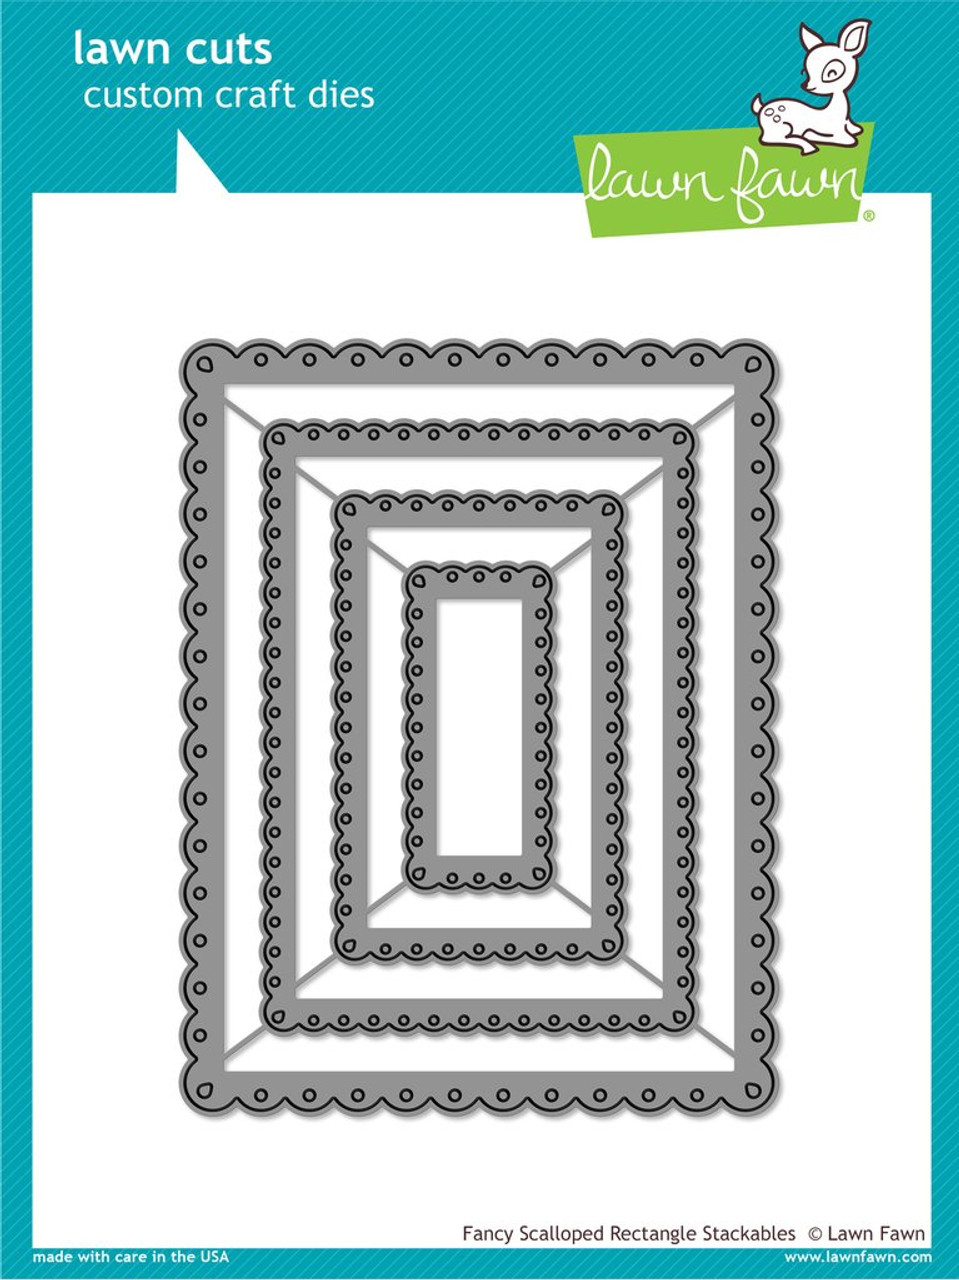
the Scalloped Rectangle and 3D taped it on
Then with a Stitched Rectangle that fitted in the Scalloped
Rectangle Die Cut a piece of the Inked Cardstock and
3D Layered that too. To finish of I cut and coloured
my Girl and 3D taped her on and using Sequins finished it off.
the Scalloped Rectangle and 3D taped it on
Then with a Stitched Rectangle that fitted in the Scalloped
Rectangle Die Cut a piece of the Inked Cardstock and
3D Layered that too. To finish of I cut and coloured
my Girl and 3D taped her on and using Sequins finished it off.
I coloured my Girl up using Copics.
Skin E0000, E000, E00, E01, E04, E11, R20
Hair - E25, E50, E51, E53, E55
Dress - RV19, RV17, RV14, RV13
Jacket - BV23, BV25, BV29
Papers - C01, C0
Books - YR12, YR15, B21, B23, R14, R24
Curvy Girl is Busy

Lawn Fawn Fancy Scalloped Rectangles

Curvy Girl is Busy
Lawn Fawn Fancy Scalloped Rectangles

I hope you all have a Great Crafting Week
Jennifer
Subscribe to:
Posts
(Atom)


