Saturday, June 27, 2020
Graphic 45 Fairy Wishes Gift Box
Welcome back and Nancy, here. Come find the magic of creating with the
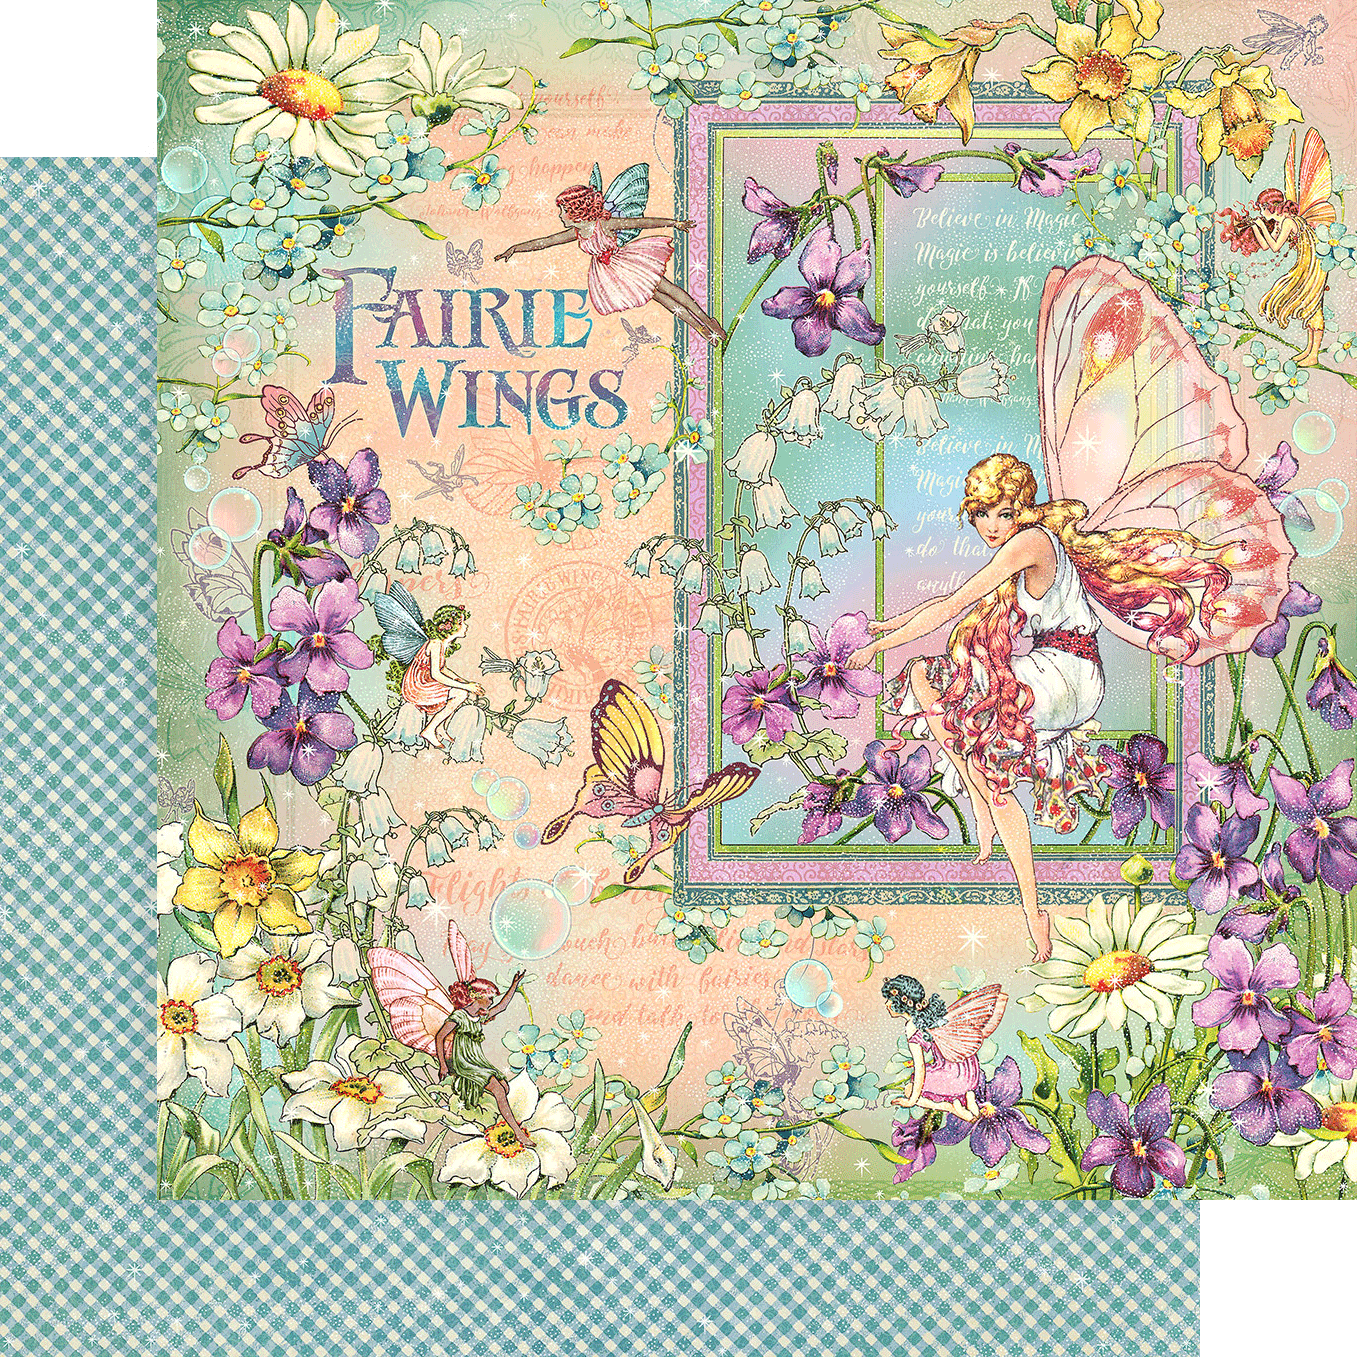
Graphic 45 Fairy Wishes collection! It is just the prettiest collection with vivid colors and lots of pretty flowers, and fairies of course!
I am excited to share with you my gift box for my granddaughter's birthday that will be filled with gifts that was made with the new Graphic 45 Fairy Wishes collection. This beautiful collection is filled with images of fairies, florals, and yellow butterflies that flutter about with backgrounds of soft pink and purple violets galore.

I typed and printed the name with a laser printer and then used a laminator to foil the name. The frame is a sticker included in this collection. I traced this sticker on heavy cardstock three times and cut it out and adhered it together to form the height to give a 3D appearance. I added Tim Holtz brads to the sticker frame and 3mm flat back pearls around her name. I added the hearts from the Dress My Crafts-Sequins-Pink Celebration.
I hand crafted my flowers with foamiran and handmade a coral ribbon and adhered all with hot glue gun. I adhered a metal butterfly and metal covers after covering it with Prima Marketing Art Alchemey Ginger Sparks paint. I added NUVO glitter pen through the front of the box.
Throughout the card, I adhered the Dress My Crafts-Sequins-Pink Celebration to parts of the card. I love the tiny hearts and stars in this jar along with the clear shimmering sequins that add sparkle to this fairy project.


 Venice lace was added around the box using Scor-Tape and Beacon 3-in-1 Advanced Glue.
 I painted the inside of my box with green Chalk paint and let dry. I cut out the different frames from the collection and used the glue to adhere to the Graphic 45 Fairy Wishes paper for the top and bottom. I cut out the doilies and added it behind some of the fairy frames.


Graphic 45 Fairy Wishes collection! It is just the prettiest collection with vivid colors and lots of pretty flowers, and fairies of course!
I am excited to share with you my gift box for my granddaughter's birthday that will be filled with gifts that was made with the new Graphic 45 Fairy Wishes collection. This beautiful collection is filled with images of fairies, florals, and yellow butterflies that flutter about with backgrounds of soft pink and purple violets galore.

I purchased on-line the Darice Unfinished Wooden Box, 12” x 9.125” x 3.25 and painted the inside with green Chalk paint. I used Scor-Tape and Beacon 3-in-1 Advanced Glue to adhere the Graphic 45 Fairy Wings paper to the top and around the wooden box.
I hand crafted my flowers with foamiran and handmade a coral ribbon and adhered all with hot glue gun. I adhered a metal butterfly and metal covers after covering it with Prima Marketing Art Alchemey Ginger Sparks paint. I added NUVO glitter pen through the front of the box.

Throughout the card, I adhered the Dress My Crafts-Sequins-Pink Celebration to parts of the card. I love the tiny hearts and stars in this jar along with the clear shimmering sequins that add sparkle to this fairy project.


 |
| Graphic 45 Fairy Wishes |
Thanks for your visit today! I have so much fun making these gift boxes and hope you will too. So have fun crafting this weekend with these products. My cards and projects are always posted on Saturday. Keep watching and thank you so much for those wonderful comments as well as suggestions.
Enjoy and Happy Crafting!
 |
Thursday, June 25, 2020
Floral Fantasy Cards
Hi everyone, Steph Ackerman here today with lots of fun products from the store. Please visit the store for all the fun products I've used today.


Use the same products to create 2 coordinating cards. Start by creating cards from Bazzill Rock Candy and Gumdrop cardstocks.

Cut 2 pieces of Maja Designs Vintage Summer pattern paper to 4" x 5 1/4". Ink the edges with Tim Holtz Mahogany Distress Ink. Use a Tutti Designs Oval die to cut an oval from the center of one of the panels. Stamp the cross pattern from Gabi's Daisies stamp set on Neenah white cardstock with Memento Tuxedo Black Ink. Adhere behind the die cut panel. Add drops of Liquid Pearls Merlot and Raspberry to the flower pieces.

Place 2 Tutti Oval dies on Simple Stories Brick cardstock and die cut. Pull apart the ovals. Use the outer piece to create the frame around the opening and place the center piece aside for the 2nd card. Use Sizzix Funky Foliage dies to die cut mushrooms, leaves and flowers from left over papers. Ink the mushrooms with Tim Holtz Old Paper Distress Ink before assembling. Adhere the flowers, leaves and mushrooms around the oval.
Add the panel to Brick cardstock then to the Gumdrop card. Stamp a phrase from the Tim Holtz Tiny Text stamp set on a scrap of the pattern paper, die cut with a small Tutti Designs oval and mat with a larger die. Add to the card with Scrapbook Adhesives.

For my 2nd card, I used the same Gabi's Daisies stamp, and stamped it on the left over oval from above using VersaMark Watermark stamp pad and Lawn Fawn White embossing powder. Heat set and adhere to a larger oval die cut from gray cardstock and place in the center of the panel.

Using the same papers, die cut additional flowers and leaves and place around the oval. Stamp another phrase from the Tiny Text stamp set. Die cut and mat with 2 additional larger layers.
Add the panel to the Rock Candy card with Scrapbook Adhesives for dimension. Add Merlot Liquid Pearls to the flower centers.
Thank you for visiting
Saturday, June 20, 2020
Fairy Wishes
Welcome back and Nancy, here. Come find the magic of creating with the Graphic 45 Fairy Wishes collection! I am excited to share with you my cards made with the new Graphic 45 Fairy Wishes collection. This beautiful collection is filled with images of fairies, florals, and yellow butterflies that flutter about with backgrounds of soft pink and purple violets galore.
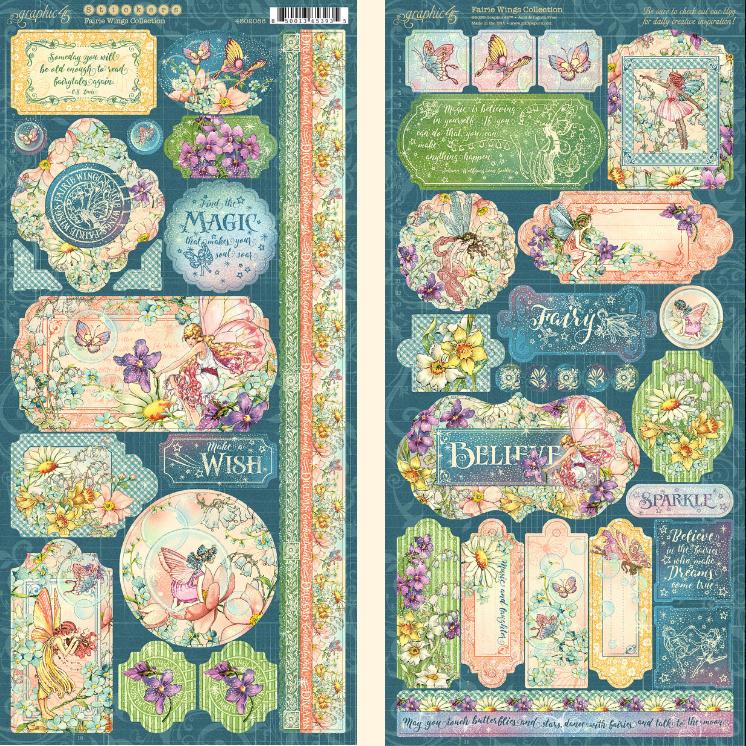
The Graphic 45 Fairy Wishes collection 12" x 12" paper pad includes two pages of stickers. Make sure to check out The Rubber Buggy site for the additional Graphic 45 Fairy Wishes papers and embellishments that you will want to purchase that coordinate with the collection as well.


|
| Dress My Crafts-Sequins-Pink Celebration |


I cut out the sentiment from this paper on the left and fussy cut the fairies and flowers from the other paper in this pad and adhered to the card using the Beacon 3-in-1 Advanced glue. To frame the sentiment, I cut another sentiment and adhered in the center around the purple and dark blue frame.

| |
|
I had so much fun making these cards and hope you will too. So have fun crafting this weekend with these products. My cards and projects are always posted on Saturday. Keep watching and thank you so much for those wonderful comments as well as suggestions.
Enjoy and Happy Crafting!
|
Thursday, June 18, 2020
Tropical Thank You Cards
Hi everyone, Steph Ackerman here today with lots of fun products from the store. Please visit the store for all the fun products I've used today.


Thank you for visiting

Using Heartfelt Creations Tropical Hibiscus stamps and coordinating dies, create the flowers using Bazzill Cardstock and Lawn Fawn Peach Fuzz Ink.

Use the Heartfelt Creations Deluxe Flower Shaping Tool to shape the flowers.

Create a square card from Lawn Fawn Kraft cardstock. Cut Bazzill Marshmallow Cardstock slightly smaller and die cut the center using a Tutti Designs Oval die. Add the die cut panel to the card. Die cut the white oval using the next size down die and die cut the peach frame using 2 dies to create the frame.

Using Memento Tuxedo Black Ink, stamp thank you on the white oval and place in the opening. Adhere the leaves to opposite sides of the card using Tattered Lace Detail Glue. Adhere the flowers on top.

Create a second card from Bazzill cardstock. Cut 7Gypsies Garden Words to size and mat with Bazzill Marshmallow cardstock before adhering to the card.

Using 2 sizes of the Tutti Designs Nesting Ovals, die cut both colors of cardstock and adhere to the card. Stamp thank you slightly off center. Adhere 2 sets of leaves and the flowers to the corner of the card.
Finish by adding Nuvo Drops to the flower centers.
Thank you for visiting
Saturday, June 13, 2020
Lawn Fawn Magic Iris
Welcome back and hope you are having a wonderful weekend. Nancy, here, and I created my own tutorial for you to print out and follow if you are doing the Lawn Fawn Magic Iris for the first time. The Rubber Buggy has all of the supplies and products you will need for crafting this card.
I would highly recommend you to view the Lawn Fawn tutorial, click here, as well. I still had problems with assembling the Magic Iris after watching the Lawn Fawn tutorial so I thought I would do a written tutorial for you with lots of photographics and also go over some of the tips and technique that helped me since I had a few throw-aways and this can become very frustrating when the Magic Iris can't open up after hard work assembling all three layers.


 |
| Lawn Fawn Magic Iris Die Set |
 |
| Lawn Fawn A Bug Deal Stamp |

Lawn Fawn Magic Iris Circle Scalloped Add-On
Since I had the Lawn Fawn Scallop Circles die set, I used it for this card.
Additional supplies: Beacon 3-in-1 Advanced Glue, Lawn Fawn Grassy Border Die, 1/2" Wide Scor-Tape, Mini Glue Dots, Scrapbook Adhesive ED Foam

Step #1: Cut out 3 circles, 3 green tabs, 3 brown tabs, 1 orange tab and 1 red tab. NOTE: I have colored each section a different color to make it easier for you to follow the steps. Unfortunately, I have added other photos of my other Magic Iris since the photos came out clearer. Normally, I would have cut all the die cuts in white 80lb cardstock but used different colored circles for better guiding you through this assembly. I numbered each circle for each layer.


Step #2: Take this die and align along the center of the circle and die cut.


Step #9: Lay the white or blue circle on top of the orange circle. Take each brown tab and adhere to the top the blue or white circle. NOTE: Make sure to not get glue or tape stuck on the inside of the layers as well as don't get the tabs wrapped tightly on the next circle.

Step #11. You can stamp the image of the circle cut out of the Magic Iris and adhere in the center of the Magic Iris on the frame. I did it different on my second card and traced the center of the Magic Iris on the frame of my card, stamped my sentiment and then glued the Magic Iris on top of the sentiment. Optional: I used foam adhesive tape to adhere the Magic Iris on the frame after gluing the Magic Iris Scalloped Circle on the Magic Iris.
I had so much fun making these cards and hope you will too. So have fun crafting this weekend with these products. My cards and projects are always posted on Saturday. Keep watching and thank you so much for those wonderful comments as well as suggestions.
Enjoy and Happy Crafting!
|
Subscribe to:
Posts
(Atom)


