Thursday, December 31, 2020

Happy New Year Cards

Hi everyone, Steph Ackerman here today with lots of fun products from the store.  Please visit the store for all the fun products I've used today.

Wishing you all a Happy New Year and a much better 2021!!!!


I used several Tutti Designs dies to create these mini cards.  I found the size of the Tutti Designs Stitched Scalloped Rectangle Dies, once die cut from Bazzill Licorice Twist Cardstock and scored in half created amazing mini cards  For the sencond layer I use Tutti Designs Stitched Rectangle Dies with papers from Dress My Crafts Whispering Love collection.  I just cut the die cut panels in half to create the 2nd layer.


The Magnolia Happy New Year stamp was perfect for these cards so I colored them with Copic Markers before fussy cutting them.


Using a Tutti Designs Stitched Nesting Oval, I added the next layer to the card.  They were also die cut from Bazzill Licorice Twist Cardstock because I wanted the ladies to stand out.


Each lady was placed atop an oval using Glue Dots for dimension.


Thee are cute mini cards, but they'd also be great used as tags hanging from a bottle of wine for hte New Year don't you think?


Thank you for visiting
Sunday, December 27, 2020

Ciao Bell Card and Pendant

Hello Friends!  Today I'm sharing a fun dimensional card and heart pendent that is so easy to make and turns out so fabulous.  I used the Ciao Bella Northern Lights paper collection  as well as the Ciao Bella Frozen Roses A4 Collection. from the Rubber Buggy Store for this card and heart pendant.  the The pendant is made from the sheet of Stamps from the Ciao Bella Northern Lights paper collection .   These collections are some of my favorites!  

This card is easy and still dimensional and the pendant is a perfect gift.  All you need to do is add a chain and you have a beautiful necklace.

To make the pendant I cut the heart from the sheet of stamps and adhered it to the center of a heart shaped bezel.  I filled it with UV Resin and cured it under a UV light.  I added a few small trinkets and rhinestones and then sealed it all with another layer of resin. 


If you're looking for last minute cards and easy gift to make and running short on time these paper collections is perfect for this!


Thanks for stopping by the rubber Buggy  blog today!  

Be sure to stop by the Rubber Buggy Store  and check out this collection.  

The store carries so many great products and the customer service is great! 

Debbie

Friday, December 25, 2020

Graphic 45 The Magic of Christmas

Everyone from The Rubber Buggy wishes you a very Merry Christmas and hope you are having a wonderful Christmas day.  

Nancy, here, and excited to share another Christmas card made for you on this special Christmas day.  Previously last week and yesterday, I have posted three other Christmas cards made with the beautiful 
Graphic 45 Christmas Time Collection.  Today, I want to share with you the last one made with additional Graphic 45 dies Graphic 45 Staples Tags and Gears die set and Graphic 45 Staples Tag and Clock die set added to this card for the background and cut out with gold metallic cardstock.

 
I handmade the poinsettia and used a hot glue gun to add the center as well as adhere the poinsettia to the card.  The rest of the card was adhered using the Beacon 3-in-1 Advanced Glue.  
I used a hot glue gun to adhere a metal cog/gear to the card with the Graphic 45 Tag Clock die behind it.  I used the Graphic 45 Christmas Time stickers throughout the card with the gorgeous 
Graphic 45 Christmas Time Pattern and Solid paper as the background.  

Thanks for your visit today!  The Rubber Buggy has the crafting supplies for your next project. So have fun crafting this weekend with these products.   My cards and projects are always posted on Saturday.  Keep watching and thank you so much for those wonderful comments as well as suggestions. 
Enjoy and Happy Crafting!


Thursday, December 24, 2020

Graphic 45 Christmas Time Peace Love Joy


 Peace, Love and Joy on this very special Christmas eve to you and your family.  Nancy, here, and I am excited to share my Christmas card with you to celebrate the magic of Christmas.  The Creative Embellishment challenge is to be inspired by one element in their photo.  I just love this vintage Christmas tree that is similar to their photo and added steampuck mini gears that are available at Creative Embellishment.  These gears were painted with metallic acrylic paints to look rustic and adhered to the tree.  To keep with the vintage theme, I handmade a small poinsettia and tied jute around the card.  


Thanks for your visit today!  
Enjoy and Happy Crafting!


Joy to the World Booklet Card

Hi everyone, Steph Ackerman here today with lots of fun products from the store.  Please visit the store for all the fun products I've used today.


Using Heartfelt Creations Frame and Accents Dies, I cut 2 layers from Bazzill Marshmallow cardstock.  I also die cut 1 layer from Bazzill Marshmallow cardstock and 1 layer from Graphic 45's Joy to the World pattern paper using Heartfelt Creations Frame and Accents Dies Booklet Basics.


The white layers were inked with Distress Oxide Ink in Bundled Sage.  All 4 layers were gently folded at the center and a bead of Beacon 3 in1 Adhesive was added along the centers to hold the pages together.  


Once dried, I gently formed the pages with my fingers giving them definition.  Glue Dots were added along the edges of each page keep them defined.


A card was created from Bazzill Lollipop cardstock, then a pattern paper from Graphic 45's Joy to the World collection was added.   The included bookmark was added to the pages which were then added to the card with Glue Dots.

Thank you for visiting
Sunday, December 20, 2020

Ciao Bella Northern Lights Cards


Hello Friends!  Today I'm sharing a fun dimensional card set that is so easy to make and turns out so fabulous.  I used the Ciao Bella Northern Lights paper collection  from the Rubber Buggy Store for this card.  This collection is one of my favorites!  

This card is easy and still dimensional.

I used one of the Snow Globe cut out as well as a Clock cut out from this collection for my card fronts.

If you're looking for last minute cards to make and running short on time this paper collection is perfect for this! 


To finish this card I added a sentiment, some ribbon and a flower from my stash.


Thanks for stopping by the rubber Buggy  blog today!  

Be sure to stop by the Rubber Buggy Store  and check out this collection.  

The store carries so many great products and the customer service is great! 

Debbie

Graphic 45 Christmas Time

 These next two weeks, I will be showcasing the gorgeous Graphic 45 Christmas Time Collection with four cards, each blogged separately.    The papers, stickers and chipboard in this collection are also sold separately.  Additionally, I made this card with the coordinating Graphic 45 Christmas Time Patterns and Solid paper pad that coordinates with this collection.  I always love having both Graphic 45 new collections along with the Graphic 45 Pattern and Solid to make my Graphic 45 projects and cards since the colors are perfect together.


The card measures 5 1/4" x 7 1/4".  I cut out the star with the Graphic 45 Christmas pattern paper and handmade the poinsettia and added twine behind it.  The card was adhere using the Beacon 3-in-1 Advanced Glue.  I fussy cut the holly and berries from this collection and added it to both corners of the image and used the sticker for the bottom of the image.

Graphic 45 Christmas Time 

Graphic 45 Christmas Time Patterns and Solid 

Thanks for your visit today!  The Rubber Buggy has the crafting supplies for your next project. So have fun crafting this weekend with these products.   My cards and projects are always posted on Saturday.  Keep watching and thank you so much for those wonderful comments as well as suggestions. 
Enjoy and Happy Crafting!


Saturday, December 19, 2020

Graphic 45 Christmas Time Jingle All The Way

Celebrate the magic of Christmas with Graphic 45 Christmas Time 12" x 12" Collection Pack.  The pack includes 16 sheets of paper and two sheets of 6" x 12" stickers with  vintage steampuck imagery of Santa Claus, glittery golden gears, red holly, a coal train, and more all available at The Rubber Buggy.  The papers, stickers and chipboard in this collection are also sold separately.  Additionally, I made this card with the coordinating Graphic 45 Christmas Time Patterns and Solid paper pad that coordinates with this collection.  I always love having both Graphic 45 new collections along with the Graphic 45 Pattern and Solid since the colors are perfect together.


The card measures 5 1/4" x 7 1/4".  I handmade the poinsettia using the Graphic 45 Christmas Time Pattern and Solid paper and added the button from the 28 Lilac Lane Deck The Halls jar.  I added the Baker red and white twine.  I used some Prima Marketing Art Alchemy Metallique Gold Rush Acrylic Paint on the gears and adhere most of the card using the Beacon 3-in-1 Advanced Glue and hot glue gun for the gears and flower.  


Graphic 45 Christmas Time 

Graphic 45 Christmas Time Patterns and Solid 

Thanks for your visit today!  The Rubber Buggy has the crafting supplies for your next project. So have fun crafting this weekend with these products.   My cards and projects are always posted on Saturday.  Keep watching and thank you so much for those wonderful comments as well as suggestions. 
Enjoy and Happy Crafting!


Thursday, December 17, 2020

Merry Christmas Tilda

Hi everyone, Steph Ackerman here today with lots of fun products from the store.  Please visit the store for all the fun products I've used today.


I stamped an assortment of images from the Lawn Fawn Ho Ho Holidays stamp set using Lawn Fawn Licorice Ink.


Next, I colored the image with Copic Markers, then die cut them with the coordinating Lawn Fawn dies.


A Magnolia stamp, Pointing Tilda, was stamped with Lawn Fawn Licorice Ink, then also colored with Copic Markers.  The panel was die cut with Lawn Fawn Stitched Rectangle dies and matted with Bazzill green cardstock, die cut with the next sized rectangle.


The background of the card is from Craft O'Clock Age of Technology collection.  The panel was added to the card with Glue Dots for dimension.  Merry Christmas, also from the Lawn Fawn Ho Ho Holiday stamp set, was stamped and added to the card.  And I thought I'd use just one reindeer from the set as Tilda appears to be pointing toward it.  I'm leaving the rest of he images for upcoming projects.

Thank you for visiting
Sunday, December 13, 2020

Christmas Ornaments featuring Ciao Bella Frozen Roses

Hello friends!  Debbie with you today sharing a quick and easy ornaments featuring the Ciao Bella Frozen Roses 12x12 Collection.    This collection comes with some great patterns that are easy cut out and used for embellishments.


Here's a quick little video sharing the process.  


Thanks for stopping by the Rubber Buggy Blog today and be sure to stop by the Rubber Buggy store and pick up your supplies to make this fun and quick project. 


Debbie

Saturday, December 12, 2020

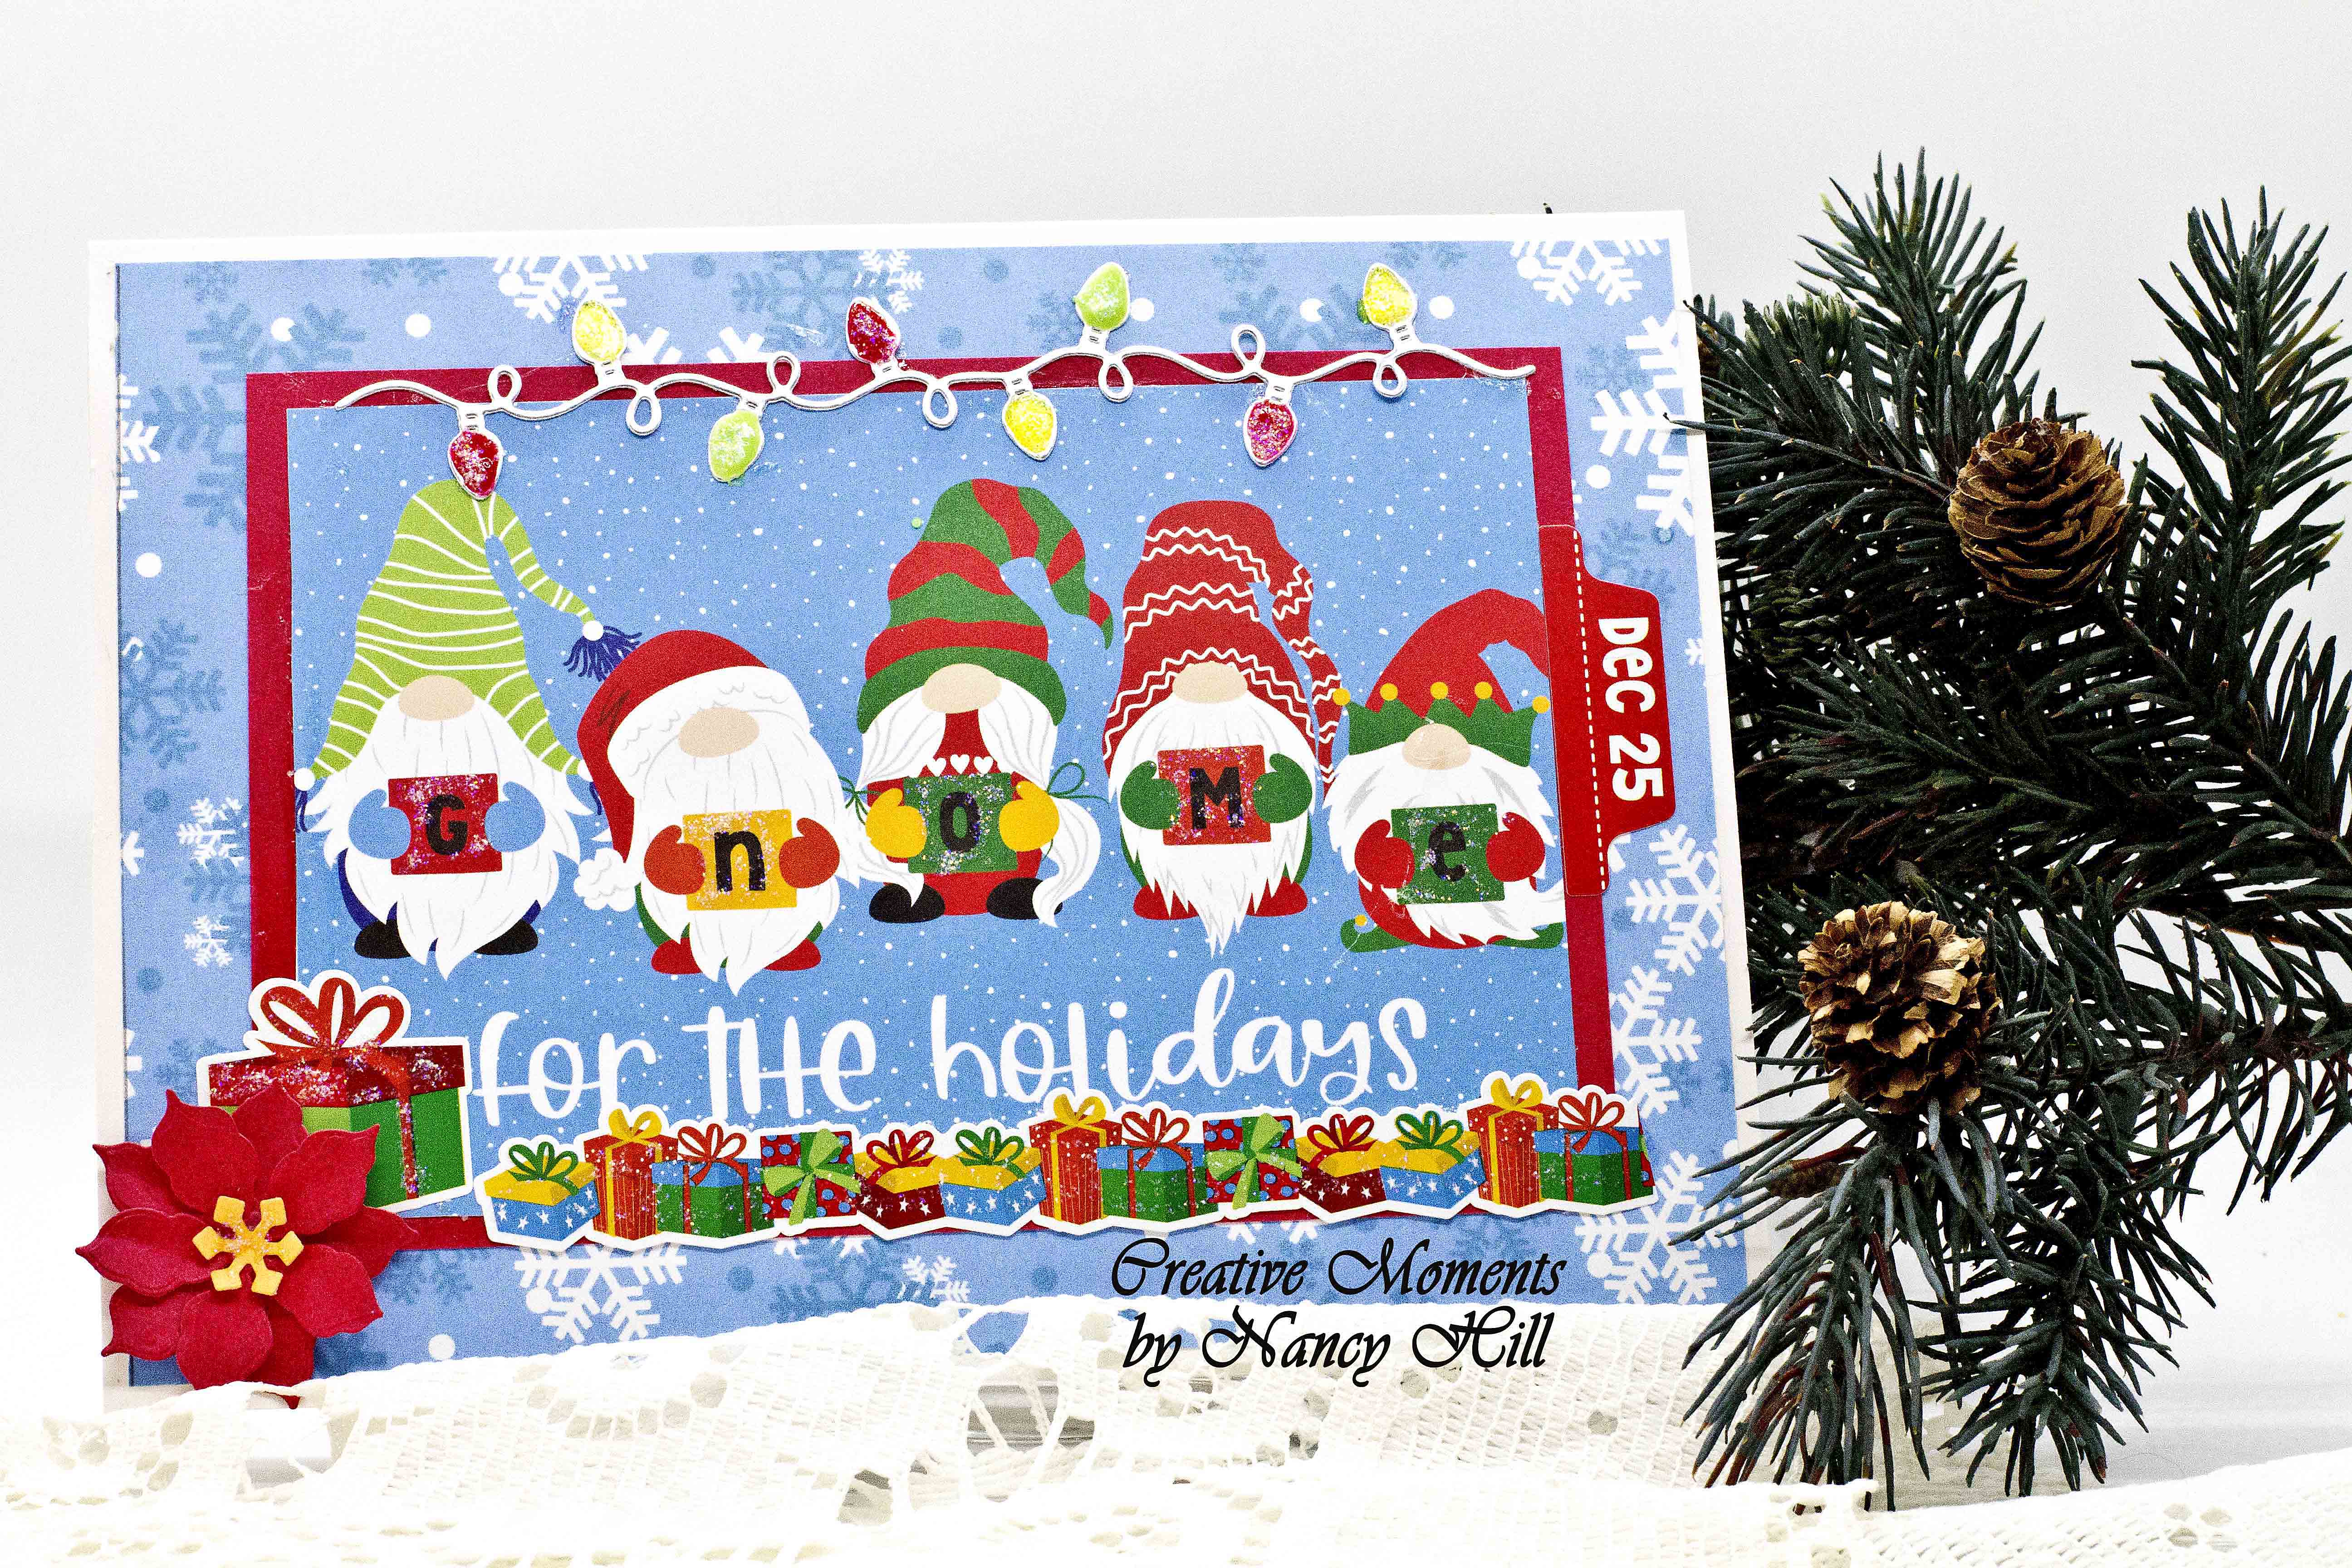
PhotoPlay Gnomes for Christmas cards

Welcome back and hope you are having a wonderful weekend.  Nancy, here to share some very fun Christmas cards made with the adorable PhotoPlay Gnomes for Christmas and Photo Play Not a Creature Was Stirring to capture your holiday greetings with the gorgeous patterned papers, die cuts and stickers.  These collections come in a pack or additional stickers are available separately.  Also, there are coordinating paper packs that come in separate packs that add to these collections.  This year, I bought extra stickers so that I don't run out since I love these PhotoPlay Christmas collections so much for most of my Christmas cards this year.

These adorable holiday gnomes are so much fun to play with with so many gnomes to choose from in this collection.  I combined this card with last year's PhotoPlay Not a Creature Was Stirring Christmas stickers.  

The above card measures 5 1/2" x 7 1/2".  I could have made it smaller but will be hand delivered to a special family.   I handmade the poinsettia and added the Lawn Fawn Mini Strings of Light die set and added NUVO Crystal Drops Red Berry and NUVO Crystal Drops Apple Green.  After the crystal drops dried over night, I added the NUVO Crystal Drops White Blizzard on the lights and throughout the card.

This card measures 6" x 6".  The right side outside edge white cardstock with the Ho Ho Ho sentiment measures 2" x 5".  The inside measures 1 1/2" x 4 1/4" white cardstock.  The Naughty or Nice white cardstock measures 3 1/4" x 4 1/4".  I added a small doily behind this sentiment. I added the fun labels found in the stickers from this collection.   I used the Baker red and white twine and added a red button and green sequins from the 28 Lilac Lane Deck The Halls.  After the card was completed, I added the NUVO Crystal Drops White Blizzard throughout the card.  I adhered both cards using the 
Beacon 3-in-1 Advanced Glue which is my favorite since it is very tacky and fast drying.  Anytime I get some extra glue on the card, I am able to rub it off with my fingers.

Thanks for your visit today!  The Rubber Buggy has the crafting supplies for your next project. So have fun crafting this weekend with these products.   My cards and projects are always posted on Saturday.  Keep watching and thank you so much for those wonderful comments as well as suggestions. 
Enjoy and Happy Crafting!


Thursday, December 10, 2020

Merry Christmas - Be Jolly

Hi everyone, Steph Ackerman here today with lots of fun products from the store.  Please visit the store for all the fun products I've used today.


I created an easel card to showcase the Stamping Bella Woodsies Christmas Morning Chicks stamp set.   The easel card was created from Bazzill cardstock and an older paper from a   Graphic 45  Christmas collection was added to both layers.  The image was stamped with Lawn Fawn Black Licorice Ink, then colored with Copic Markers.  It was then die cut with Lawn Fawn Rectangle Die then edged with Heartfelt Creations Fleur Borders and Pockets Dies to give it a lacey edge.  The panel was added to Bazzill Lollipop Cardstock.


Using a Lawn Fawn Line Border Die - Merry Christmas - I also die cut it from Lollipop cardstock.


The image was added to the card with  Glue Dots for dimension.  Merry Christmas was added across the front of the card using Art Institute Glue.  Using Tutti Designs Oval Dies, I created the stopper for the card base adhering it with Glue Dots for dimension.


Folded up, the card slips into a square envelope for easy mailing.


Thank you for visiting
Sunday, December 6, 2020

Gift Card Holders featuring Ciao Bella Frozen Roses

Hello friends!  Debbie with you today sharing a quick and easy way to give your gift cards featuring the Ciao Bella Frozen Roses 12x12 Collection.    The pandemic has kept many of us at home only going shopping for groceries and necessities and this little project is perfect for giving gift cards or cash so the recipient can do their own shopping this year.  This project is perfect for using up all those little scraps you have.


Here's some quick and easy directions on how to make this fun little card holder.

Cut some coordinating cardstock 
3"x 8-1/2". Score on the long side at 1-3/4" and 5-1/4".

Cut a piece of your Frozen roses paper 2-1/2" x 2-3/4" and cut a second piece at 1-1/2" x 2-3/4"

Cut white cardstock 1-1/2" x 2"-3/4" for your inside sentiment.

Die cut 3 ovals, I used nesting ovals in 3 different sizes.  The large one is cut from a foiled cardstock from my stash.  the middle from Frozen Roses and the third white cardstock for stamping your sentiment.   

Stamp your sentiments on your white cardstock pieces.  I used stamps from my stash.  Layer and adhere your oval die cuts together. Set aside.

To assemble you card holder you will need to fold the base on the score lines.  Attach the longer fold with 1/4" Score Tape on the side edges to create a pocket for the gift card.

Adhere your Frozen Roses to the outside flaps of the cardstock.  

Adhere your remaining stamped panel to the inside of flap.

Adhere your layered ovals to the top panel.  remember to only ad adhesive to the top of the nested oval sentiments.  

Decorate your card holder. I used some ribbon, holly leaves and a small pine cone from my stash.

Thanks for stopping by the Rubber Buggy Blog today and be sure to stop by the Rubber Buggy store and pick up your supplies to make this fun and quick project. 


Debbie


Total Pageviews

Related Posts Plugin for WordPress, Blogger...

Powered by Blogger.