Thursday, February 23, 2023
Standing Mini Album
Hi welcome back to the Rubber Buggy’s blog 🥰
Today I am here sharing a standing mini album using Graphic 45 latest release “Little One”

I used some craft cardstock and folded them much like a toilet paper roll to use as the actual mini pages

I then covered each pages and did a lot of
Fussy cutting for each of the individual pages for a total of 6 ❤️

This page has a pull out mini with a total of 11 places for additional photos

Here you see how it looks folded standing upright

This page has a frame for you to slide your photo under

Here you have pull out tags within the pages


Thanks for visiting the Rubber Buggy blog ❤️❤️
Saturday, February 18, 2023
Sizzix Thinlits Die Gentlement card
Welcome back and Nancy, here, to share a steampuckcard made with new 2023 arrival of
Sizzix Thinlits Dies by Tim Holtz - Gentlemen along with the Tim Holtz Lucky Love Impression die and Prima Marketing Rusty Pipeline mould.


This card measures 5" x 6" and I will go over what I did and you can do the same or come up with your own fabulous ideas.
I love these two older Tim Holtz embossing folders and used silver metallic cardstock, sprayed lightly water on the back of the cardstock and ran through my Sizzix Big Shot about three times. I cut out part of one embossing folder and glued to the other. I used my fingers to smear Prima Marketing Redesign Brass wax along with Prima Marketing Charcoal Black wax around the embossing. I sponged on Distress Campfire and Black Soot ink by just using the ink pad flat with the embossing folder on parts of the embossing folder.
I sponged the gears and cogs with my new favorite Prima Marketing Redesign Brass wax along with another Prima Marketing Firebird wax and Charcoal Black. I used Prima Marketing Redesign Brass wax with Prima Marketing Firebird wax on the Prima Marketing Rusty Pipeline mould casting. I used an epoxy resin for my mould and let dry over night before coloring and adhering to my card. I used the small pipes in this mould for this card. I added a few other metal embellishments from my stash and adhered these to the card with Beacon 3-in-1 Advanced Glue.

I brushed on ReDesign - Decor Wax 1.69 oz (50 ML) - Brass on the Sizzix Gentlement die cuts since I wanted to tone down the black die cut men and have other embellishments to be as noticeable on the card.
I cut out the 4-Leaf clovers with the Sizzix 3-D Lucky Love Impresslits with a brass cardstock. First cut out about a 4" square and spray lightly with water on the back of the cardstock and then run it through the Sizzix Big Shot about four times for the desired impression. In the past, I have colored these impresslit die cut and placed the die cuts back into the impresslit embossing folder and ran through the Sizzix Big Shot again to bring out the 3-D embossing.
I found a sentiment in the Tim Holtz sentiment label package and added some glue behind it and adhered it to the card.
Supplies:
Sizzix Thinlits Dies by Tim Holtz - Gentlemen
Sizzix Thinlits Dies by Tim Holtz - Gentlement
Tim Holtz Idea-ology Sentiment Labels - Thoughts (Similar but not the exact label on the card)
Prima Marketing - Finnabair - Moulds - Large Gears
Scrapaholics - Chipboard - Cogs (Similar but not the exact cog gear on the card)
corner metal frame
Tim Holtz Idea-Ology Metal Hardware Heads
 |
Thursday, February 16, 2023
Fussy Cut Frame Shaker

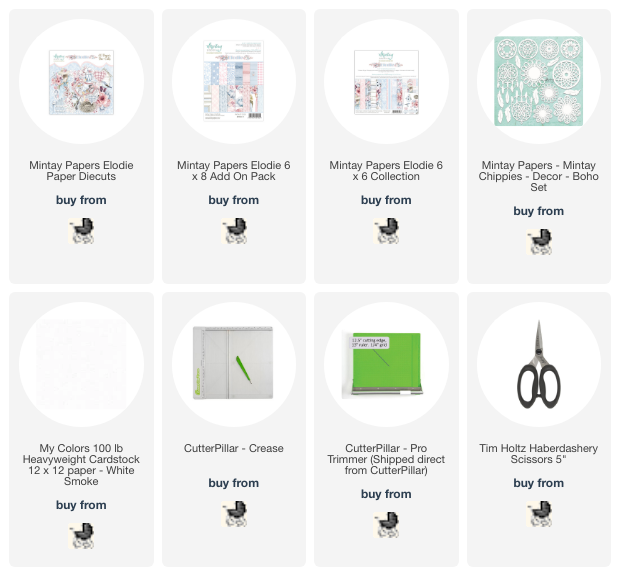
Hi everyone today I am sharing a vintage shaker card I made using a new release from Mintay called "Elodie" and absolutely gorgeous collection and a must have for sure.

I fussy cut the frame from the sheet of paper and added some acetate and 3 layers of foam tape to the back to make my shaker frame for the front of my card.

I used diecuts from the Elodie diecut set to decorate the front of my card and added some chipboard pieces from Mintay as well.

I have a video on how I created my card below and I hope everyone enjoyed my post and thanks for stopping by!
Thank you for visiting
Saturday, February 11, 2023
Ciao Bella Cozy Moments Shabby Chic Birthday Card
Welcome back and Nancy, here. We’re going shabby chic today with Ciao Bella Cozy Moments paper with added distressed edges, pearls, soft pastel colors, ribbon, and spattered paint and my favorite rustic colored rose. This birthday card features a winning round up of Ciao Bella Cozy Moments paper collection and Scrapiniec Old Fashioned Christmas chipboard from The Rubber Buggy.


.png) |
| Ciao Bella Cozy Moments paper collection |
 |
| Scrapiniec Old Fashioned Christmas chipboard |
There is a lot of shabby chic creativity to see here so cozy up, join me for the tutorial and see how simple to construct this shabby chic birthday card for your very special person.
Let's get started:
I hope I’ve shared some tips, tricks and ideas that you’ll be able to use in your own crafty adventures. The Rubber Buggy has the crafting supplies for your next project. So have fun crafting this weekend with these products. My cards and projects are always posted on Saturday. Keep watching and thank you so much for those wonderful comments as well as suggestions.
- First, slowly take the front and back heart chipboards from the package and use white acrylic paint for the front heart and pink for the back layer and after dried, glue together.
- Align the heart chipboard to a die cut doily and stamp the sentiment with black ink to a doily.
- While the glue is drying, cut out a 4" x 6" pattern paper and glue to a 5" x 7" wooden patterned paper from the Ciao Bella Cozy Moment cardstock. Add 1/8" of black cardstock to each patterned paper and glue together.
- Using Scor-tape, add a handmade bow with the ribbon across the cardstock lenghtwise.
- Using Ranger Distress Oxide Ground Espresso, sponge around the edges of the card.
- Glue the frame to the base of your card which measures 5" x 7".
- Glue the heart to the center of the card. Easy peasy!
- Next, add a white feather and a Wild Orchid Craft two tone rose with glue.
- I added bronze finger nail polish to 5mm flat back pearls and glue to parts of the heart chipboard.
- I added a handmade resin cherub painted with white acrylic paint to the card.
- Add a little Stamperia Arctic Ice paste around the card for that shimmering snow.
Supplies:
I hope I’ve shared some tips, tricks and ideas that you’ll be able to use in your own crafty adventures. The Rubber Buggy has the crafting supplies for your next project. So have fun crafting this weekend with these products. My cards and projects are always posted on Saturday. Keep watching and thank you so much for those wonderful comments as well as suggestions.
|
Saturday, February 4, 2023
Cozy Winter Moments
Welcome back and Nancy, here. There is no secret that I love the snowy moments while walking my dog in the country side with the sparkling shine of the snow blanketing our farm fields and occasionally catching a glimpse of our furry wild animals watching us. It’s a cozy memory, despite the cold but I see fluffy snowflakes that look like flowers slowly floating around me and covering our trail. I tried to capture the feeling of serenity and natural beauty of recreating these moments using the Ciao Bella Cozy Moments paper collection to create these cards.

Scrapiniec - Workshop Kit Cards - Old Fashioned Christmas chipboard was the perfect pairing for this project with the beautiful swirls of snowflakes. The neat thing about snowflakes, these are a perfect embellishment all winter long! I topped the card with my triple bow cluster, Stamperia stencil and Stamperia Arctic Paste to amp up the sparkly, winter feel of this card. I watered down white acrylic paint and used a paint brush to lightly flicker white dots on the card to resemble touches of snowflakes.


I used the Stamperia Arctic Ice Paste after adding the chipboard to card for that snowy looks. I just love this little bunny in the snow which reminds me of the Jack Rabbits around our country house.
Supplies:
So cozy up your wintery gray days with a nice walk outside and enjoy the winter while it last while spending the rest of the day crafting and special times with friends and family as well as your cozy furry friends.
The Rubber Buggy has the crafting supplies for your next project. So have fun crafting this weekend with these products. My cards and projects are always posted on Saturday. Keep watching and thank you so much for those wonderful comments as well as suggestions.
|
Thursday, February 2, 2023
Any Ocassion Shaker

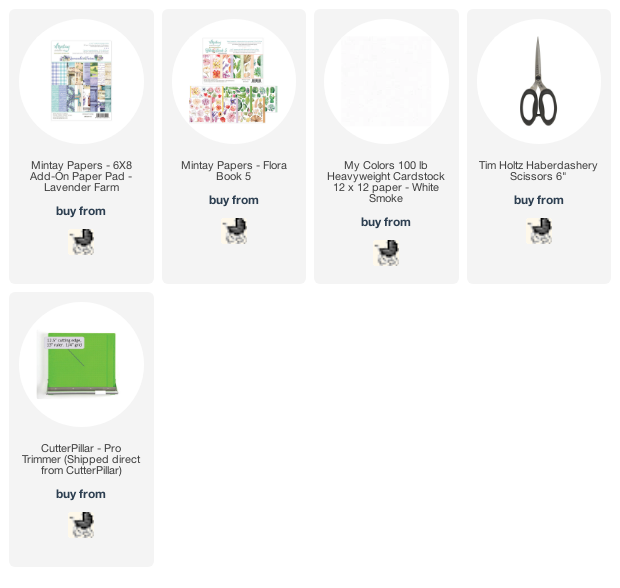
Hi everyone I am back on the blog sharing an any ocassion shaker card using Mintay paper collection Lavender Farm

I fussy cut this sort of wreath from the collection and adhered it to a piece of acetate and added 3 layers of foam tape to the back of the acetate to give it some height

Next I added some sequins and fussy cut some leaves from the Flora book 5 and Blissful Time collection and popped on a chipboard sentiment. I hope you enjoyed my post 🥰
Saturday, January 28, 2023
Sizzix Tree Rings 3D Embossing Folder Valentine's Cards
Welcome back and Nancy, here. If you love nature like our family and friends, then you'll love the Sizzix Tree Rings 3D Texture Fades Embossing Folder by Tim Holtz with this bold tree-inspired embossing folder. This embossing folder has incredible depth of detail, making it perfect for creating rustic looking cards throughout the year. I cannot wait for you all to get your hands on these new Sizzix Tim Holtz 3D embossing folders like this one and The Rubber Buggy has all of these arrivals from Sizzix/Tim Holtz for creating your stunning card and projects.


The embossed area was trimmed to 4" x 6" before adding the background layers.
I am loving the Sizzix Tim Holtz Lucky Love Impresslit die that embosses and cuts at the same time a heart and a 4-leaf clover. I stamped a piece of Tim Holtz Kraft Gold Metallic cardstock in my stamp tool and applied embossing powder to keep the ink from smearing on the metallic paper and then centered it in the heart in the Sizzix Lucky Love Impresslit die through the Sizzix Big Shot. I sponged on Ranger Ground Espresso and Gathered Twigs before embossing with the Tree Ring embossing folder. Just a reminder, I sponged the black ink inside the embossing folder, lightly sprayed the cardstock with a mist of water and ran the embossing folder 3 times in the Big Shot. I love this technique since it brings out the wood grain so well. I used a hot glue gun to adhere the Tim Holtz key to the card. I found an ole sticker to add to the card.


These are my samples I experimented with different colors of Ranger inks and cardstock paper as well as tried out using the back embossed piece of cardstock which was an interesting look. I prefer using heavy weight cardstock. My favorite was the copper brown shimmer cardstock as well as the cream cardstock that was sponged with Distress warm inks before embossing. The patterned cardstock that was embossed definitely was an interesting look. When embossing, you only need 1 Cutting Pad since these folders are so thick. Mist your cutout cardstock, especially if it is a heavy weight cardstock, with water on both sides prior to placing the material inside of your embossing folder and running it through your machine three times to achieve full embossing.
Supplies:
Tim Holtz Chipboard Set
That’s it for me today! I’m still trying to get back on track after the New Year! Now it is crafting our Valentine's cards and other occasions to keep up busy.
The Rubber Buggy has the crafting supplies for your next project. So have fun crafting this weekend with these products. My cards and projects are always posted on Saturday. Keep watching and thank you so much for those wonderful comments as well as suggestions.
|
Subscribe to:
Posts
(Atom)


