Showing posts with label 7Dots Studio. Show all posts
Showing posts with label 7Dots Studio. Show all posts
Monday, June 27, 2016
Prom project using 7 Dot Studios Nature Walk

Hi Bev here today. My Eldest Grand Daughters Graduation before going off to University... OMG they grow up so fast. They are all so beautiful. I am sharing this page using 7 Dot Studio Nature Walk Paper Collection. This page was done with lots of layers, some fussy cutting and some great accents. I love the soft neutral tones of this page.... makes the photos pop.
Supply List:
The Rubber Buggy Products:
Paper: 7 Dot Studios Nature Walk
Other: bling, alpha, stickers, flowers
The Rubber Buggy Products:
Paper: 7 Dot Studios Nature Walk
Other: bling, alpha, stickers, flowers

Some details show up better in the close ups. Here you see the floral section that is fussy cut to frame the left side and some of the photos.

Lots of fun layers with change of colours for depth was perfect. Then add the florals, bling accents and the mixed alpha title.

Some additional tags, butterflies and some corner strips add dimension to any page.

More layers for depth in every corner.. even a touch of bling in this small piece of paper.


Thanks for stopping ... hope to see you again soon,
Monday, January 4, 2016
Free Spirit using Blue Fern Paisley & Vine Collection

HI.. Bev here today at The Rubber Buggy I am excited to share with you this fabulous page created using the Blue Fern Studios Collection Paisley & Vine along with some great chipboard accents.
Supply List:
The Rubber Bugger Products:
Paper: Blue Fern Studio Paisley & Vine
Chipboard: Blue Fern Studio Romantic Page Dangles, Arrow Words
Doily: Unique
Flowers: Wild Orchid 10mm Mulberry Roses
Ink: Tim Holtz ranger, Versa Magic
Stamps: Blue Fern Studios Texture set, 7 Dot Studio Nature Walk
Other: paint, Cardstock

Here is the video sharing my paint splatter technique with you

After doing the paint splatter I used stamps and versa mark ink pods to stamp some octagon designs on my background. Just be sure to use colours that are reflected with the background papers you have chosen to work with.. I added the purple as an accent colour and you'll notice in finished page how I added more of it in the chipboard colouring.
I also am using the Monday Sketch reveal from the Turtle Soup as inspiration for my page.

In the close ups you can view the details better.

In the close up you can view the fun background splatter and stamping, fun layers of paper for depth and colour along with a cute punched butterfly and clustered flowers with leaves.

This view shows the accent cluster with stamping, paper layers and some inked chipboard accents.

This section showcases the title cluster with stamping in the background, a paper fussy cut title and an added inked arrow word. Over the bottom of the photo is yet another inked chipboard accent.


Thanks for visiting.. I love sharing family memories using fabulous products with you.

Monday, November 16, 2015
The Story using 7 Dot Studios Collection
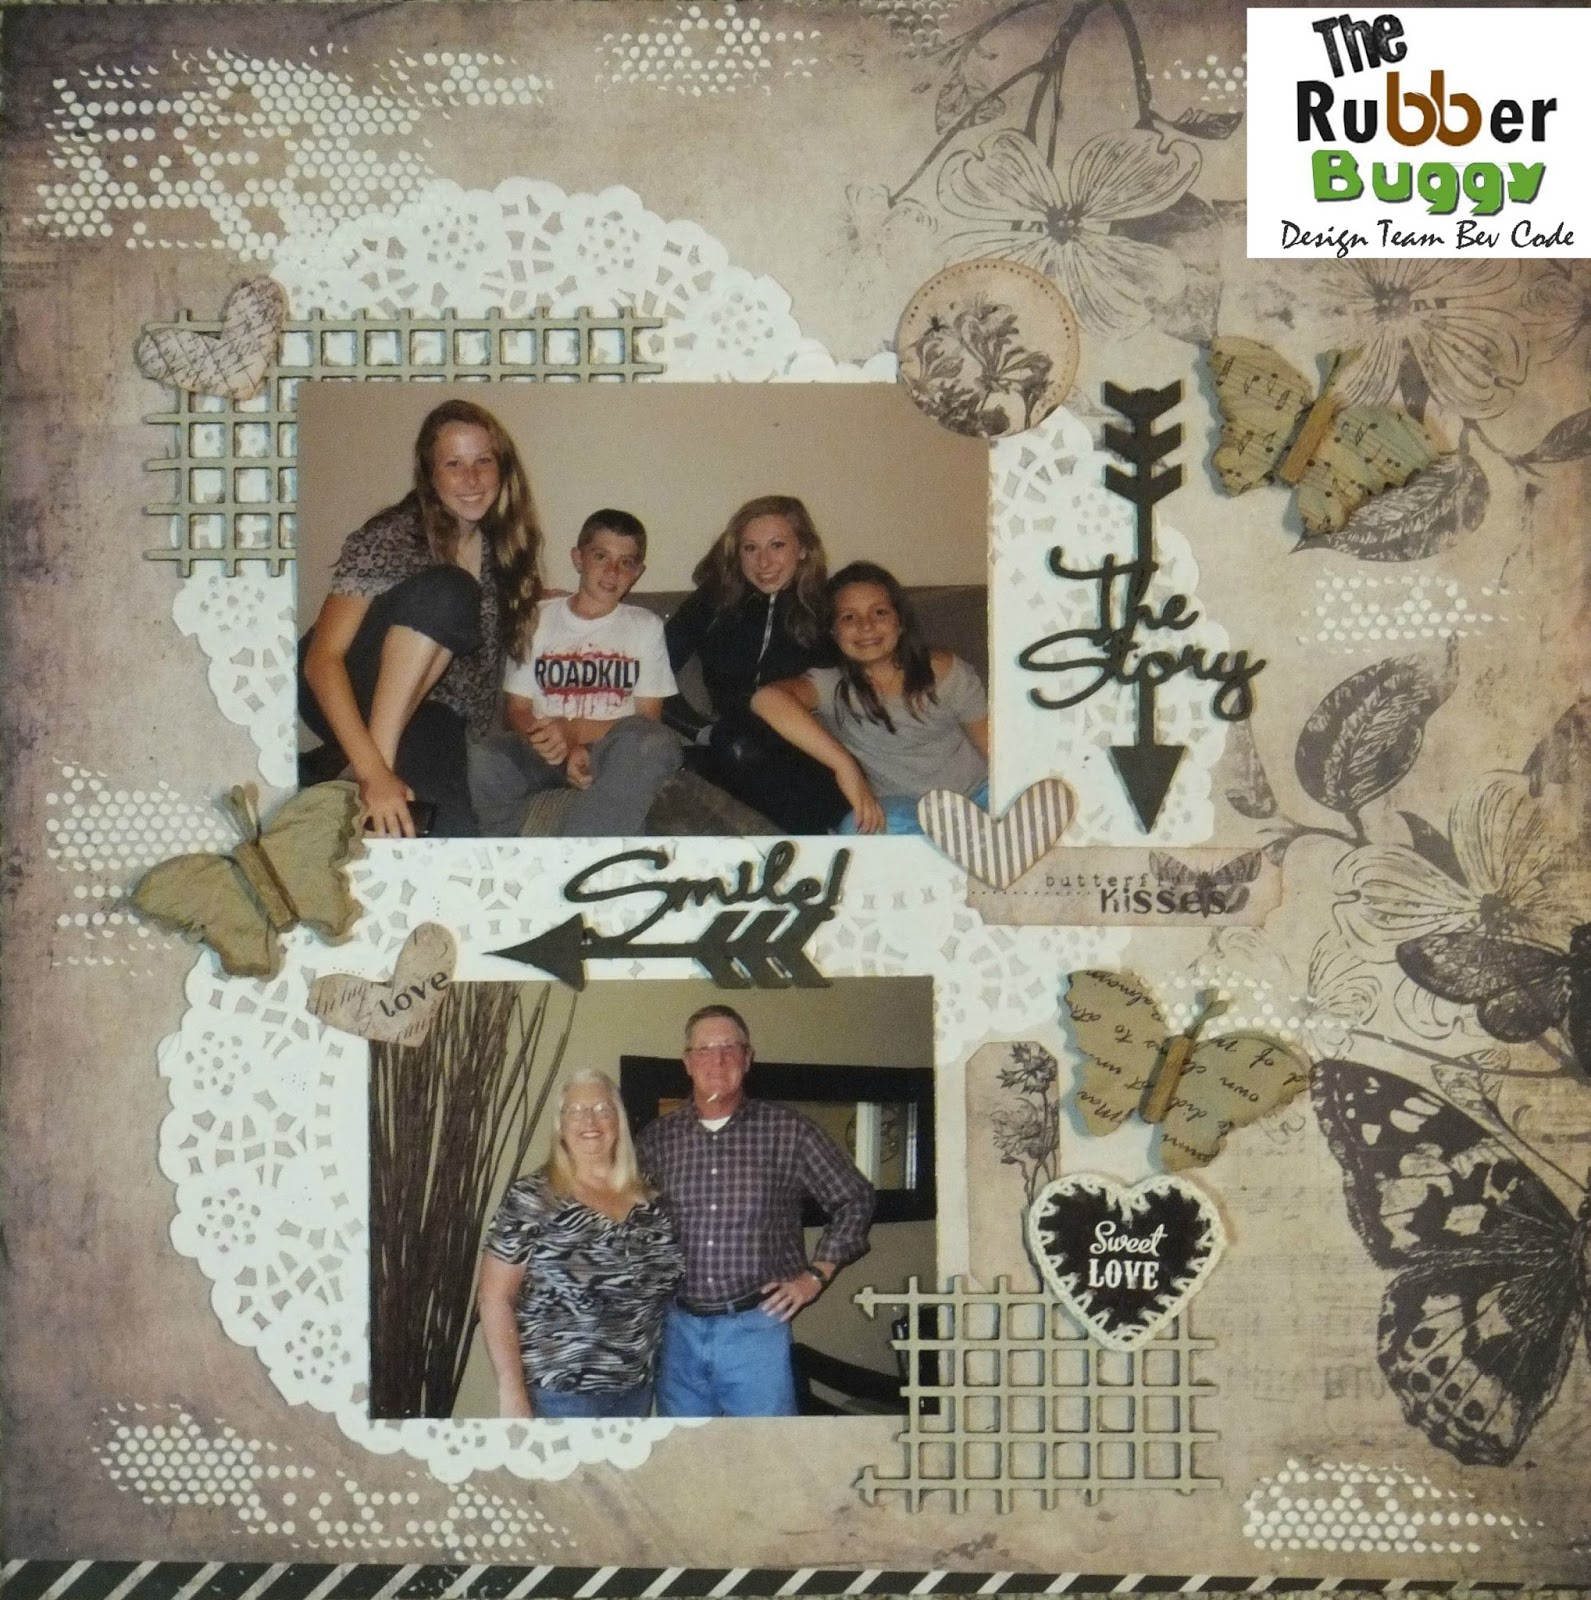
Hi.. Bev here today .....I created "The Story" page I used a Turtle Soup sketch below and also using the great 7 Dot Studios Nature Walk Collection.
Supply List:
The Rubber Buggy Products:
The Rubber Buggy Products:
Accents: 7 Dot Studios Nature Walk Elements 6x12
Doilies: Unique
Chipboard: Blue Fern Studios - Arrow Words
Marker: Tim Holtz distress marker
Other:
Stencil: The Crafters Workshop
Modeling Paste: Liquitex
Other: butterflies and heart accent
Sketch: Turtle Soup (by me)

Chipboard: Blue Fern Studios - Arrow Words
Marker: Tim Holtz distress marker
Other:
Stencil: The Crafters Workshop
Modeling Paste: Liquitex
Other: butterflies and heart accent
Sketch: Turtle Soup (by me)


The clustered section boasts some chipboard, stickers, die cut pieces and a great butterfly.

More chipboard, a fun heart accent and more die cut accents.

These butterflies are a great touch on my page. Also using 3 doilys clustered is a great background layer.

This section shows more of the arrow chipboard words, accent chipboard, some stenciling and great slanted border on the bottom.
All these papers, accents and colours mixed together give a slightly monochromatic look with great layers and textures.
Thanks for visiting.. and come back soon to see what I have to share next ....
Friday, October 30, 2015
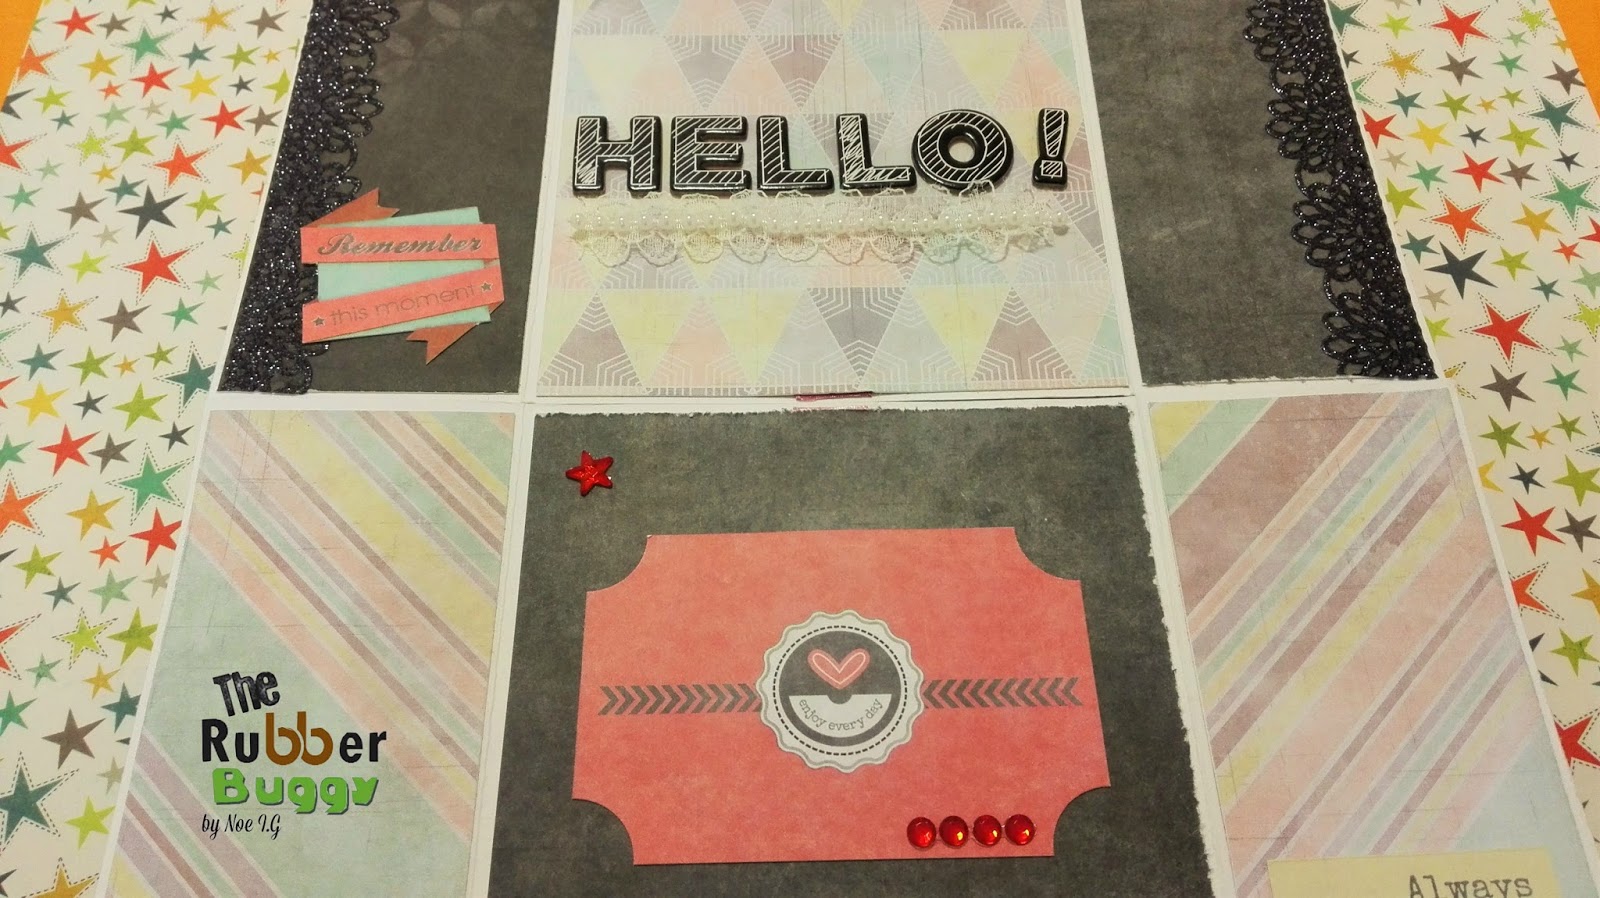
Never ending Card with 7 Dots Studio
Hi everyone!!
Here Noe as every Friday... This week I wanted to make a new format card for me ... A Never Ending Card, and I must tell you that is super fun and plus easy to do ... This is the result:

Products used:
These cards have many different places to write down our messages.


Thank you for visiting

Here Noe as every Friday... This week I wanted to make a new format card for me ... A Never Ending Card, and I must tell you that is super fun and plus easy to do ... This is the result:

Products used:
These cards have many different places to write down our messages.

Thank you for visiting
Monday, October 26, 2015
Happy using Magnolia Collection- Sea Breeze

Hi everyone. It's Bev here today with a fun, fussy, flower girlie page. I am using the Magnolia collection - Sea Breeze from The Rubber Buggy. This page is simple layers with lots of flowers, chipboards and fun stenciling using molding paste for texture.
Supply List:
The Rubber Buggy Products:
Paper: Magnolia Collection - sea breeze
Chipboard: Blue Fern Studios Arrow Words, Berry Stems
Flowers: Wild Orchid 10mm mulberry open roses
Stems: Green mulberry paper leaves
Lace: crochet lace trim cream 3/8"
Doily: Unique
Ink: Tim Holtz ranger
Markers: Copics
Other: stencil, modeling paste, punched border

In the close ups you get a better view of the details. Notice the stenciled background with molding paste, the clustered flowers with leaf and the fabulous chipboard accent. Also there is a thin border punched accent and also a doily. All these elements give texture and layers to a page.

This photo showcases another clustered accent tied off with a bow of lace and has a great chippie title. On this page the papers and the photo are corner punched for a softer edge. Inked edges also give a softer look to papers.


Monday, October 5, 2015
Love this using Blue Fern Studios Sanctuary Collection

Hi.. Bev here today. I have been doing family pages at The Rubber Buggy and I love the paper possibilities with Blue Fern Studios. This Collection is Sanctuary and I cheated it by cutting the centre out of the paper and then using it as an upper layer to get the most out of the sheet. Lots of fun ripping with inked edges on the layers added depth and texture.
The Rubber Buggy Products:
Paper: Blue Fern Studios Sanctuary - Conservatory
Chipboard: Blue Fern Studios Arrow Words, Grid Pieces
Other: stencil, molding paste


Thanks for visiting.. see you again soon.


In the close ups you get to view the details. This section shows the ripped, inked layers and the great coloured chipboard accents

More chipboard accents in this photo shot. Also in this section you can see the stenciled molding paste that give added texture to the page.

Chipboard accents and titles are awesome to work with. You can colour them any colour you want to match your papers and photos. Also if you look closely the bird cage and the lower left section is fussy cut to allow the other layer to be slipped behind it.


Subscribe to:
Posts
(Atom)


