Showing posts with label Amber and Apricot. Show all posts
Showing posts with label Amber and Apricot. Show all posts
Monday, August 20, 2018
Cousins celebrate a Birthday together

Hi... Bev here today. I am sharing a layout with my eldest and the youngest Grand Daughter together celebrating a birthday .... so nice to see them together enjoying each others company.
To start this page I used the Sketches in Thyme challenge sketch for Aug 1st (see below) and the amazing Blue Fern Studios Amber and Apricot Paper Collection, 49 and Market Vintage Shades Potpourri Snow flowers and Venice lace are from The Rubber Buggy. The chipboard accnets are from Creative Embellishments. When it was done I added the ink roller stitches.


In the close ups you can see more details in the paper and accents. The upper corner has a cut in slit to follow line in sketch. The paper layers with chipboard accent are perfect.

This section hosts clustered flowers, lace and lots of chipboards.

More fun pieces of chipboards.

Here is the central section with the matted photo and the great chipboard title.
This collection is rich and elegant all at the same time. The layers of rich colour, great images and mix of soft colours along with bold darks give amazing depth and dimension.
Along with the visible products I love using Tim Holtz inks, Beacon 3-in-1 glue and Scrapbook Adhesive 3D Foam Tape.
Thanks for stopping by. Be sure to visit the STORE these and so many other amazing products. The Rubber Buggy carries so many amazing lines that are not available at all stores.

Monday, April 2, 2018
"Dream" page

Hi... Bev here today. "Dream" page is my youngest Grand Daughter... with the best facial expressions ever and the most infectious laugh. This page at The Rubber Buggy is using Blue Fern Studio Amber and Apricot Collection along with some fun accents from my stash.
Supply List
The Rubber Buggy Products
Paper: Blue Fern Studio Amber and Apricot collection
Lace: lace, Venitian Lace,
Doiley: Unique
Other: chipboard, dies, flowers

For this page I started with background with great images on the paper.... love the birds.

I then added a ripped piece with lots of yellow floral clusters and words.
I then pulled a doily to base my photo on.

I ripped the edges of the photo... pulled lots of accents from my stash.... chppies and flowers.

I had die cut the yellow pieces and hadn't used them .... but the colours are perfect for this page.

I decided to add a touch more colour in the back of doily and added a double border.

Here are some more photos.... close ups for your viewing to see the details.


Thanks for stopping by..... be sure to visit the STORE for these products and all the other amazing things available at The Rubber Buggy.

Monday, March 19, 2018
Beautiful Day Layout

Supply List
The Rubber Buggy Products
Paper: Blue Fern Studios Amber and Apricot Collection,
Ink: Tim Holtz Distress Oxide and Distress Ink Vintage Photo
Glue: Beacon 3-in-1
Flowers: Heartfelt Creations die. LaCrea Flower Foam
Machine: Big Shot Express
Creative Embellishments Products
Glue: Beacon 3-in-1
Flowers: Heartfelt Creations die. LaCrea Flower Foam
Machine: Big Shot Express
Creative Embellishments Products
Chipboards: Baby's Breath, Branches set of 3, Beautiful Day, Monarch Butterfly Set, Infinite Circle Frame
Other: lace, lace butterfly, frame die, pearl stamens




I start a page with lots of layers using Blue Fern Studio Amber and Apricot Collection with lots of fun prints, stripes and flowers... some light and some dark for depth and dimension.

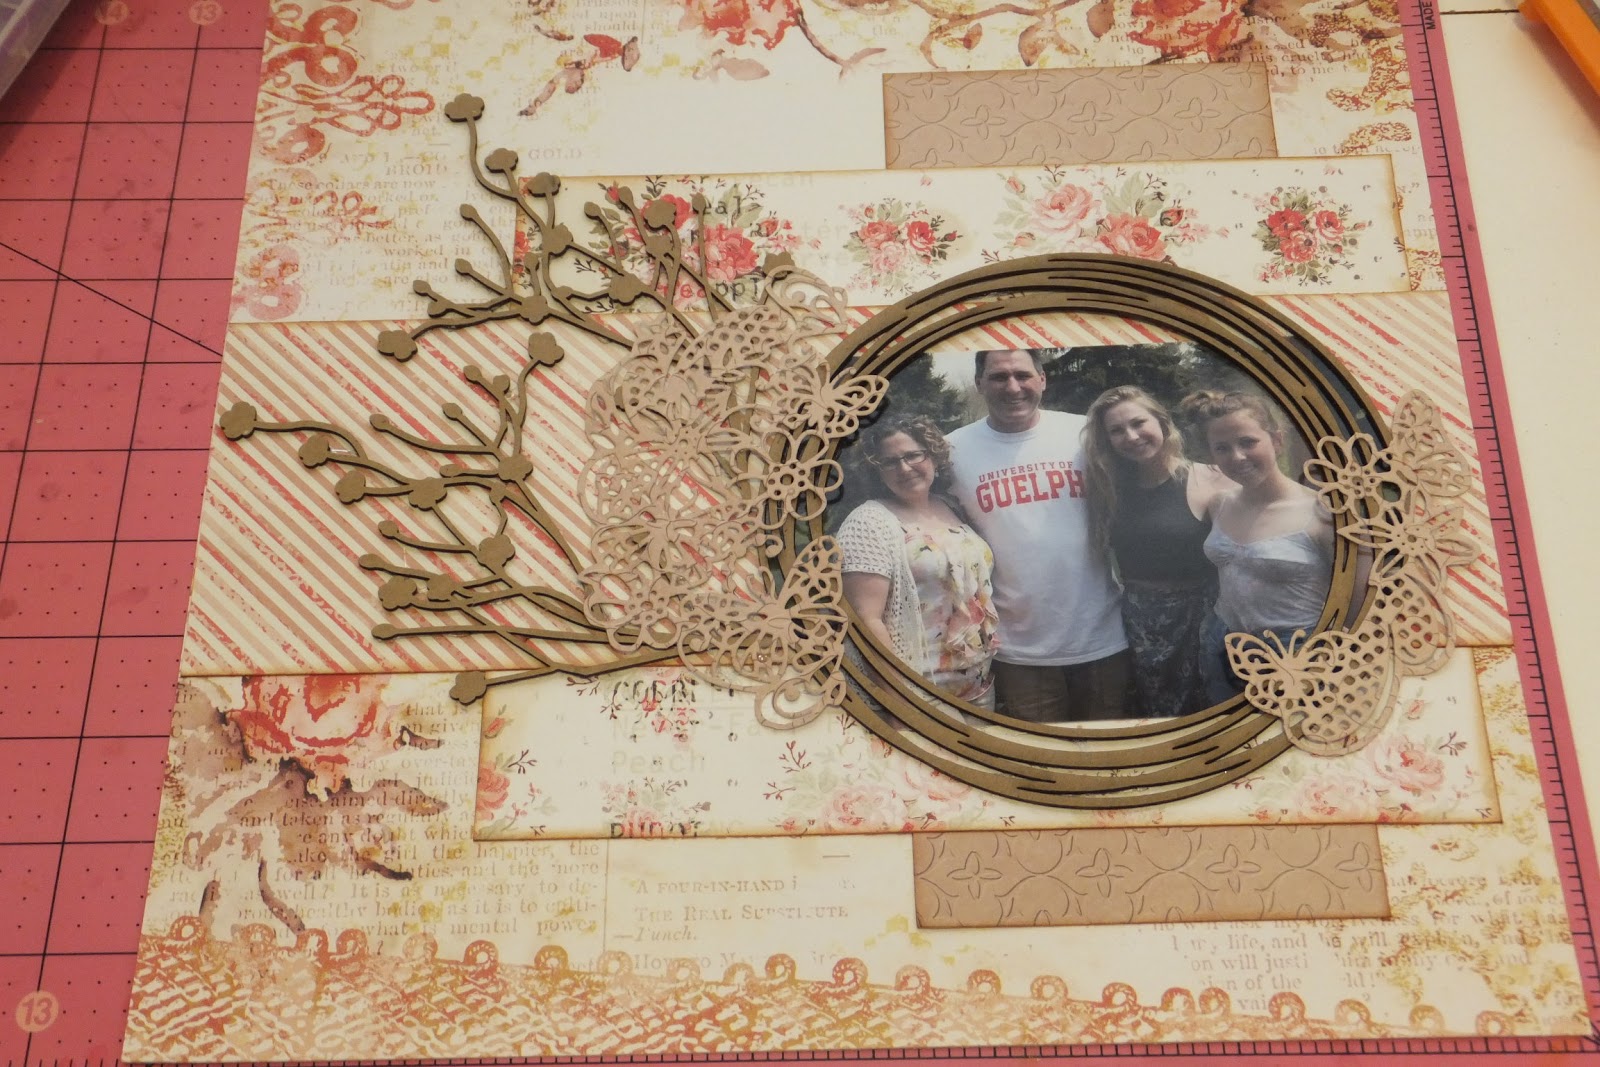
Then I place the photo and some accents in proposed positions. For this layout I also die cut outer circle accents to finish the circular chipboard frame.

Lots of branch chipboard accents along with "Beautiful Day" title and a butterfly. All these pieces were left in natural naked state. If matched the papers perfectly.

In the close ups you will see more details. Here is a lace butterfly accent.

Super clustered section.

White lace accent border in the layers.

Die cut accent with neutral tone paper.

Amazing circular frame around the photo and lots of surrounding accents.

Using Heartfelt Creation floral dies and leaves I cut them out of white foamiran.

The flowers are coloured using Distress Oxide and a finger sponge to apply the ink.

I then use the heat gun to shape the flowers and leaves....
it's so easy .. just heat them up.

Flower layers are glued together, pearl stamens added and glued in clusters with leaves.

Another small cluster.

More close ups for your viewing.


Here is the central section of the page with all the accents but the photo is still front and centre.
Be sure to visit the store to view these and so many more products.


Thanks for stopping by.... see you again soon. Be sure to visit the store to view these and so many other fabulous products.

Subscribe to:
Posts
(Atom)


