Showing posts with label Card Tutorial. Show all posts
Showing posts with label Card Tutorial. Show all posts
Monday, December 9, 2019
UHK Galery Diamonds Collection used for this Teepee Card Tutorial
Hi... Bev here today at The Rubber Buggy. I am sharing a tutorial on this super easy and fun Teepee Card. For this one I used UHK Gallery Diamonds Collection. It is soft and subtle but has some bold beautiful bird images. Along with some cardstock and accents it is fabulous to create with.


Thanks for stopping by... hope to see you again soon ... but in the mean time be sure to stop by the STORE where these items and so many others are available. Also take note of all the products that aren't carried in our regular local stores. ... AND the service is A1.


This collection can be used for so many occasions and adding the die cut accent along with an inside sentiment it looks amazing.

SAVE AND THEN PRINT THE INSTRUCTIONS ON 8.5 X 11" PAPER

The Rubber Buggy Supplies:
- Paper: UHK Gallery Diamonds Collection
- Accent Sheet: UHK Gallery Diamond Regent sheet
- Dies: Sizzix Tim Holtz Thinlets Celebrate,
- Sizzix Tim Holtz Thinlets Mixed Media Christmas 661602
- Stamp Platform: Misti or Tim Holtz
- Ink: Tim Holtz Distress Vintage Photo
- Glue: Beacon 3-in-1 Glue,
- Accents: Scrapbook 3D foam
- Machine/ tools: Tim Holtz 5" mini Snips, Fiskar Paper Trummer, Tim Holtz mini tool kit
- Other: cardstock, gel dots, stamp,


Thanks for stopping by... hope to see you again soon ... but in the mean time be sure to stop by the STORE where these items and so many others are available. Also take note of all the products that aren't carried in our regular local stores. ... AND the service is A1.
Monday, September 30, 2019
Impossible Card Tutorial with Bev Code

Hi... Bev here today at The Rubber Buggy. I am sharing this card using lots of stash... dig deep into your stash and make this fun card too. ... using the instructions provided.
- Paper: scraps from your stash
- Glue: Beacon 3-in-1 Glue,
- Accents: Scrapbook 3D foam
- Machine/ tools: EK success cutter bee scissors, Fiskar Paper Trummer
- Other: cardstock, twine, image, brads
Instruction sheet.. print at 8.5" x 11" to follow....


Follow the instructions for the card base and score and cut where marked.

After pinching and twisting this is what the base piece now looks like.
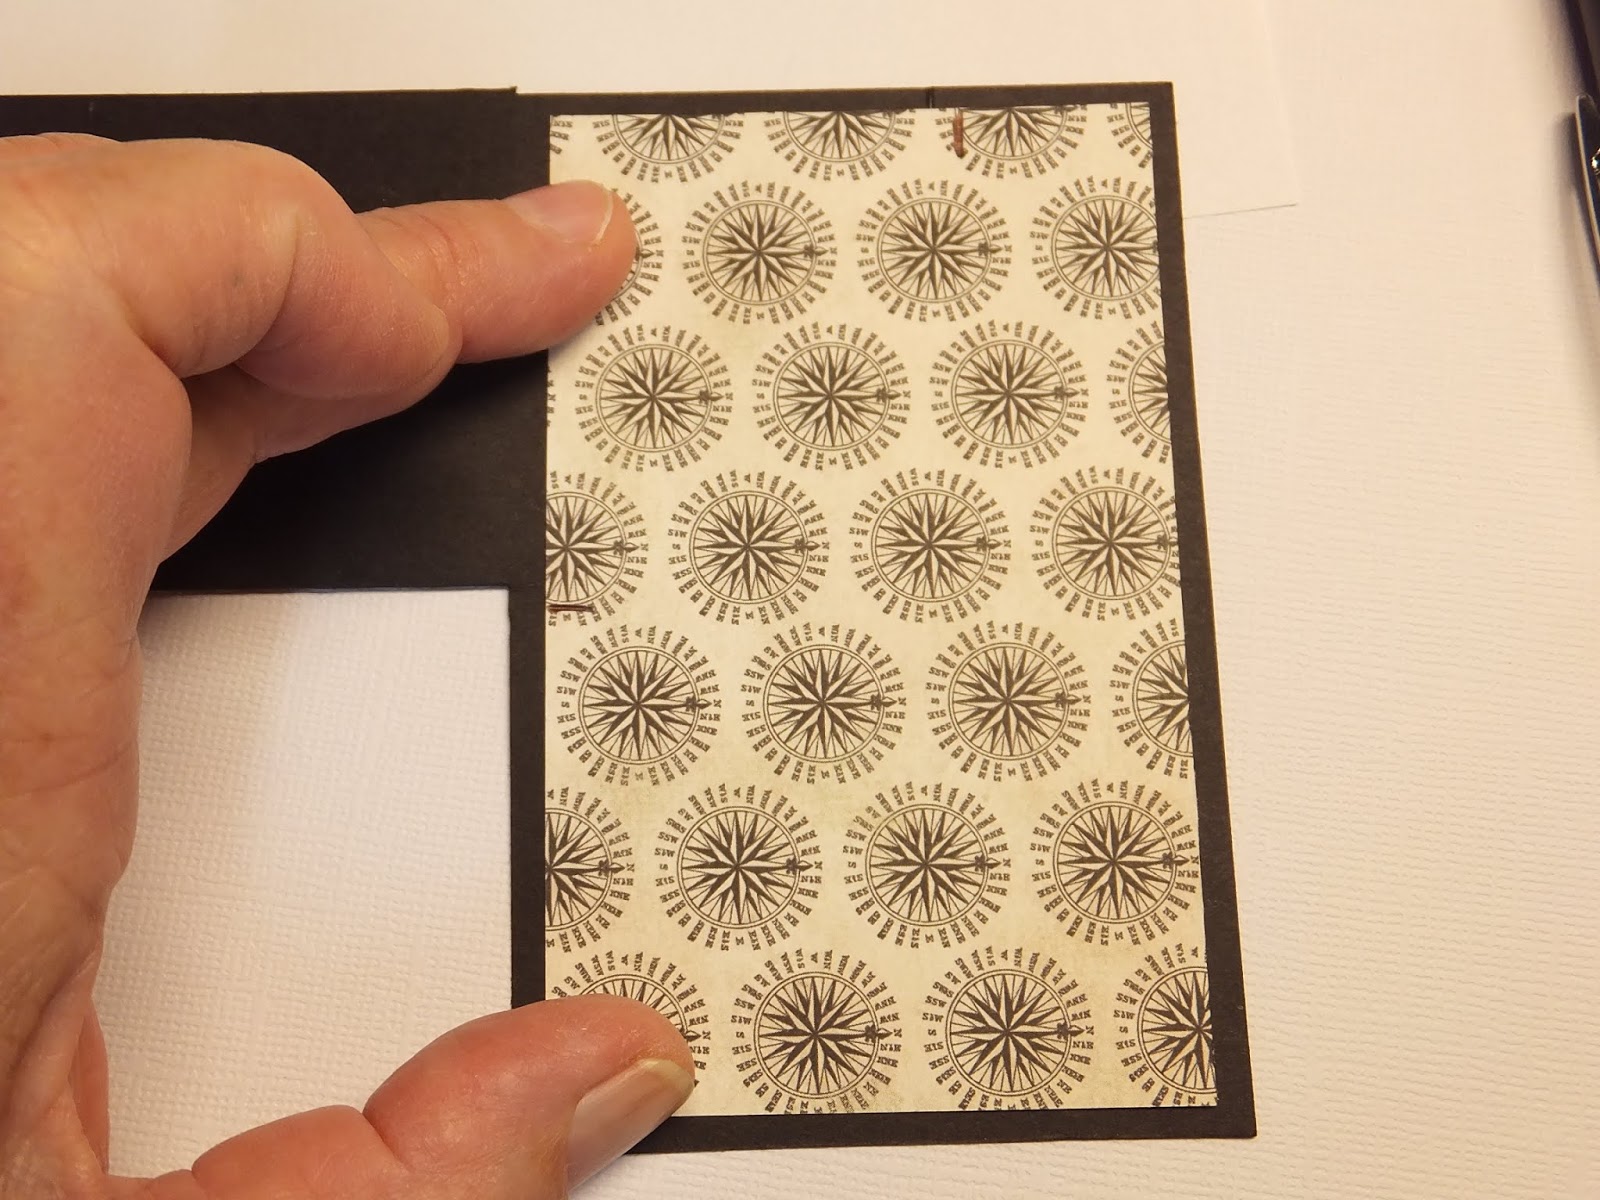
Fit the pieces to fit leaving a trim edge border.


Add all the stash print pieces and use matting cardstock . Add and accent and the popped up sentiment.

Before gluing the whole finished piece to the white card base I added wrapped tie and tied a bow and added a few brads.


Thanks for stopping by... hope to see you again soon
Monday, July 29, 2019
Card Tutorial using Mintay Wilderness Collection

Hi... Bev here today sharing another amazing card tutorial with super fun easy base to start your card. I am using Mintay Wilderness Collection for the fun Birthday card.....products from The Rubber Buggy
This card is comes with easy to follow and print instructions. Print on 8.5" x 11" sheet for your files.
The Rubber Buggy Products
Paper: Mintay Wilderness Collection
Foam Pop Ups: Scrapbook 3D foam squares
Glue: Beacon 3-in-1
Other: twine, cork, brads, cardstock

This is the card folded up ready for the envelope. It is super fun ..... and hope you'll take the time to try this different shaped card too.
Instruction sheet: Print at 8.5" x 11' to follow along.

Below it the enlarged photo of the pieces paper clipped together and the folds all done.


So glad you took time to visit. Hope to see you again soon. Take time to visit the STORE to view these and so many other products.

Monday, July 15, 2019
Twist and Pop Card Tutorial using Stamperia

Hi it's Bev today. I am sharing a Twist and Pop Card Tutorial... (from my friend Narelle). The main card is made using Stamperia Blue Land Collection. So many amazing prints and textures to mix and match on all the pieces of this card.....
and inside has a great flip out panel which I used the tag like pieces to decorate with

- Paper: Stamperia Blue Land
- Glue: Beacon 3-in-1 Glue,
- Accents: Scrapbook 3D foam
- Ink: Tim Holtz ranger Vintage Photo
- Other: cardstock, beads
For those of you that want to make one.. here are some instructions to help you.
From the front, this looks like a normal cute card. But it's when you open it, you are in for a pleasant surprise
Instructions (from Narelle)
- Start with a piece of card stock that measures 10.5cm (4 ⅛”) x 29.9cm (11 ¾”.). Fold this in half, this is now your card base.
- Take another piece of card stock and cut it to 20cm (7 ⅞” ) x 9cm (3 ½”). This I will refer to as your folding mechanism piece.
- Cut another piece of card stock to measure 26cm(10 ¼” ) x 9cm(3 ½”) . This I will refer to as your panel piece.
- Cut a piece of patterned paper for the card front which measures 10cm (4") x 14.5cm (5 ¾”). Glue this to the front of your card.
- Cut two more pieces of patterned paper to the same size as above. Glue these to the inside of the card.
- Note that I have used different patterned paper for the front to the inside pieces.
- Take your folding mechanism piece and lay it flat in front of you. Using a pencil, mark at 4.5cm (1 ¾”) on each of the short sides, and 5.5cm(2 ⅛”) in from each end on the long sides. Draw lines to join these marks up and you will end up with this.

- Score along the pencil lines then fold and burnish each fold.
- Rub out the pencil lines.
- Grab the ends and push in and down so the piece folds and ends up looking like a tent. See the pictures below as a guide.


- Use a bone folder to burnish all folds. This will help the card lay flat when completed.
- Take the card base and inside, make a mark at the half way mark which is 5.25cm. (2 1/16”)
- Take the folding mechanism piece and place it in the card so that the point is at that mark.

- Holding it firmly in place... Apply glue to the top triangle piece only and then close the card. Hold in place until the glue dries. Then turn over and do the same thing to the other side.
- You will end up with the inside of the card looking like this.
- Take the panel piece and make a pencil mark along the lines sides at 6.5cm (2 ½”), 13cm (5⅛”) and 19.5cm(7 11/16”.)
- Fold into a concertina and burnish all folds.
- Decorate the inside panel.

- On the folding mechanism that is now glued into your card, make a pencil mark at the half way point which is 10cm (4").
- Place the panel piece on top so that the middle fold is on the half way mark.
- Hold it in place and fold the two end panels back in.
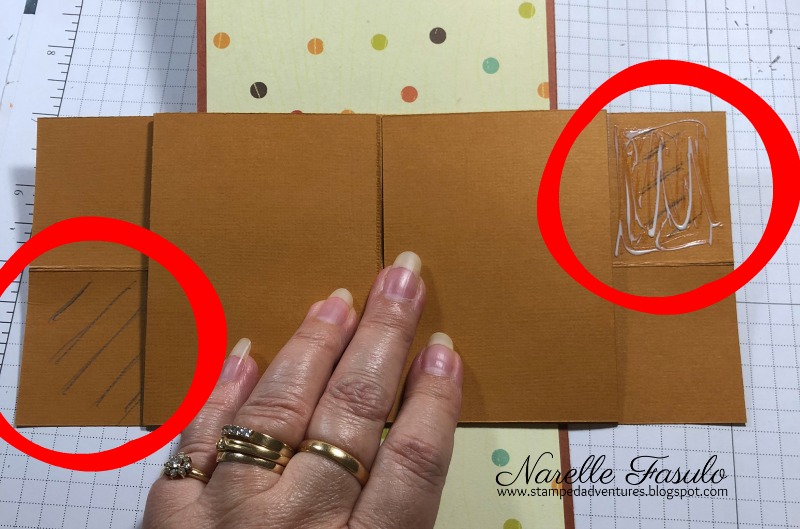
- Put glue at the top right and bottom left ONLY. Then fold the two end panels back out and hold in place until the glue is dry.
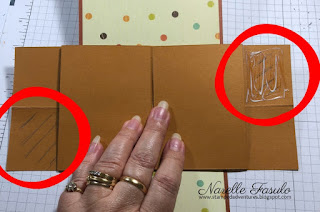
- Now close your card. You may need to help it close a few times. Then it should be able to close without needing any help.
- Decorate the front as you wish and your Twist and Pop card is complete.
The video shows how it fold inside the card.




Hope to see you again soon
.... but in the mean time be sure to stop by the STORE where these items and so many others are available. Also take note of all the products that aren't carried in our regular local stores. ... AND the service is A1.
Subscribe to:
Posts
(Atom)


