Saturday, June 24, 2023
Christmas in July

Its almost July and what happens in July well Christmas in July and today I am sharing a Graphic 45 Warm Wishes ❤️

This is such a gorgeous collection and I used Laserowe Bubble with Snowflake shaker chipboard piece to create a fun shaker ornament piece.

You get the back piece and overlay cover and I used paper from the set to cover the back and added a bird from the G45 Warm
Wishes set to decorate my ornament piece

I added a sentiment to finish my card and I hope everyone enjoys it ❤️❤️

Friday, May 19, 2023
Less than Five 5❤️
Hi everyone welcome back today I am sharing a way to make a card under Five” minutes. I have been crafting over 10 years and have been blessed with being picked to be on a variety of design teams from various companies from: stamps to dies to Off The Page. I can recall days it took me forver
Come up with ideas now omg crafting is made easy.

This card uses a gambit of products from 49Market companies now have made crating a cinch. You get flowers, embellirs paper and more and all you have to do is piece it together. The card today is a prime example.
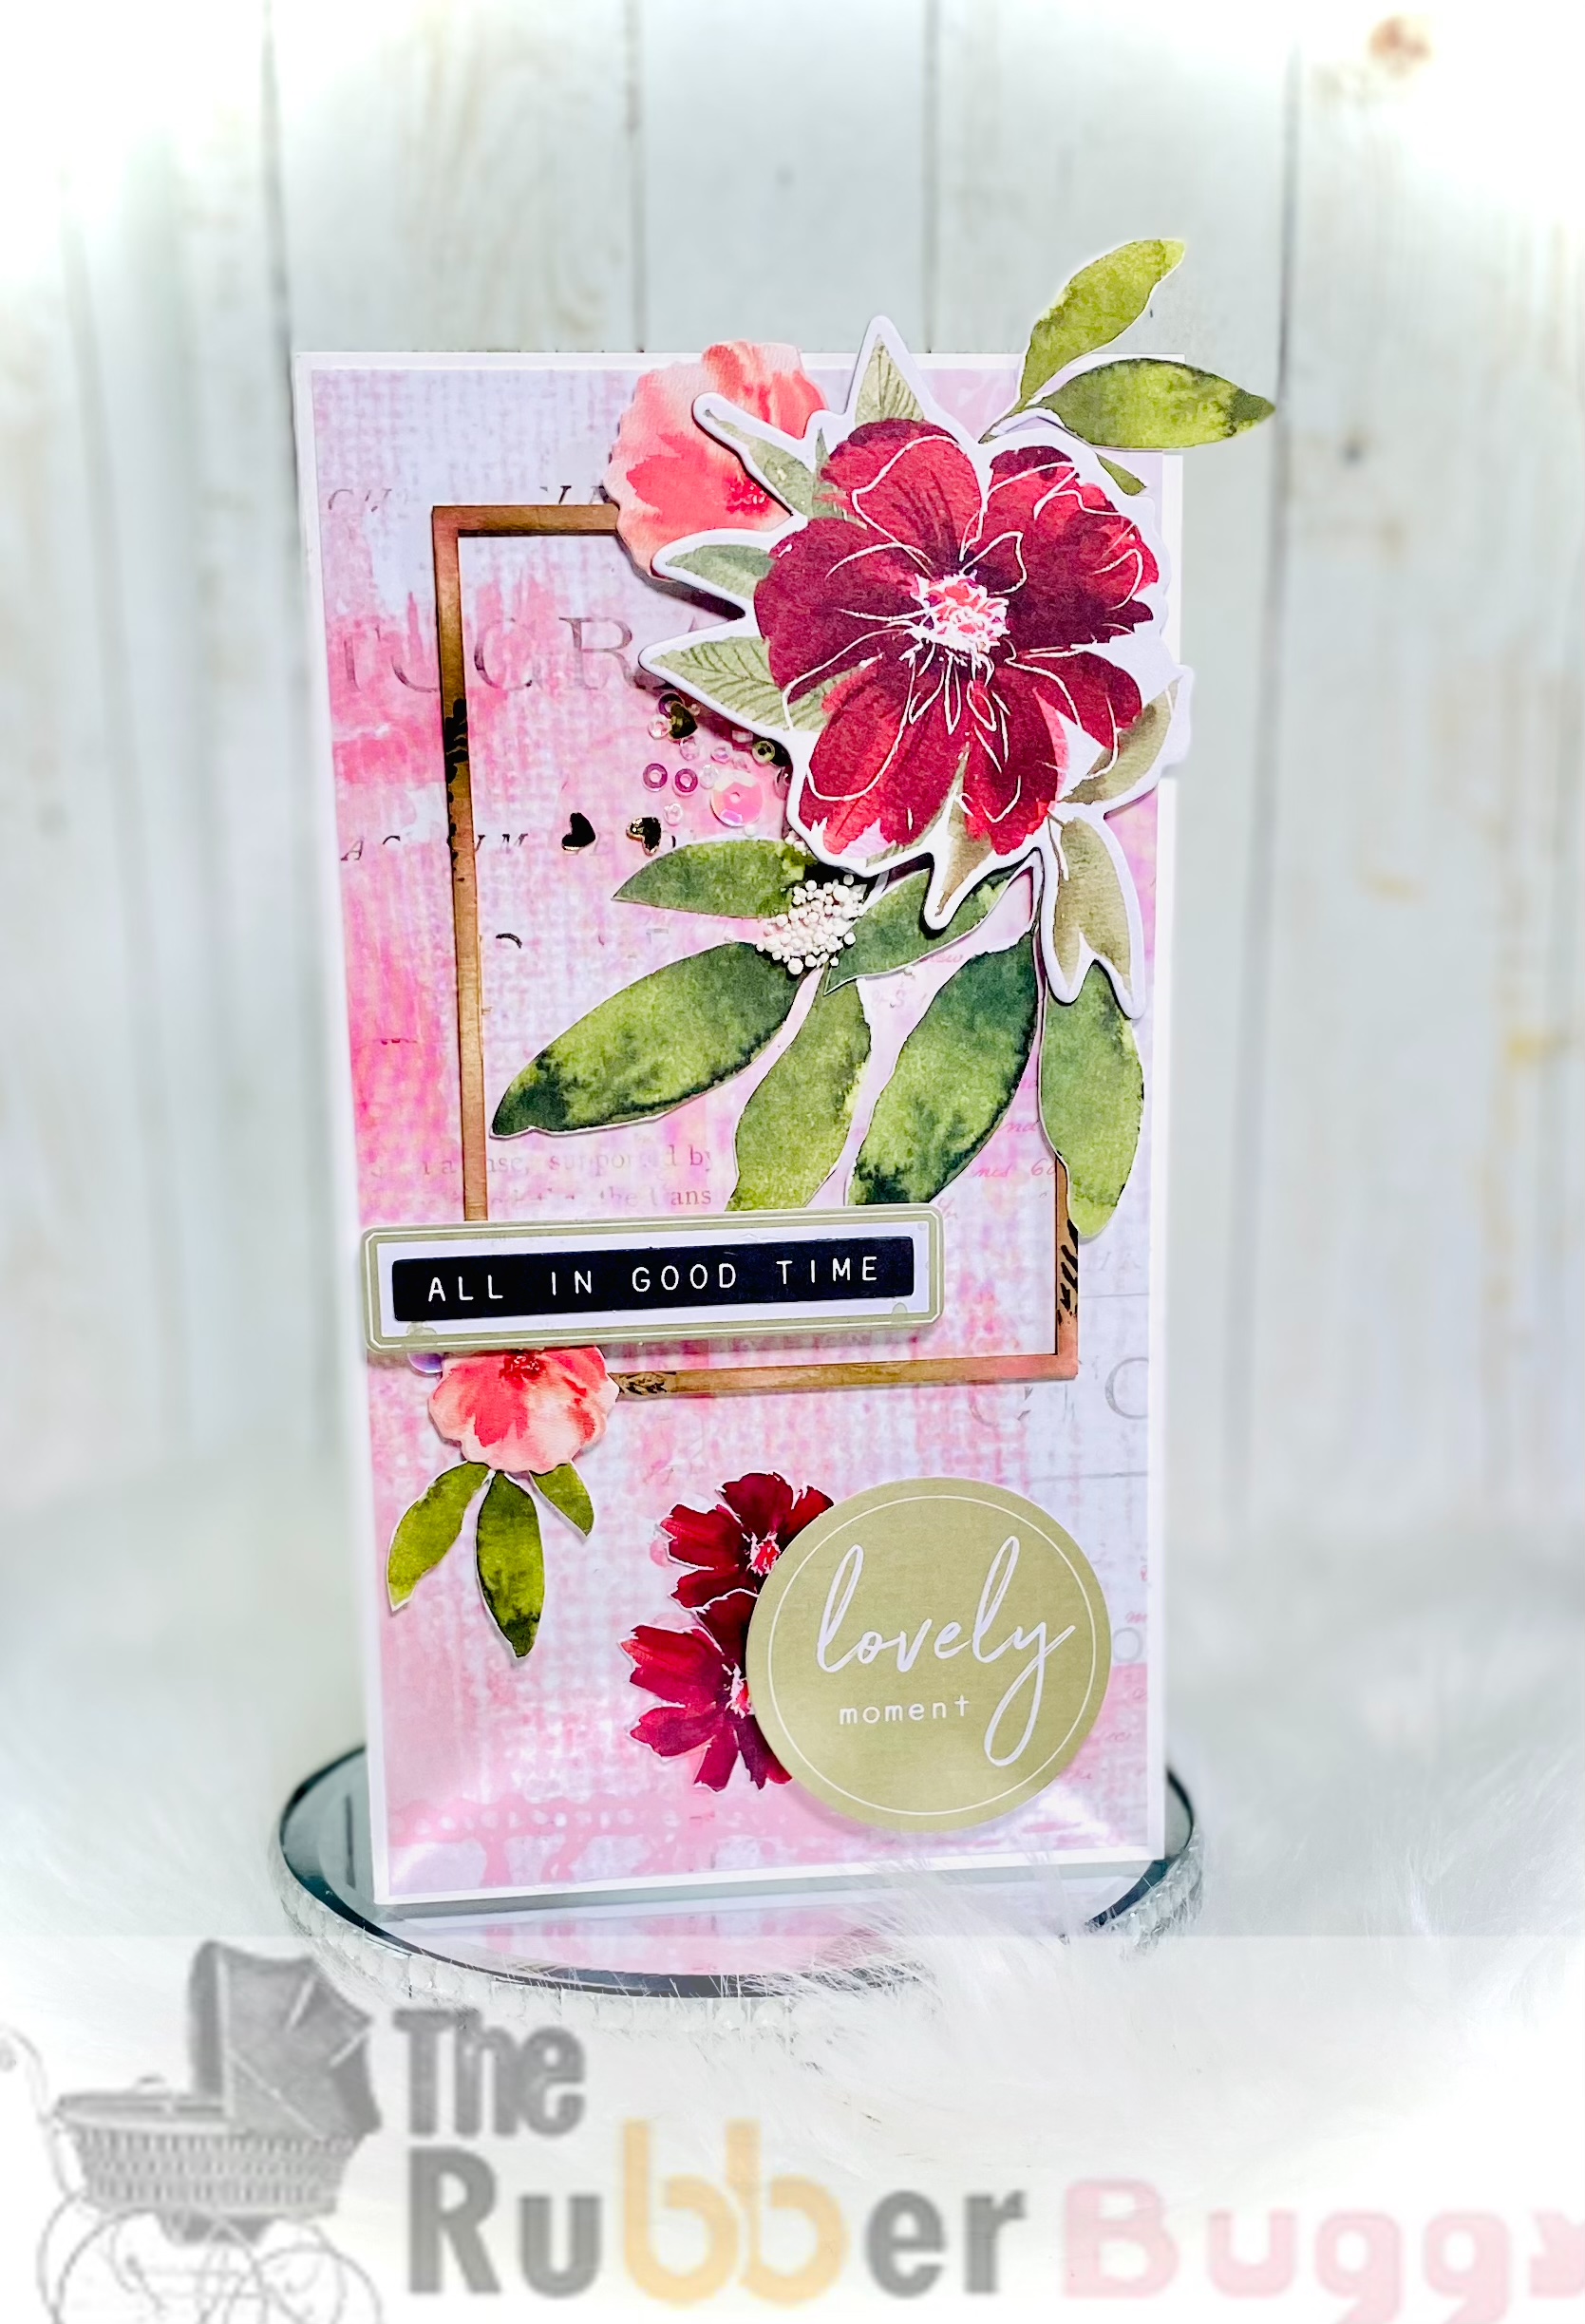
I used the paper from 49Market “ARTOptions” collection such a gorgeous collection and the paper is truly beautiful. You can then purchase all the add on pieces to make a stunning card all in “less than five” five which I have decided will be my new thing meaning I will feature gorgeous crafts you can do in “Less than 5”

Everything except the chipboard frame came together. Amazing right and The Rubber Buggy brings those hard to find products like paper to the US. The paper was out of stock so I included the set in blue.
I hope everyone enjoyed my card and once again
Thank you for visiting
Slimline


I love the blues in this collection
I hope everyone enjoyed my post and as always
Thank you for visiting
Sunday, April 2, 2023
Mini Album Kit

Hi everyone I am sharing mini album that I made using Photoplay premade kit they have. They actually have a variety of kits available which I have included in all the links below!

Inner pages with slide in photo frame

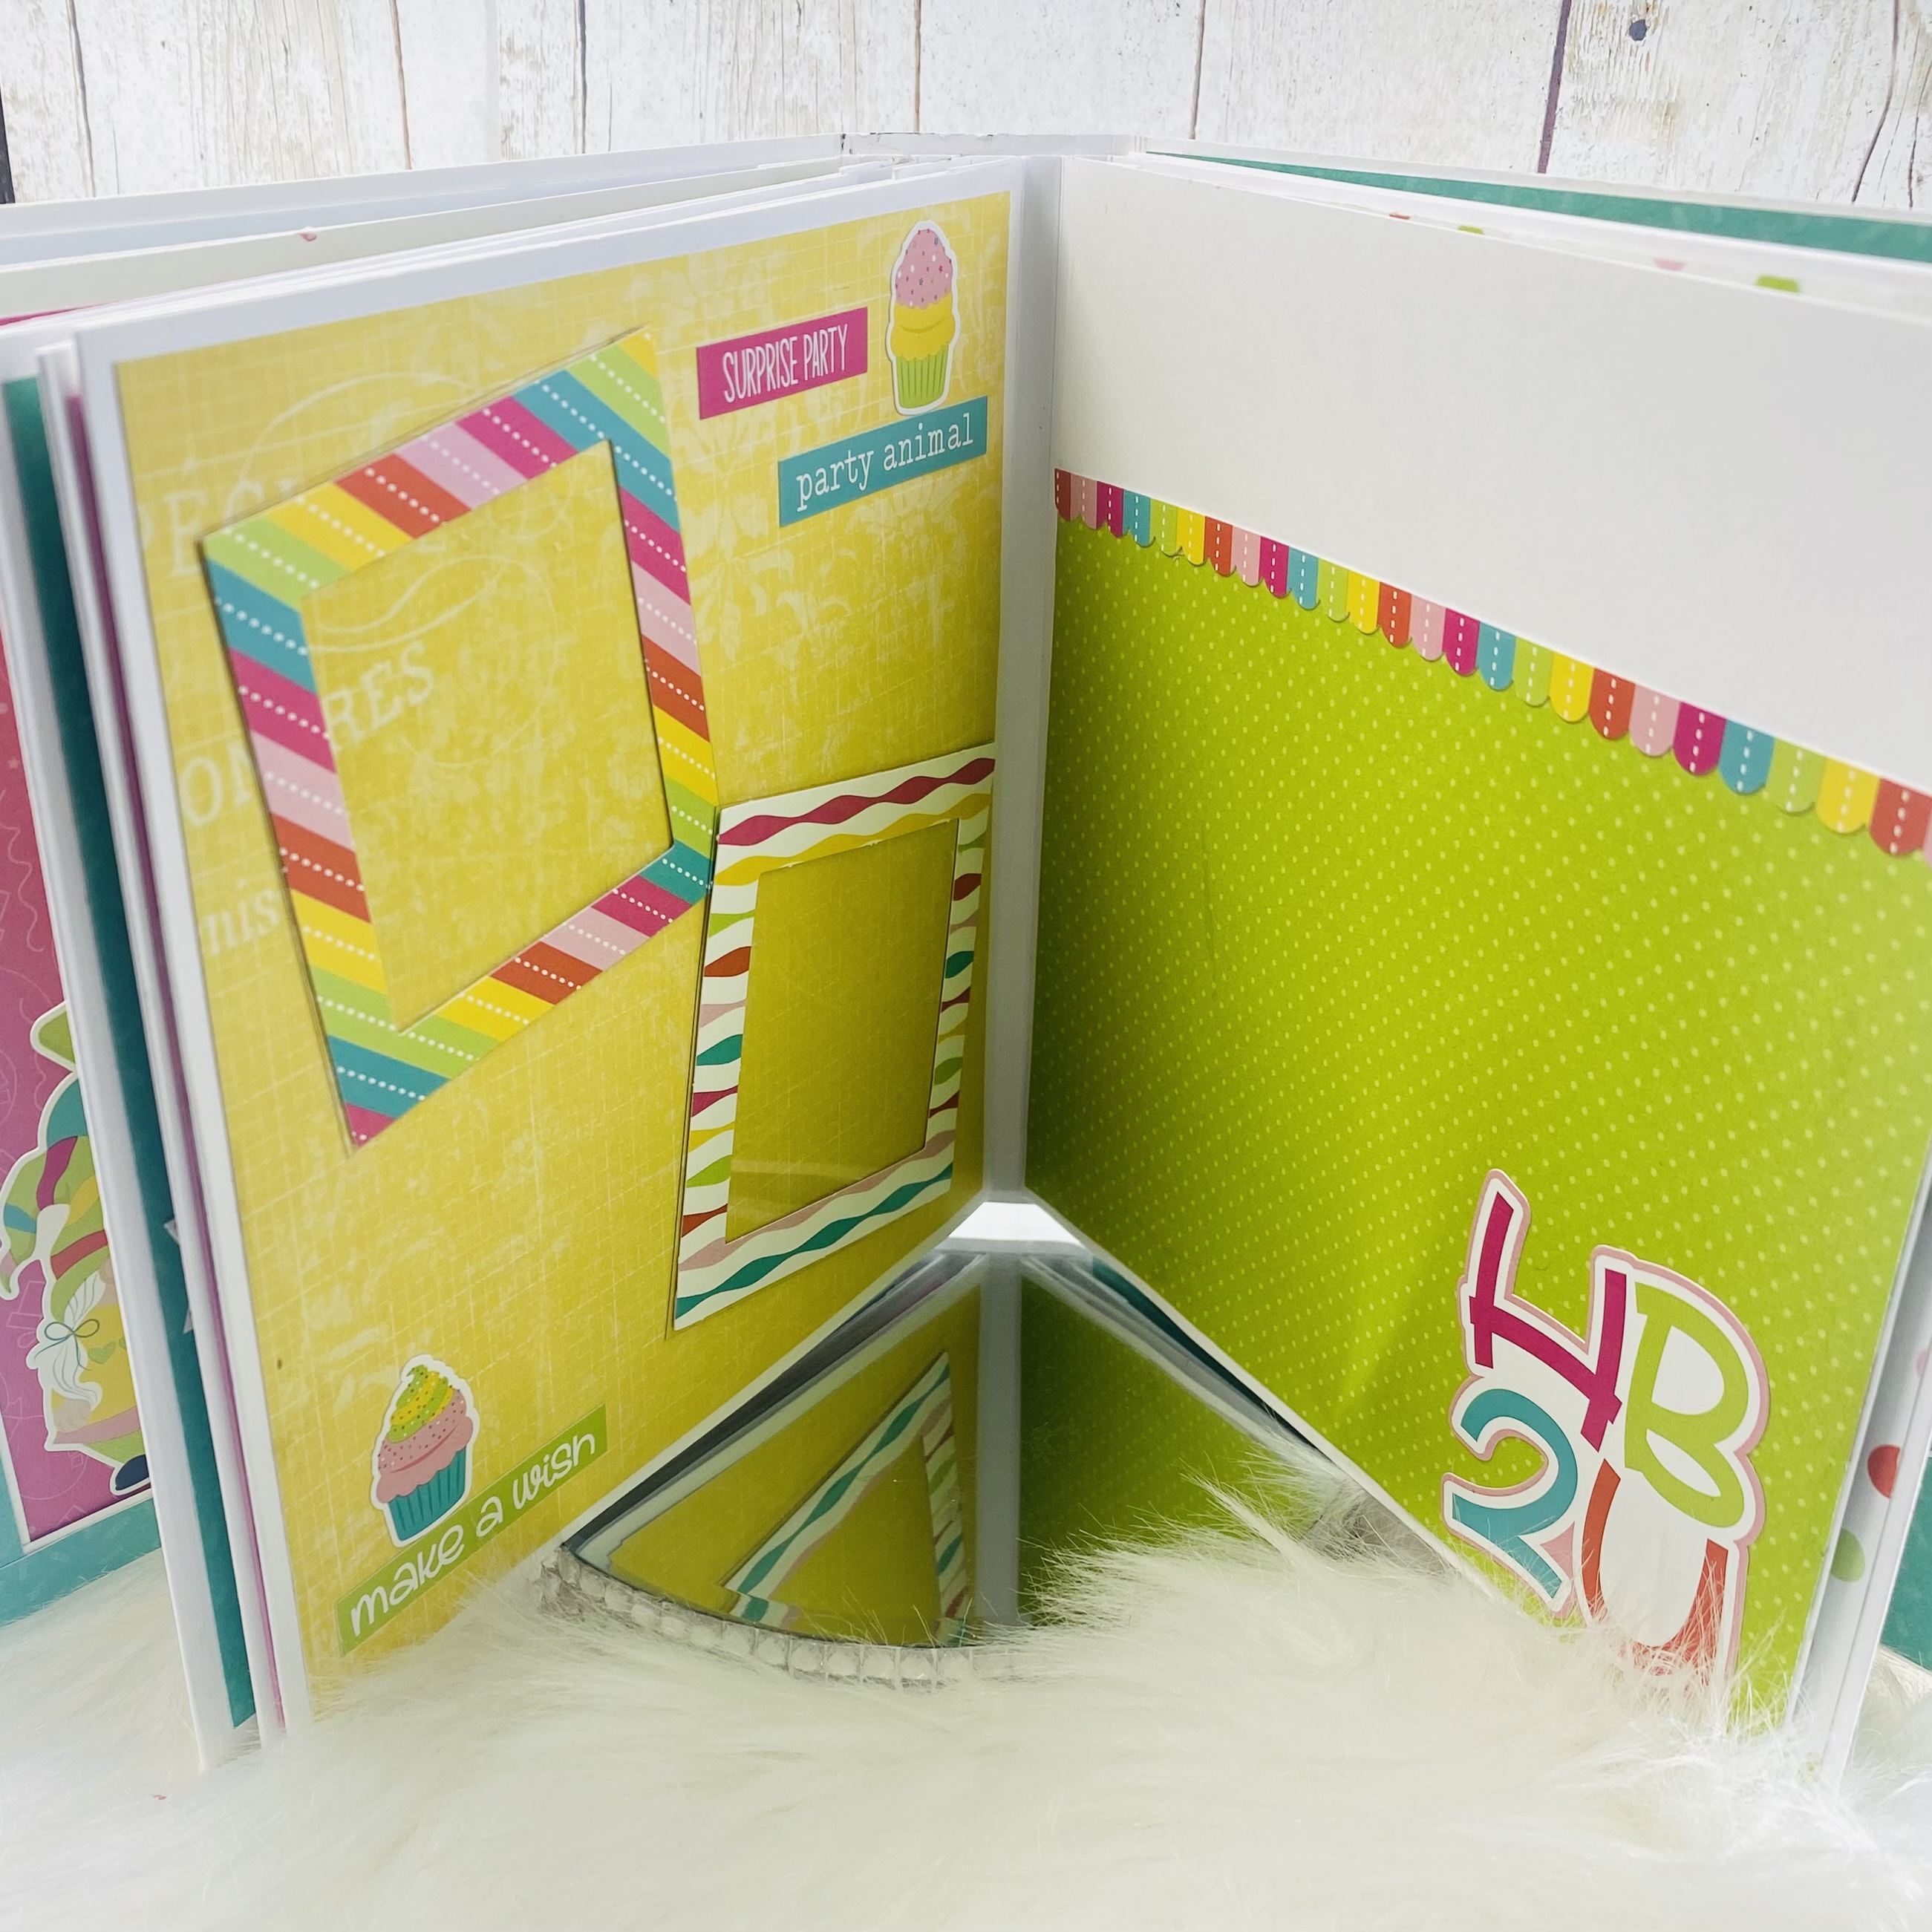
Here you have two photo frames that you can add your photos into and you get 12 pages. I made a short video for everyone to view.
Sunday, March 26, 2023
Album Box

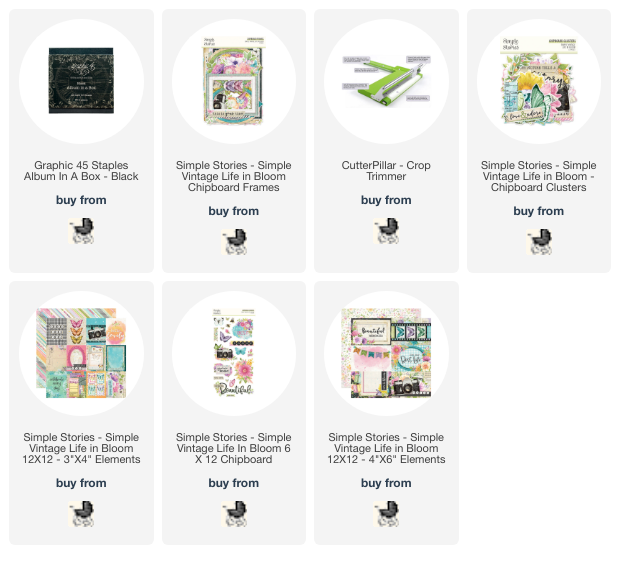
Hi everyone today I am sharing an Album Box which is from Graphic 45 and I did things different by using Simple Stories “Life in Bloom” collection.

I covered the box using Life in Bloom which has soft
pastel colors

The album pages has a variety of ways to open and books and crannies for you to add fun photos

It has a magnetic latch for easy opening and closure

Here you can see the different page layouts inside the album
Sunday, March 19, 2023
Easy 3D Florals
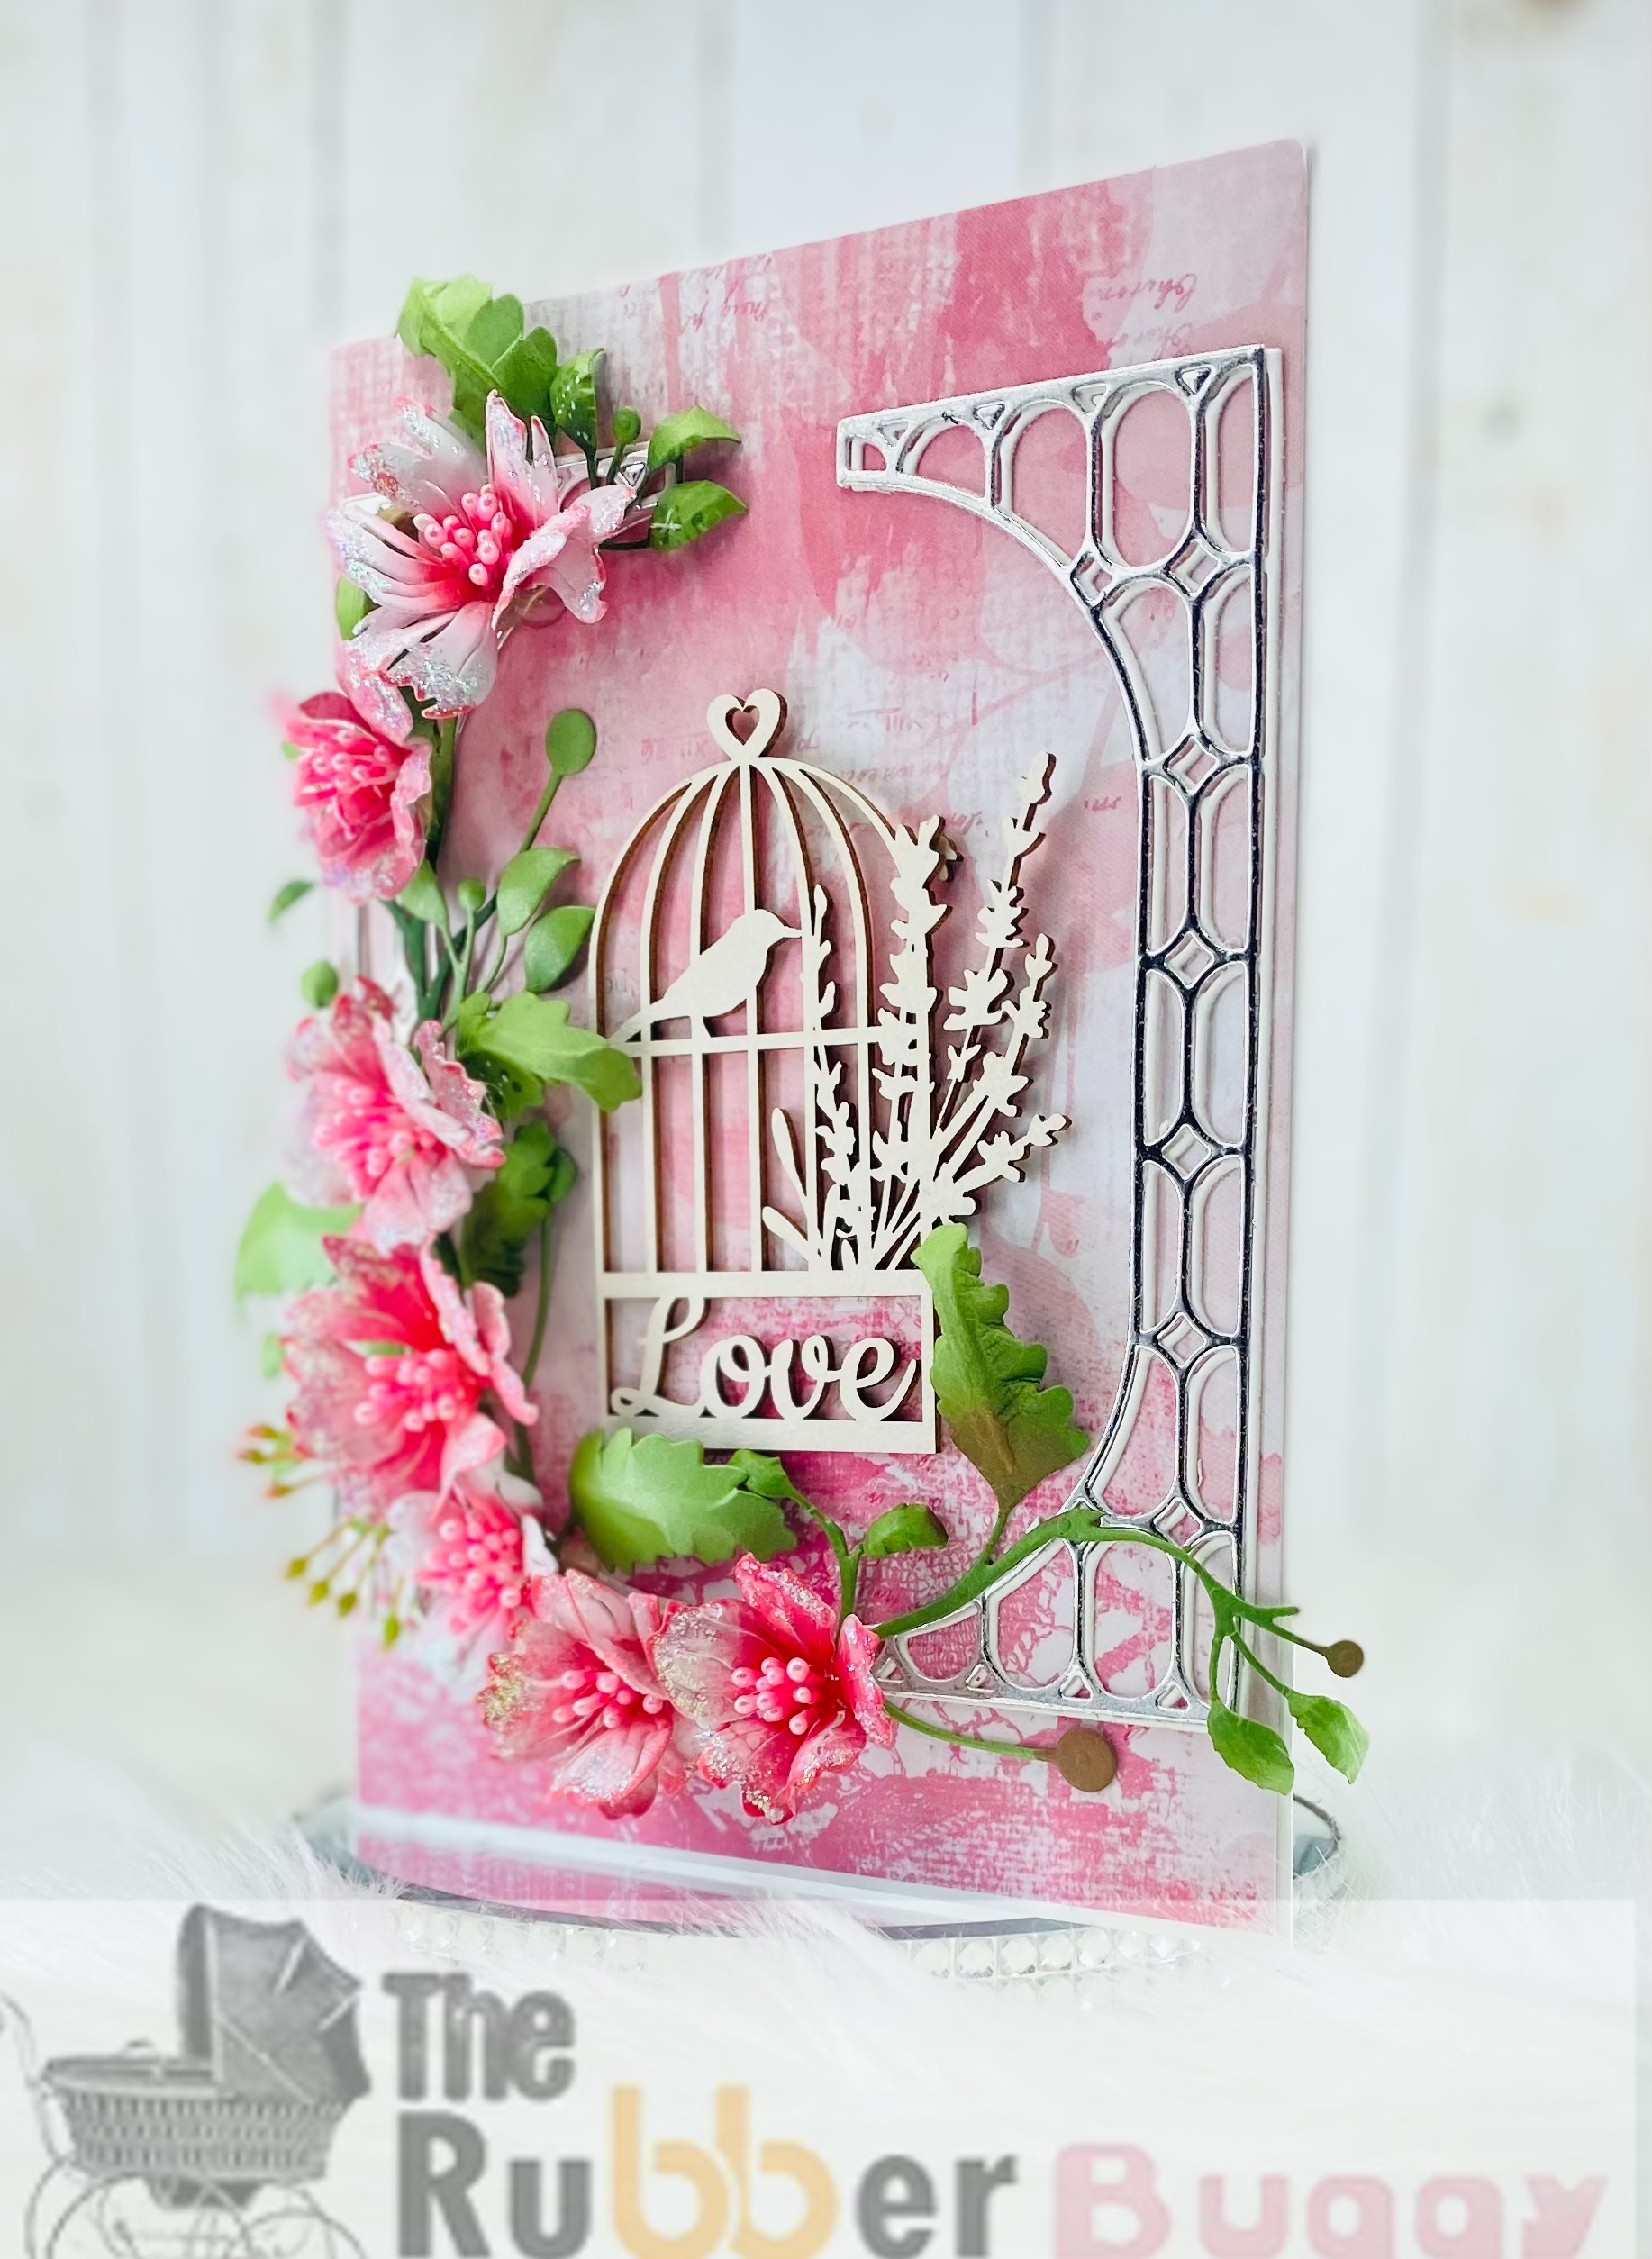
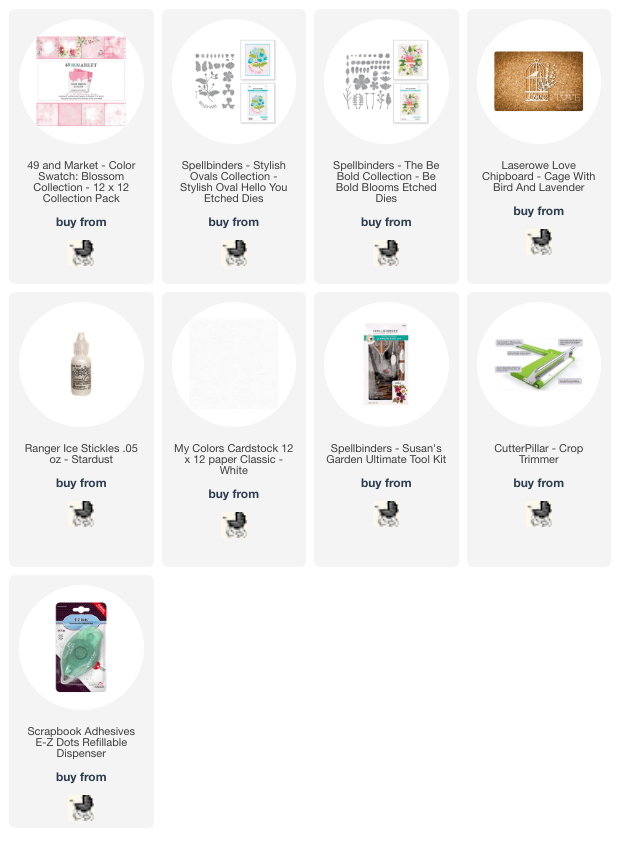
Hi everyone today I am sharing these 3D florals I made using Spellbinder dies Stylish Ovals and The Be Bold Collection

Instead of leaving the florals as is I decided to give them a 3d look by shaping and cupping the flowers use a foam mold pad. I inked the edges in a Hybrid Ink a tad darker than the pinks in the paper collection itself which is Blossom.

I used a chipboard piece from Laserowe LOVE "Birdcage" to decorate the front so as not to take too much away from the dies itself.
Saturday, March 4, 2023
Sizzix Tim Holtz 3D Texture Fades Embossing Folder Mini Rose Birthday Card
Welcome back and Nancy, here. Today, I wanted to share additional tips, tricks and techniques with you for adding some boldly unique dimension to the Sizzix Tim Holtz 3D Texture Fades Embossing Folder Mini Rose using my Sizzix Big Shot machine. For those following my Saturday blogs for The Rubber Buggy, last week I had a number of ways of coloring this gorgeous rose embossing folder which leaves a 3D impression and really pops out especially after coloring the roses and leaves.


I cut an oval shape using Spellbinder Oval Nestabilities oval frame before putting the Sizzix 3D Mini Rose through the Sizzix Big Shot and don't forget to spray a little water on the cardstock before putting it in the Big Shot to bring out the 3D embossing. After cutting out the gorgeous mini rose, I tab a little water and Perfect Pearls on a mat and colored the roses and leaves with a paint brust and let dry. I did the same for adding darker pink using the Distress Pink Watercolor crayon. I used my finger to smear Redesign Brass Wax around the oval frame and if I got a little too much, I used a pencil eraser to erase some of the brass wax off.
I cut out two Graphic 45 Decorative Die frames of pink and white cardstock and glue the white frame slightly on top of the pink with a little pink showing to give it a soft shadow tough and bring out the white frame. I stamped Happy Birthday on the center of the decorative frame with embossing ink and used a gold embossing powder with an embossing heat gun to adhere the embossing powder.
I made my cherub with Art Resin and a mould from my stash and painted it with Prima Marketing White Pearl Metallic acrylic paint which is my all time favorite white paint with the gorgeous shine.
The white leaves die cut were slightly painted with Distress Watercolor green crayon. There are new Spellbinder floral die cuts that are now available at The Rubber Buggy.

The mini rose embossing measures around 2 1/2" x 4" after cutting down to size for framing.
Helpful tips to get started with any Sizzix 3D embossing folder:
- Only need 1 Cutting Pad is used when embossing with our 3D Embossing Folders because these folders are so thick.
- Misting your material, especially if it is a heavy weight cardstock, with water on one sides prior to placing the material inside of your embossing folder to achieve MAXIMUM impression! Also, misting helps from the paper cracking with the deep impressions.
- Run your embossing folder through your machine a total of 3 times for a rich, bold and deep textures. Long ago, I ruined an embossing folder by running it through the bottom open part rather than the top of the embossing folder and it tore the embossing folder apart.
- For several occasions, I did the embossing and while coloring afterwards, I layed my mini rose back against the bumpy part of the inside and then folded the embossing folder down and went through my Big Shot just one time to get the full impression back and make it pop again.
Supplies:
Sizzix Tim Holtz 3D Texture Fades Embossing Folder Mini Rose
Tim Holtz - Distress Crayon Set #11
Spellbinder Nestabilites Decorative Floral Oval Frame
I cannot wait for you all to get your hands on any Sizzix Tim Holtz 3D embossing folders and see what you create! I hope I’ve shared some tips, tricks and ideas that you’ll be able to use in your own crafty adventures.
The Rubber Buggy has the crafting supplies for your next project. So have fun crafting this weekend with these products. My cards and projects are always posted on Saturday. Keep watching and thank you so much for those wonderful comments as well as suggestions.
 |
Subscribe to:
Posts
(Atom)


