Saturday, November 9, 2019
Stamperia Santa Claus
Welcome back and Nancy and excited to share my Christmas card using the Stamperia Christmas Vintage papers. I love to brag about the Stamperia Christmas Vintage paper collection since the Christmas colors are so vibrant as well as the images are very beautiful.

This is the other gorgeous sheet from this paper pad that is also perfect for your Christmas cards.

I cut out two different patterned papers behind the Santa and used white and red cardstock for additional frame. I had an ole snowflake chipboard that is very similar to the Laserowe Love Chipboard - Shabby Ornaments. I sponged on Lawn Fawn White Yeti ink to the chipboard snowflake which was glued on with Beacon 3-in-1 Advanced glue.
I fussy cut the holly leafs from the Stamperia Christmas Vintage paper and adhered around the Santa and added NUVO Gloss Red Berry to the berries on the patterned paper. I tied the Lawn Fawn Baker twine around the Santa. I love using the Memory Box Blooming Poinsettia die set. I cut out the berry stems with gold metallic cardstock and use NUVO Gloss Red Berry on the tip.

This is the Santa I cut out from this paper pad. You can see each of these sections would make for a beautiful Christmas card or project. With the sentiment and beautiful frame around each section would make for an easy peasy card. You wouldn't need to add any embellishment to make for a gorgeous Christmas card with this paper.

I fussy cut the holly leafs from the Stamperia Christmas Vintage paper and adhered around the Santa and added NUVO Gloss Red Berry to the berries on the patterned paper. I tied the Lawn Fawn Baker twine around the Santa. I love using the Memory Box Blooming Poinsettia die set. I cut out the berry stems with gold metallic cardstock and use NUVO Gloss Red Berry on the tip.
 |
| Memory Box Blooming Poinsettia die set |
I hope I have inspired you try out these products available at The Rubber Buggy on-line store. My cards and projects are always posted on Saturday. Keep watching and thank you so much for those wonderful comments as well as suggestions.
Enjoy and Happy Crafting!
 |
Thursday, November 7, 2019
Let It Snow Cards
Hi everyone, Steph Ackerman here today with lots of fun products from the store. Please visit the store for all the fun products I've used today.


To add dimension, I used Ranger Liquid Pearls in Raspberry.
Thank you for visiting.

Using Scor-Pal Scoring Tool, I scored Bazill Jelly Bean Cardstock to 5 1/2" x 11" creating 2 cards.

The pattern paper is the Winter Song collection from Laserowe Love.

The top layer was die cut with Lawn Fawn Small Stitched Rectangle dies. The Let It Snow Border Die was die cut from Bazzill Lollipop Cardstock and adhered to the cards with Beacon 3-in-1 Advanced Craft Glue.

To add dimension, I used Ranger Liquid Pearls in Raspberry.
Thank you for visiting.
Wednesday, November 6, 2019
Dress My Craft Christmas Bells Collection at The Rubber Buggy
Hi... Bev here today at The Rubber Buggy. I am sharing this super Christmas Card along with a Layout page using my newest Dress My Craft Christmas Bells paper collection. The papers have a sheen to them, great images and fabulous accent sheet.


The Rubber Buggy Supplies:


Thanks for stopping by... hope to see you again soon ... but in the mean time be sure to stop by the STORE where these items and so many others are available. Also take note of all the products that aren't carried in our regular local stores. ... AND the service is A1.


For this card I mixed and matched prints, foam popped up the tree, matted the diagonal border and added some 3D poinsettia into a cluster.
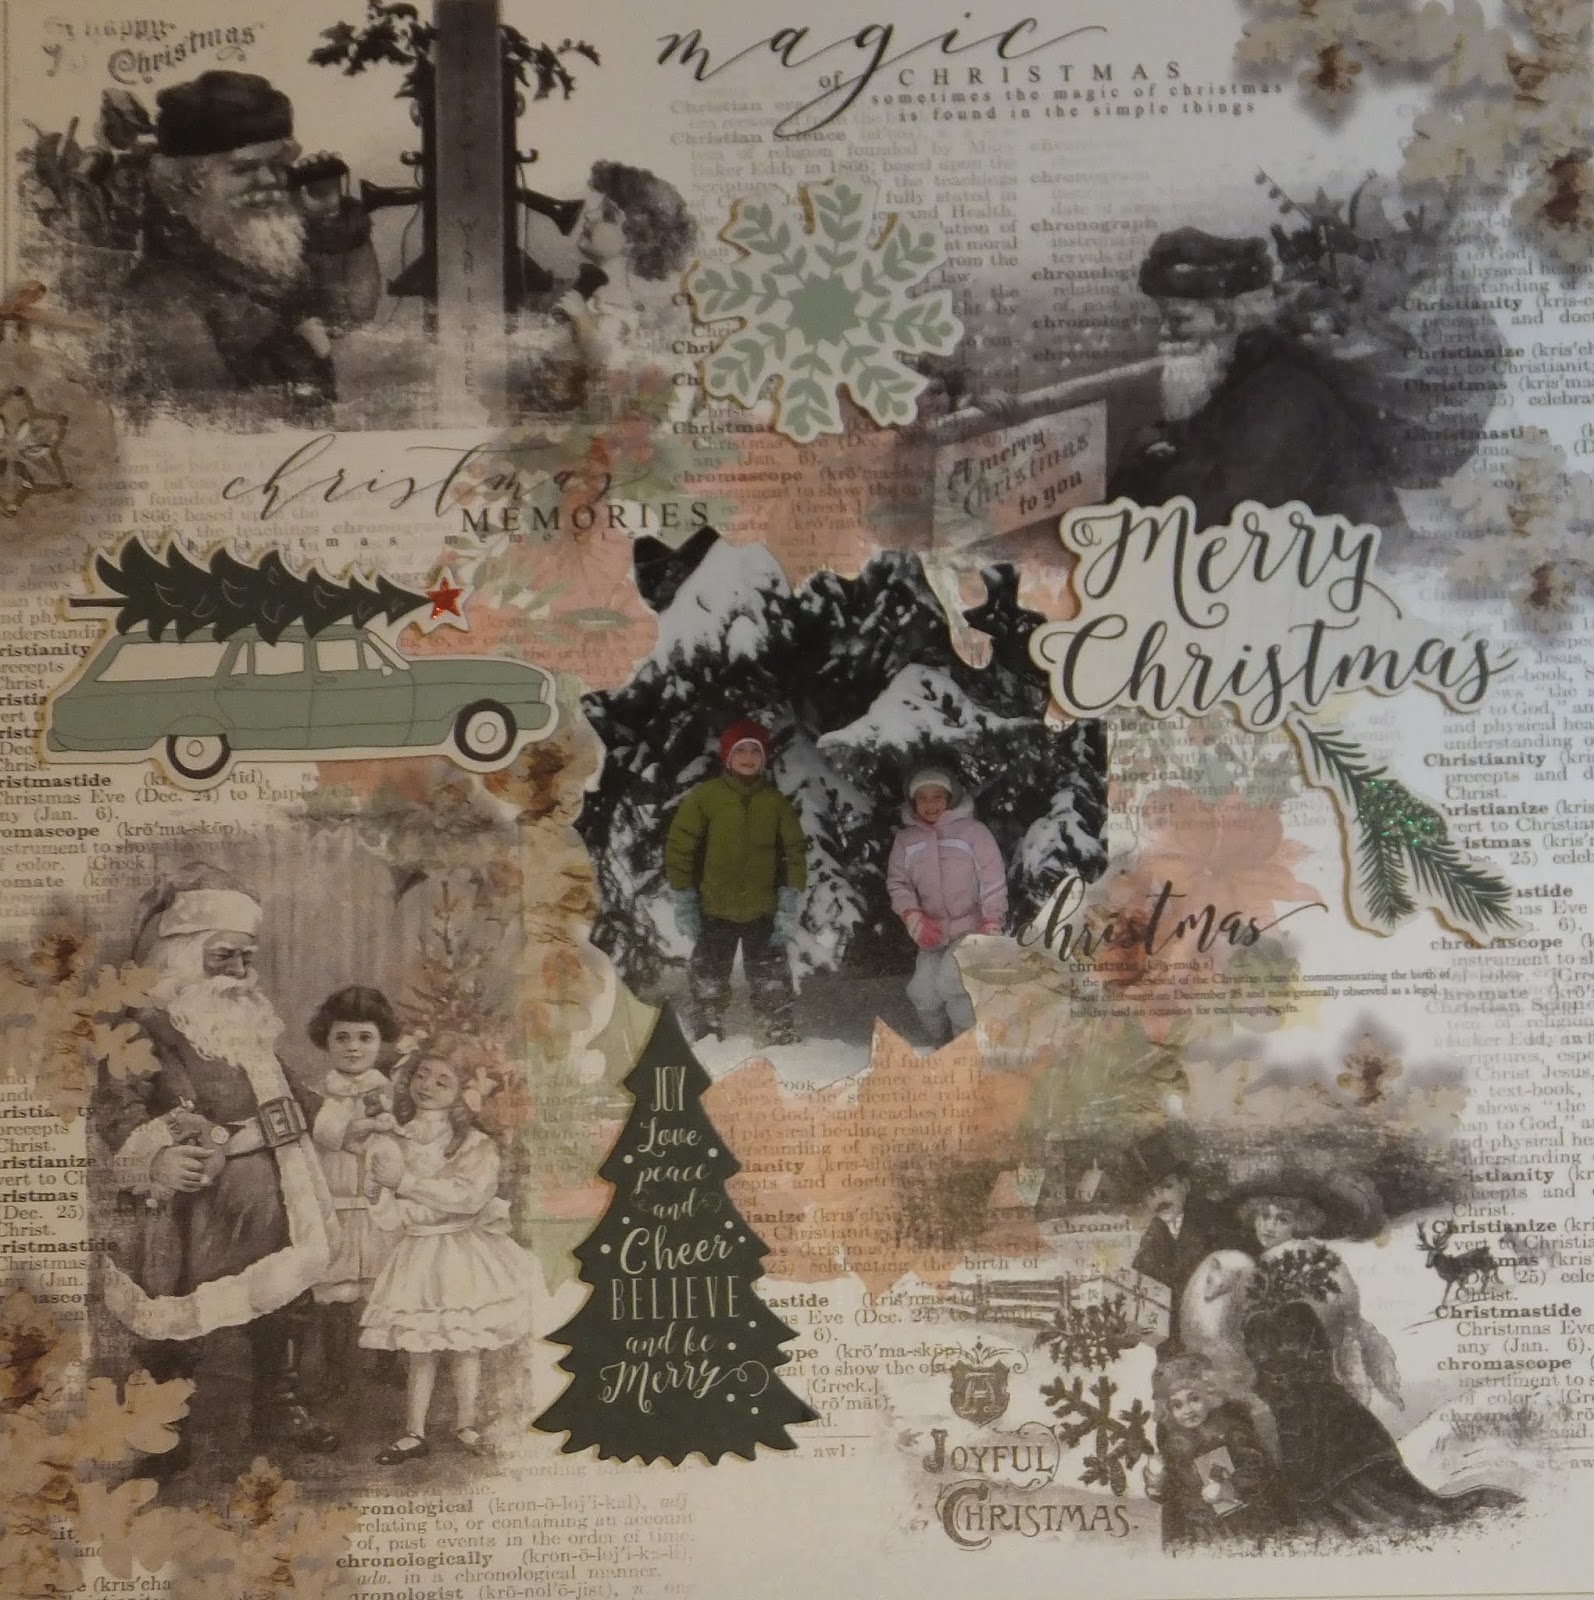
This page uses this amazing print with the nicest images and the coloured wreath in the centre was the perfect spot to fussy cut the photo into it. With busy prints it was trimmed with chipboard accents and it was done.... it's fabulous.
The Rubber Buggy Supplies:
- Paper: Dress My Crafts Christmas Bells Collection
- Glue: Beacon 3-in-1 Glue,
- Accents: Scrapbook 3D foam
- Machine/ tools: Tim Holtz 5" mini Snips, Fiskar Paper Trummer
- Other: Chipboard


Thanks for stopping by... hope to see you again soon ... but in the mean time be sure to stop by the STORE where these items and so many others are available. Also take note of all the products that aren't carried in our regular local stores. ... AND the service is A1.
Monday, November 4, 2019
Lawn Fawn - Christmas Gift Cards

Hi it's Jennifer here with the new
Snow Globe Gift Tag from Lawn Fawn
and I have Created these Super Adorable Gift Cards.
They are all Shakers of course.
Which ones your favorite?
They are all Shakers of course.
Which ones your favorite?


I hope you all have a Great Crafting Week
Jennifer
100th Birthday Card

The Rubber Buggy Supplies:
- Paper: 49 and Market Cottage Life Collection
- Flowers: 49 and Market Blossom Blends Bluebell
- Dies: Sizzix Celebrate, Sizzix Vacation
- Chipboard: 49 and Market Happy Moments
- Glue: Beacon 3-in-1 Glue,
- Accents: Scrapbook 3D foam
- Machine/ tools: Tim Holtz 5" mini Snips, Fiskar Paper Trummer
- Other: Cardstock

This collection was so elegant and perfect for this special 100th Birthday Card... proposed card layout with out gluing down.


Using the extra pieces of this collection the inside of the card was decorated also.


Thanks for stopping by... hope to see you again soon ... but in the mean time be sure to stop by the STORE where these items and so many others are available. Also take note of all the products that aren't carried in our regular local stores. ... AND the service is A1.
Saturday, November 2, 2019
Stamperia Christmas easel cards Part 2
Welcome back and hope you are having a wonderful weekend crafting. If you want that special Christmas paper for your cards this year, you will want to check out the gorgeous new arrivals at
The Rubber Buggy on-line store. There are so many name-brand products in this store for all of your crafting projects, scrapbooking and card making.
This is my Part 2 to add to the easel cards instructions. Below is the easel card shown in last week's blog with details/tutorial and pictures. If you haven't seen my tutorial and easel card made last week, click on HERE. These easel cards measure 4" x 6" and opens up to a traditional card on the inside. The front of the card forms a pretty easel while the inside of the card allows for a personal message and a gift card. These cards are actually easy peasy to make according to my friends who are starting to learn to make cards.


Below, I made three more easel cards using the gorgeous Stamperia Christmas Vintage paper collection and the Stamperia Pink Christmas from The Rubber Buggy on-line store.
 |
| Stamperia Christmas Vintage and Stamperia Pink Christmas |

NOTE: If you want the plain colored cardstock to frame the patterned paper, cut the Stamperia paper 3 7/8" x 5 7/8".
Card #1: Stamperia Pink Christmas


Card #2: Stamperia Christmas Vintage

 |
| Memory Box Poinsettia Bloom |

Card #3: Stamperia Christmas Vintage

I glued 3 gold pearls in the center of the poinsettia.

I hope I have inspired you try out these products available at The Rubber Buggy on-line store. My cards and projects are always posted on Saturday. Keep watching and thank you so much for those wonderful comments as well as suggestions.
Enjoy and Happy Crafting!
|
Subscribe to:
Posts
(Atom)


