Showing posts with label Deluxe Flower Shaping Tool Kit. Show all posts
Showing posts with label Deluxe Flower Shaping Tool Kit. Show all posts
Monday, August 14, 2017
The Rubber Buggy boasts about the amazing Heartfelt Creations Album with products

Today on The Rubber Buggy blog I am sharing an amazing huge project. This 3D Kraft flip fold Album is a Heartfelt Creations Album using lots of flip fold inserts, lots of collections, lots of dies, flowers and the amazing flower shaping kit.
This project is so huge I am breaking it into segments to share all the details and products used for each section.

I started with the outer base colour print paper for my album.

I stamped, die cut flowers and then using the Deluxe flower shaping kit to create a lot of my flowers,

In this post I am sharing the outside of the album. When you love it be sure to return to see each section as I share it with you.

Lots of amazing soft elegant paper using the Sun Kissed collection. Fussy cut some flowers from the papers, stamped, die cut and shaped other flowers to form the great clusters.

Lots of amazing Creative Embellishments chipboard accents were a prefect touch.... in natural colour.

I tied it off with a simple ribbon bow.


 \
\Thanks for stopping by...see you again soon.
I look forward to sharing the details of all the sections and products with you.

Monday, February 13, 2017
Stunning & Elegant Heartfelt Creations Cards at The Rubber Buggy

Hi... it's Bev here today. I am super excited to share a few cards today. I am using products from The Rubber Buggy to make these cards All the cards are using Heartfelt Creations Collections, Stamps and Dies.
Supply List:
The Rubber Buggy Products:
Paper: Heartfelt Creation All Glammed Up, Sunrise Lily, Delicate Asters
Flower Shaping Kit: Deluxe Flower Shaping Kit
Stamps: Heartfelt Creations Delightful Daisy, Heartfelt Wishes,
Dies: Delightful Daisy, Eyelet Oval Spellbinders Botanical Bliss
Other: Cardstock, Lace, Beads, Ribbon, accents, Tim Holtz ink
ScraPerfect Products used: Best Glue Ever, Best Cleaner Ever: Perfect Crafting Pouch, non clog writing tip

I am starting with the All Glammed Up Collection. Using the Heartfelt Creations floral stamps and dies I started my flowers. They are shaped using the Deluxe Flower Shaping Kit,

There are some amazing videos available to learn all the shaping techniques.

I am using this die set for the first time. I love it. So many options on how to use it. It allows you to mix your prints with cardstock to match. Really awesome.. and love the delicate edge and the embossing plate.

I used a great striped background print and then started my layers. The main floral print is matted onto the delicate eyelet oval frame. The print flowers are the flat level flowers to base the stunning 3D shaped flowers matching the colours using the papers in the collection to stamp and die cut them.
The sentiment is stamped using Heartfelt Wishes. My flowers are clusters above the background ones, some enamel dots added to centres and I found a few foil glitter accents to add to the cluster.

In the close ups you can view the addition of lace (above) and small brads (below).


From the side view you can see the dimension of the clusters that make the card so stunning,

*****************************************

Up next is another floral card using Delicate Asters Collection. This Spellbinders elegant frame is Botanical Bliss. For this one I used the super fun floral print background which is matted with black cardstock. I added and centre band of lace, added some brads in upper left corner and then started the main frame section.

The main frame is black. The central section is fussy hand cut from the paper designs to fill the over with overlapping flowers. More flowers are stamped, die cut and shaped to place 3D flowers over the edges of the over frame. The Best Wishes is stamped using black ink. For this flowers I added Robin's Nest dew drop centres. I added an oval ring of beads and added a few accents.
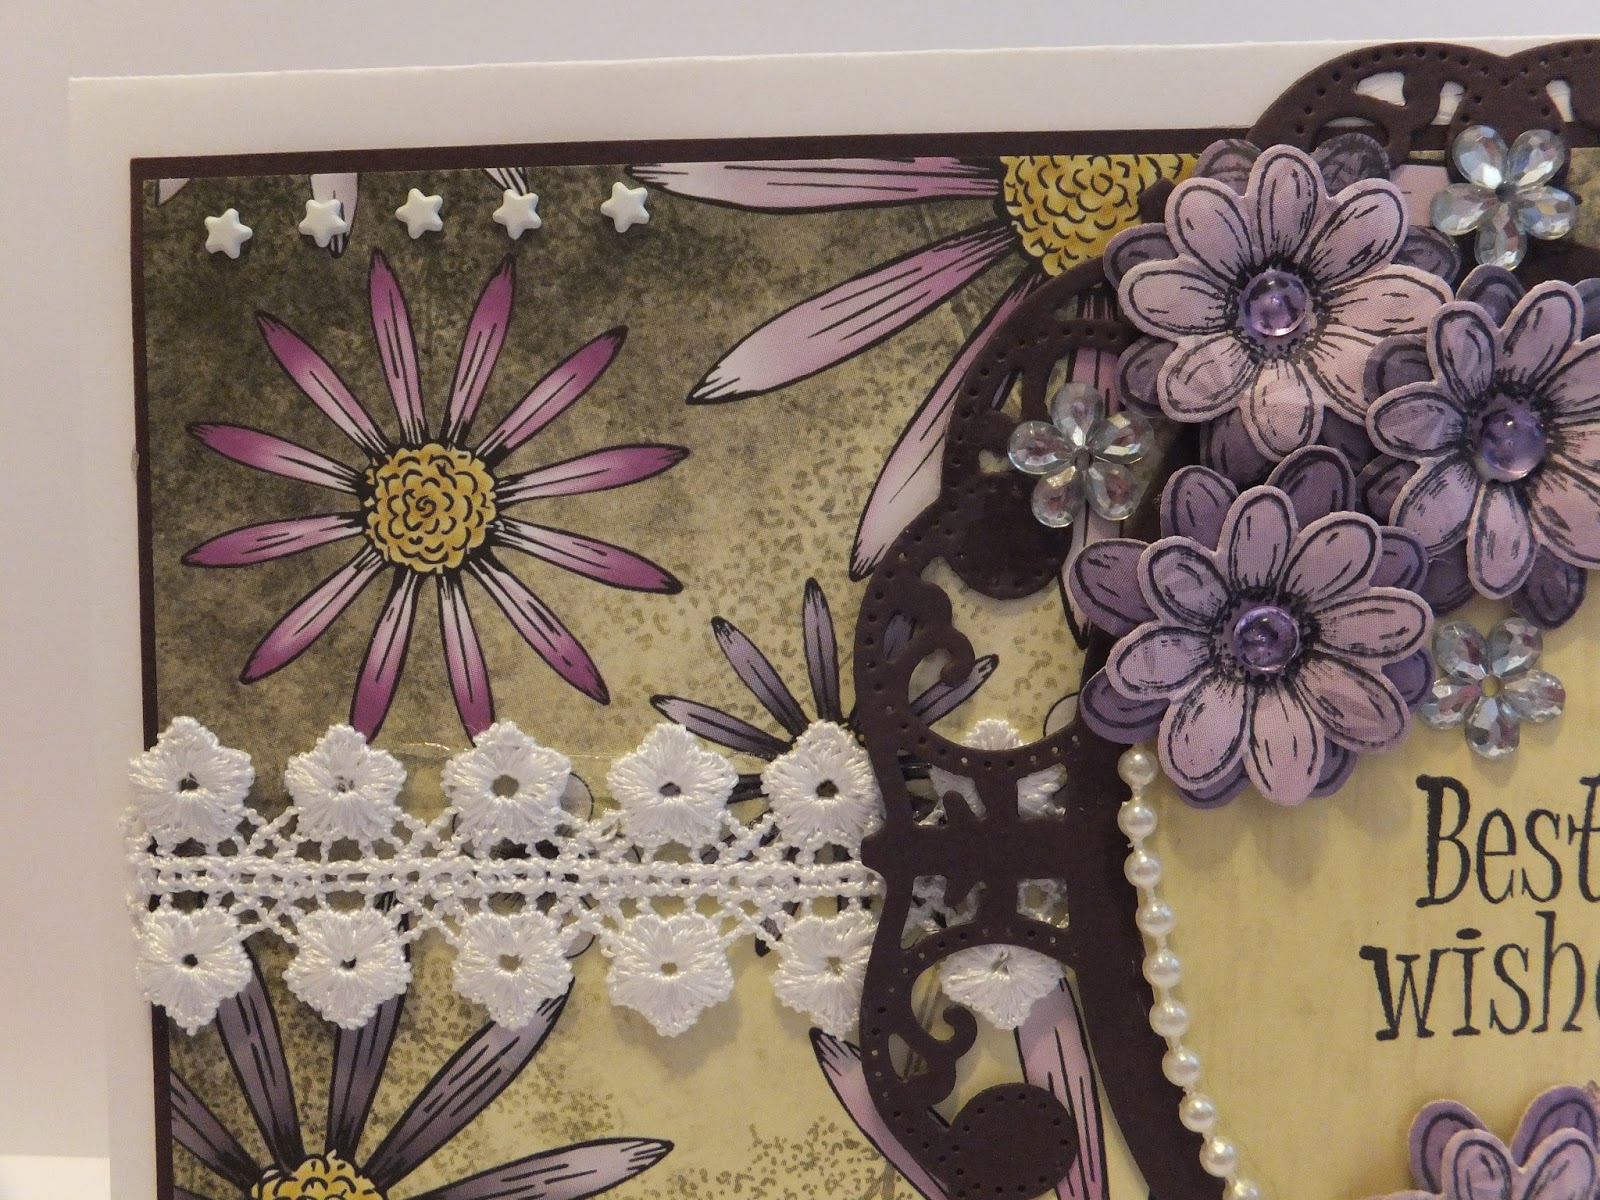
These 2 views allow you to see the details better. I added some small star brads to the upper left corner.

**************************************

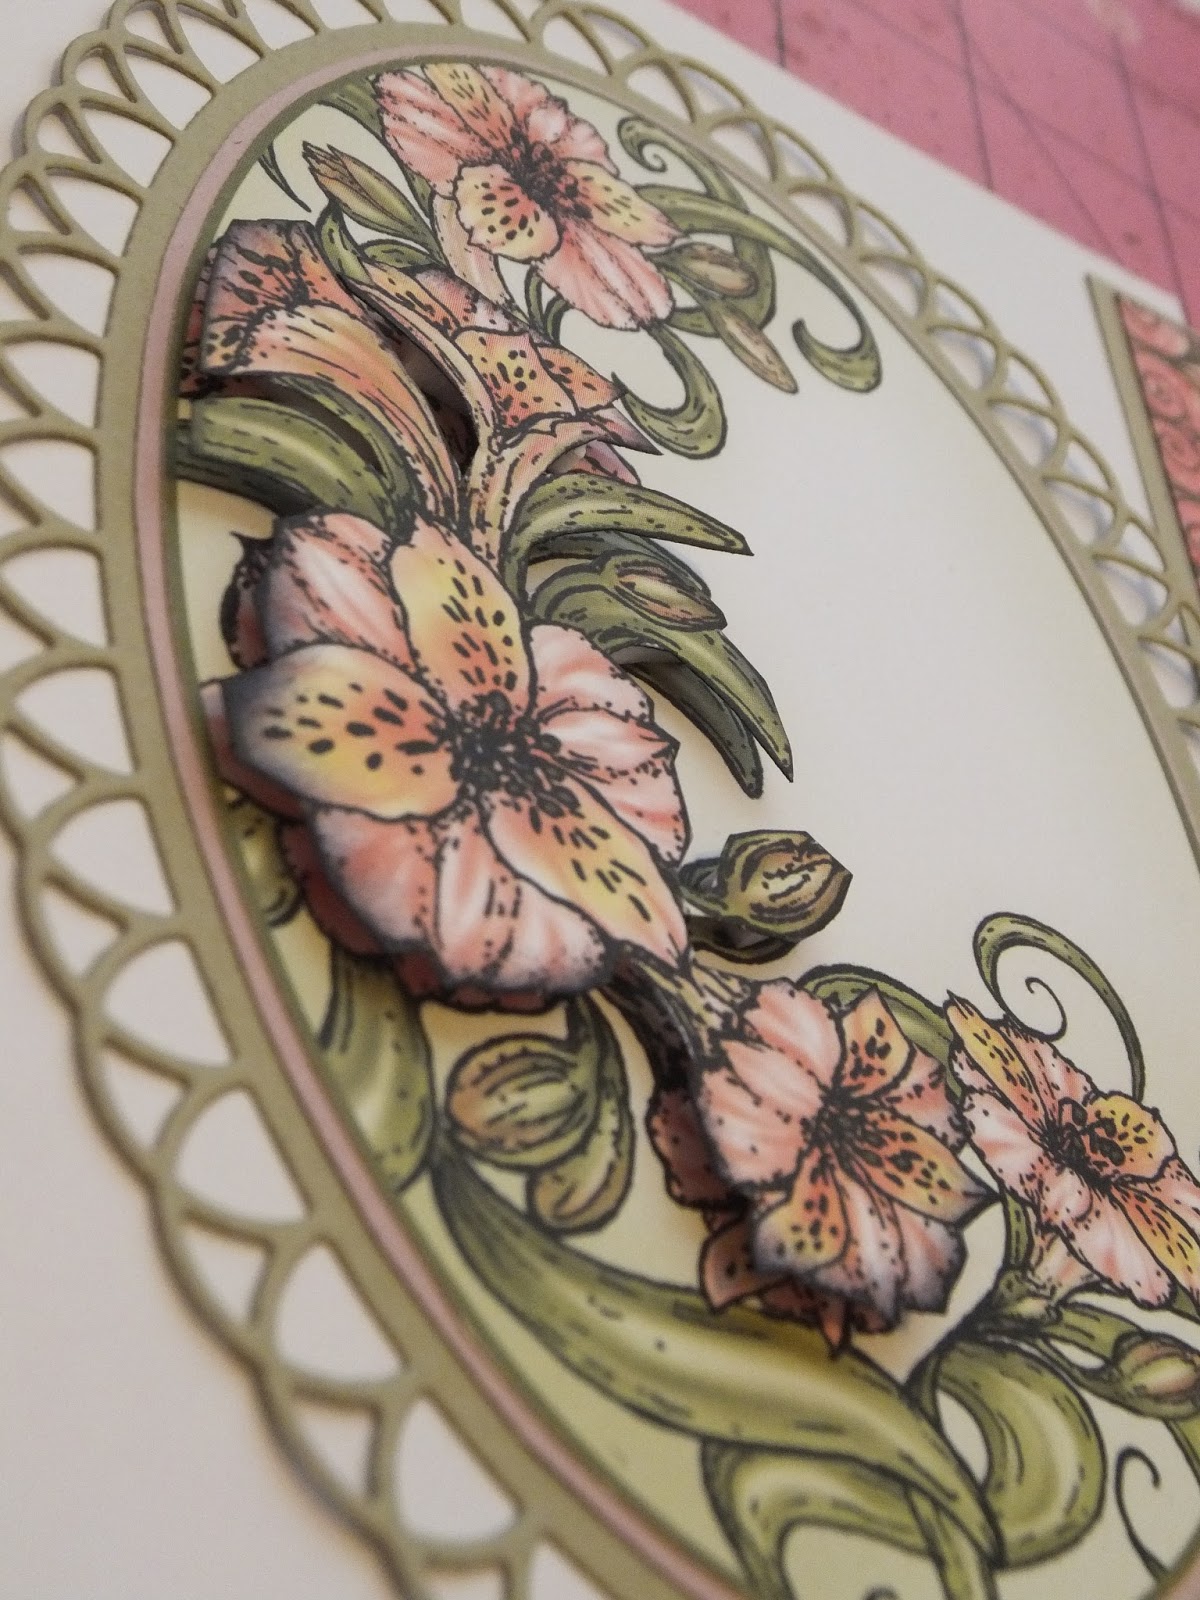
Lastly we have another card. This one has lots of fun prints from the Sunrise Lily Collection with a great matted frame, fussy cut flowers, an added sentiment ticket and a great ribbon bow tied off.

For this one I started with the frame and then picked the centre oval to fill the frame. The flowers will again be the base for the fussy cut upper level flowers which are popped up. Off to the right side I picked a background print to showcase the framed floral.

Here are 2 slanted views of the raised popped up fussy cut flowers that are cut to fit perfectly over the flat background one. I inked the edges for definition.

In this section you can see the cute ticket Birthday Wishes sentiment.

To soften it all up I added a clear delicate wrapped around ribbon tied into a bow... soft and elegant accent.

Here are a few more views to showcase the details on this card.

It was finished off with more small brads on the bottom right corner (see original finished card above).


Thanks for visiting. Be sure to view items in the store and on the blog where you'll be given lots of inspiration and shown lots of ways to use these amazing products.

Sunday, March 20, 2016
more Cards using Heartfelt Creatons Delightful Daisy Collection

It's Bev back again today with more amazing floral cards using products from my design team at The Rubber Buggy. I have been experimenting and creating using my newest product line..... Heartfelt Creations and this collection is the Delightful Daisy Stamp and Die along with the Deluxe Flower Shaping Kit.

The shaping tool allows you to 3D your flowers to any depth you like.. use them single, double or even triple depth. Also mix them up in fabulous clusters.

Here is a side view to show you the 3D and many layers.

This specific Collection also has some leaves to compliment the flowers. It's a perfect mix to work with. On this card I stamped and die cut the leaves out of coordinating colour for a change. It looks great.
I have been using copics to colour these flowers and leaves with some signo white gel accents, some stickles for shimmer and I used some Memory Box Dies to add the background accents.


Hope you enjoyed viewing more floral cards today.... thanks for stopping by.

Subscribe to:
Posts
(Atom)