Showing posts with label The Rubber Buggy. Show all posts
Showing posts with label The Rubber Buggy. Show all posts
Sunday, April 14, 2019
A Spring Birthday

Hi it's Jennifer here with a Spring Birthday Card.
I have used Lolly and her Brolly.
I have layered her up using Bazzil Card Stock
in coordinating colours.
I have used my favorite dies Lawn Fawn Stitched Rectangles
and Outside In Scalloped Rectangles
I stamped Lolly in Lawn Fawn Jet Black Ink one of my
Favorites as I can use it for Copics or Water Colours.
Copics used are
Skin - E0000, E000, E00, E01, E11, R20
Violets - V00, V91, V93, V95
Greens - YG0000, YG00, G20, G21, G24
Flower Centre - Y15, Y21, YR23
I have finished her off with a few scattered sequins.


Thursday, November 29, 2018
Christmas Patchwork Cards
Hi everyone, Steph Ackerman here today with lots of fun products from the store. Please visit the store for all the fun products I've used today.

Have you seen The Rubber Buggy Card Quilt Background Die yet? It is amazing. Start by creating a card from kraft cardstock. Place the quilt die on the card and run through a die cut machine. Retain all the die cut pieces.

Use both of the dies and die cut Prima Misty Rose pattern paper. Again, retain the die cut elements. Using the die cut card, align the Misty Rose die cut pieces with the grid to create the card.


Die cut Lawn Fawn's Merry Christmas Line Border die from the same paper pack and add across the bottom of the card.


What do you think? 2 very different cards created using the same Card Quilt Background Die

Merry Christmas.
Thank you for visiting

Have you seen The Rubber Buggy Card Quilt Background Die yet? It is amazing. Start by creating a card from kraft cardstock. Place the quilt die on the card and run through a die cut machine. Retain all the die cut pieces.

Use both of the dies and die cut Prima Misty Rose pattern paper. Again, retain the die cut elements. Using the die cut card, align the Misty Rose die cut pieces with the grid to create the card.

Create a second panel by adhering the outer Misty Rose die to cardstock. Then, use the kraft cardstock die cut pieces to fill in the pattern.


Finish this card by adding Nuvo Crystal Drops - Oyster Gray - around the card.

Creating a second kraft card, add a pattern paper panel from the Prima Misty Rose paper pad on the card, then adhere the smaller quilted panel to the top of the card. Stamp Lawn Fawn Simply Winter Sentiments and add to card with foam adhesives.

What do you think? 2 very different cards created using the same Card Quilt Background Die
from the Rubber Buggy.

Monday, November 19, 2018
Amazing Winter Scene using Dies

Hi .. Bev here today. This DT project for The Rubber Buggy showcases a fabulous fun winter scene on a card made using lots of Memory Box die cuts. Beacon 3- in -1 Glue is my favourite for all my crafting and inking edges are so easy using Vintage Photo Tim Holtz distress ink.
The Rubber Buggy Products
Dies: Memory Box Batavia Snowflake Oval #99816, Gentle Valley Oval #99823, Gentle Horizon Oval #99811, Stitched Village #99891,
Stamp: Memory Box Merry Christmas Sentiments CL5212
Glue: Beacon 3-in-1
Other: paper, cardstock

The card is made using 3 matching outer edge dies... giving us all the amazing layers and demension to the landscrape of this winter scene.

I cut a few snowflakes off the upper level oval to allow the trees in the back levels to be seen. I started the background with a full striped paper. I also matted the ovals background with red paper with snowflake print.

It's a bit hard to see but I inked the snow edges to give shadows on the snow hills.

I added some border stripes and a sentiment.

The inked snow hill show up better in this close up view.

A close up view to see all the details that are in these dies.... and OMG the cutest little houses with stitch snow roofs... so cool.

I also made a 2nd one slightly different using the same products.


Thanks for stopping by... hope to see you again soon.... but in the mean time be sure to stop by the STORE where these items and so many others are available. Also take note of all the products that aren't carried in our regular local stores. ... AND the service is A1.

Monday, June 25, 2018
Celebration - Graduation Page

Hi Bev again today at The Rubber Buggy. I am sharing my page created using some great photos from my youngest Grand Daughter Julia's Graduation with her gramma Baba and Great Gramma B. Love pages full of memories with people in our families.
For this page I used products from The Rubber Buggy - Blue Fern Studios paper....the chipboards painted, Tim Holtz inked and covered using Nuvo glimmer paste, along with an inked stenciled star burst along with a flair button. I added misc brads and pearls
For this page I used the sjetcg friom Let's Get Sketchy (below).


As you can see I start by cutting and layering all the background pieces and I painted the chippie frame white.

Other chippie pieces were painted white then coloured and finished with Nuvo glitter paste for sparkle.

You see the great flair button and pearls in this photo too.


Lots of layers, chipboards and fun flair button and pearls accents this page.

Thanks for stopping by ... have a great day.

Sunday, June 24, 2018
4 Generations with amazing memories

Hi Bev here with a project for The Rubber Buggy I used lots of Blue Fern Studios Collections along with amazing 49 and Market flowers. I used copic markers on the chippies and used Tim Holtz inks on the edges
I used the Spiegelmom Scraps sketch below. I did a major change throw the central photo section because I wanted to use only 1 photo.
To finish the page off I added some pearl flourishes and cardstock matted the blocks and photo.
I fussy cut top left and bottom right floral corners out so slip the fun solid dark border across the page.


Here are some photos to show the page process. I started with the fuss cut floral sections and added the border first. The centre panel is a piece added to give more colour options.

Title and hearts are copic coloured.

I matted all pieces with cardstock and then popped up the photo piece.

In the side view you can see the popped up elevation.

In the next closeups you can see the details of the page better.


Thanks for stopping by. Hope your having a great day.

Monday, March 5, 2018
The Rubber Buggy using Heartfelt creations Sugar Hollow Collection

Hi.... it's Bev here today. The Rubber Buggy has amazing products which include so many from Heartfelt Creations. For this project I am trying to use the full stamp set to create the scene for the front of my card.
Supply List:
The Rubber Buggy Products:
Paper: Heartfelt Creations Sugar Hollow Collection
Stamp: Heartfelt Creations Heartfelt Sentiments Cling Stamp Set , Heartfelt Creations
Woodsy Wonderland Woodsy Treescape Cling Rubber Stamp Set

For this card I stamped a full background to copic colour. ... and also stamped the extra pieces to pop up and give 3D look in front to the background scene.


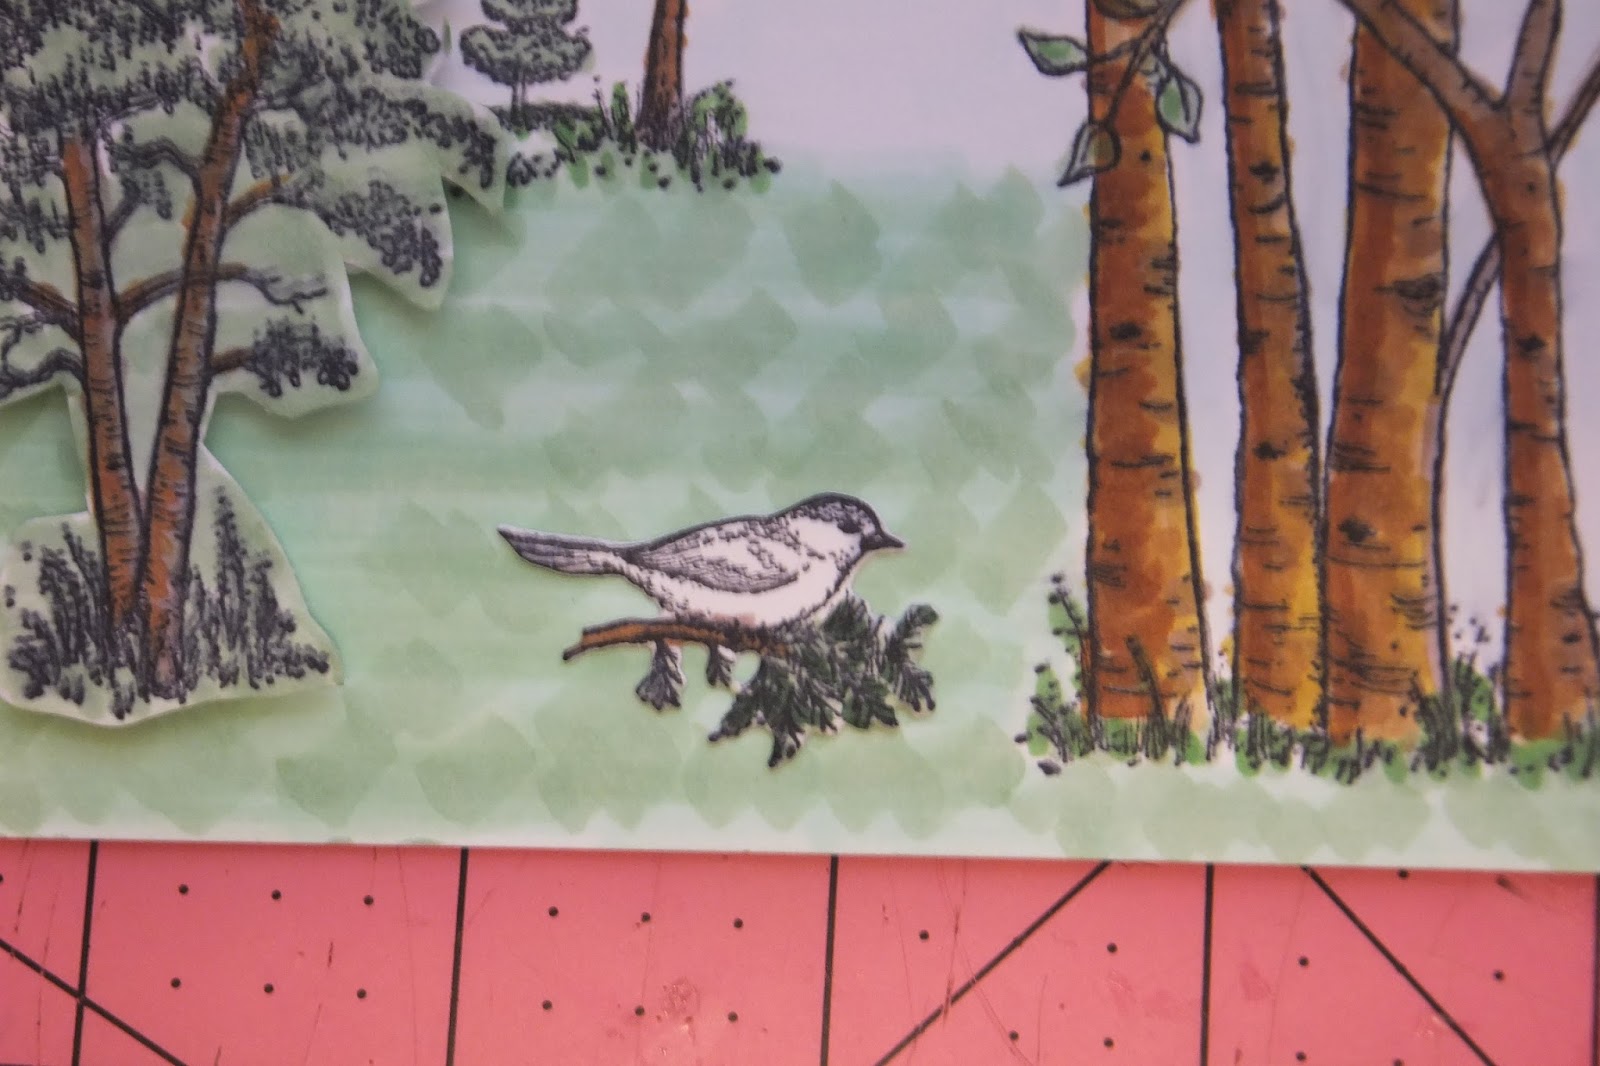
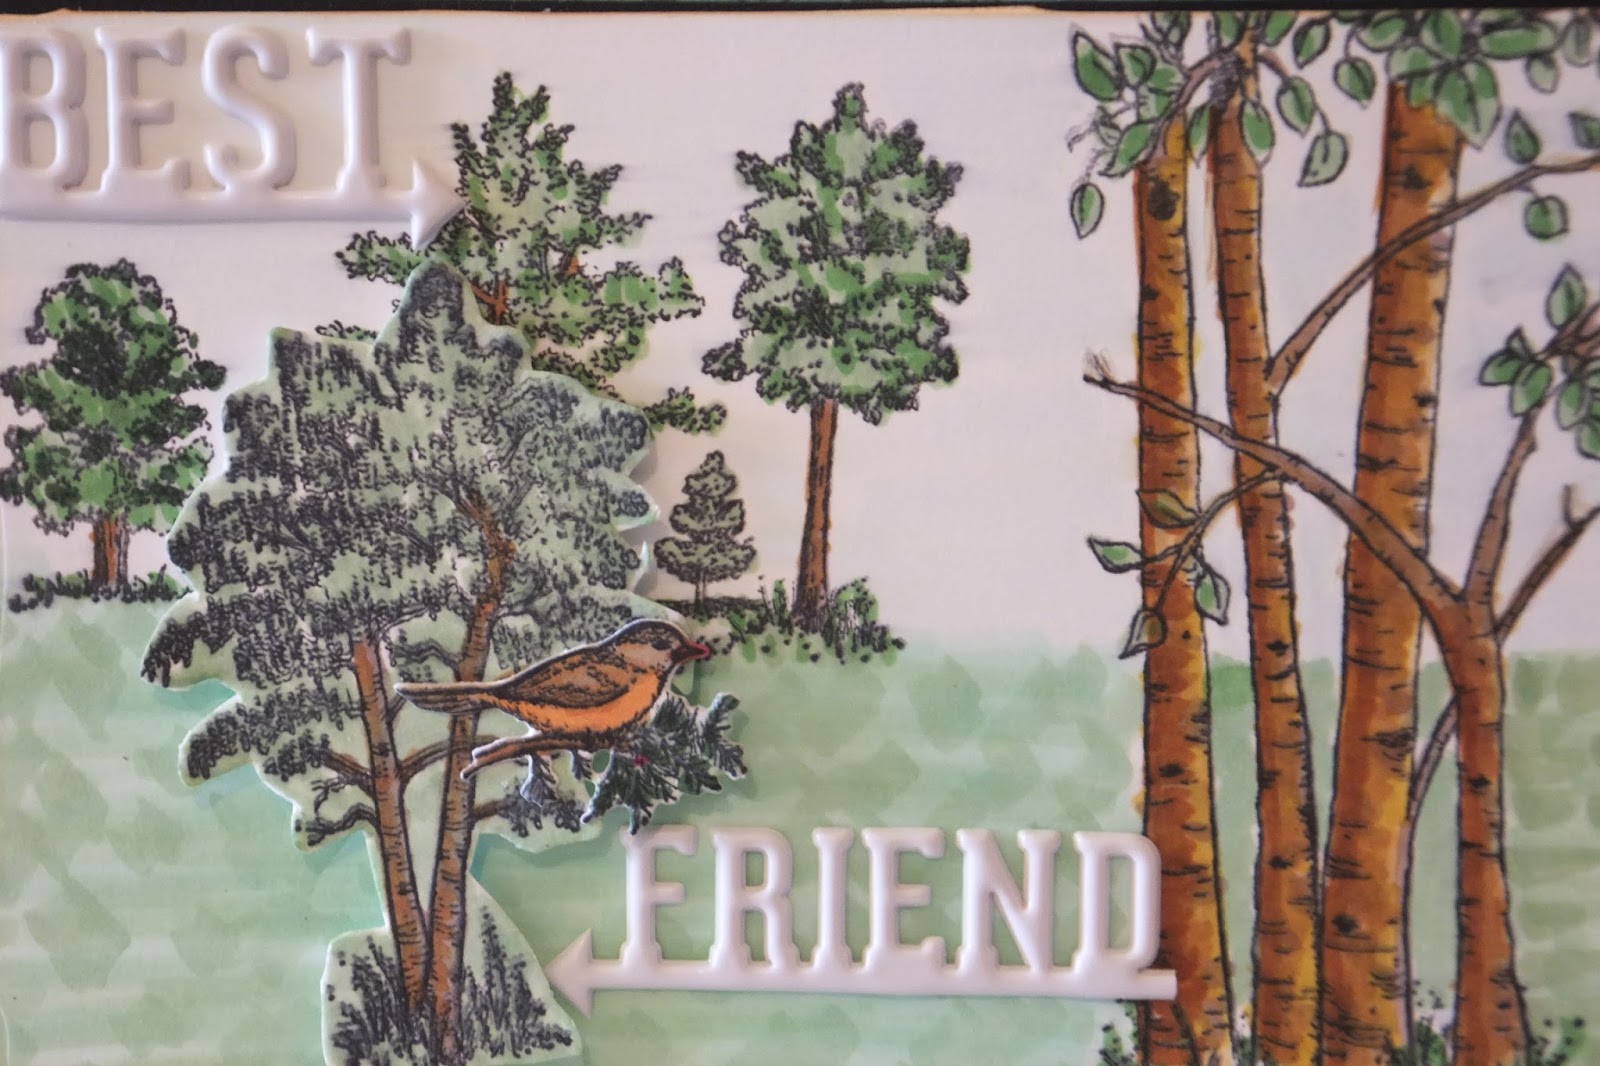
Here is the final layout of the scene with extra tree and bird on the branch. I also added the puffy sentiment Best Friend.

Inside the card I used the Sugar Hollow paper collection papers and also added the matted stamped sentiment as an accent.


Thanks for stopping by.... hope to see you again soon.
Be sure to visit the STORE to see these and so many other products too.

Subscribe to:
Posts
(Atom)


