Showing posts with label Holiday Cheer. Show all posts
Showing posts with label Holiday Cheer. Show all posts
Monday, December 26, 2016
Merry Christmas from our home to yours

HO HO HO... MERRY CHRISTMAS from our family to yours. May all things wonderful fill your day and year to come.
Hi Bev here today. This project is perfect for today.... it's memories saved of my xmas celebration with family and some of my favourite xmas decorations from our home.
Also I am multi tasking 2 amazing DT using The Rubber Buggy Photoplay Holiday Cheer paper collection and fabulous chipboard from Creative Embellishments.
Supply List:
Paper: The Rubber Buggy Photoplay Christmas Cheer, cardstock
Chipboards: Creative Embellishments Merry Christmas, A Very Merry Christmas, Star Doodles Frames
Mixed Media: The Rubber Buggy Nuvo Glimmer paste, stickles, glossy accents, Tim Holtz mini pads
Punch: Just Imagine Crafts Kreaxions

For this page I cut strips to do the top and bottom borders.... lots of red in print and cardstock. I also used the poinsettia Kreaxions punch for the top border while the fall away piece is used on the bottom border.

I now lay things out to estimate placement of photos and accents.

Next up is is treating the chipboards from Creative Embellishments. Using inks, Nuvo glimmer paste and finishing with some stickles and glossy accents.

Each piece just a bit different but a great combo together.

With the proposed position of everything I now go back to the background and add some sparkle and glitter using my newest Nuvo glimmer paste.

In the close ups now we will see more details. Some photos are double matted with a print and cardstock for layers and colours. We can also see the background work along with the added sticker accents.

This section shows the fabulous star chipboard all glittered up.

More accents and stickled chipboard.

Super family page with great accents, stickers and some background sparkle.


Thanks for stopping by.... and have a safe and happy holiday and see you in the New Year.

Monday, December 19, 2016
Christmas Projects for The Rubber Buggy

Hi... It's the time of the season when I find myself creating lots of Christmas cards for my family and friends with the personal touch. There are so many shapes, sizes and style options available and I like to mix it up. So today I share and easel card using The Rubber Buggy Photoplay Holiday Cheer paper collection and the the small word sentiments from Creative Embellishments. Both are perfect together. Be sure to take time in the stores to view these and so many other available collections and accents.
Supply List:
Paper: The Rubber Buggy Photoplay Holiday Cheer
Punch: Just Imagine Crafts Kreaxions
Chipboards: Creative Embellishments Merry Christmas, O Christmas tree
Mixed Media: Nuvo glimmer paste, Tim Holtz mini pad inks
Other: doily, cardstock,
We are going to make an easel card base and then decorate it. Follow the instructions below and your all set.


Here is my base pieces following the instruction sheet above.

Using ink pads add some colour and when it's dry then add the glitter to the chipboards.

Using cardstock strips punch the border and then matt it so the design pops.
Matt the print to the black separate base front piece.
Cut a print piece and matted paper strip to decorate the inside of card.

Here you can see the details and the pieces inside and the outer front ready to put the card together.

Here is how it sits flat for inside the envelope.

And..... this is it free standing in easel position when taken out of the envelope.
*******************************************************

Christmas is my favourite time of the year with family, friends and all the fun bright colours, the lights and all the glitter and shine. I make lots of xmas crafts to share at this time of season.
Up next is a cute xmas gift box.

I started with treating the Creative Embellishment chipboards using ink and Nuvo glitter paste. They turned out all full of colour and sparkle,


Using this instruction sheet put together your base gift box


You should find the instructions easy to follow. Print them yourself for future reference any time you want to make more.

Decorate your box to your liking. I am using my DT products from The Rubber Buggy Photoplay Holiday Cheer Collection. It have become one of my favorite collections with all the fun bright prints and more subtle a grey tones. Accents are awesome also in this collection.
Circle punch the top circle to close of the lid of your box.
Glue the side panel and the bottoms of the box.

This is the backside view and tie off the top with fun ribbons. I also added some glittered snowflake chipboards and a doily accent. Your done and it looks terrific.


Thanks for stopping buy.....hope your enjoying family and friend time..... as it is the Season to be Happy and Merry.

Monday, December 12, 2016
Celebrating Christmas at The Rubber Buggy

Hi ... Bev here today. Did you know I love Christmas... everything about it except snow and icy roads!
On this fun page I am using a mix of Collections from The Rubber Buggy. Maja Design and Photoplay along with some of my DT chipboard products from Creative Embellishments.
Supply List:
Accents: Creative Embellishments Merry Christmas, snowflakes
Stencil: The Crafters Workshop Burst
Mixed Media: Nuvo glitter paste, Tim Holtz ranger ink

Using lots of scraps, accents and strips is a great way to start a page. I laid things out across the page and move them around until it gives me the look or design I am looking for.

I am using ink and spray mist to cover the chippies I chose for this page.
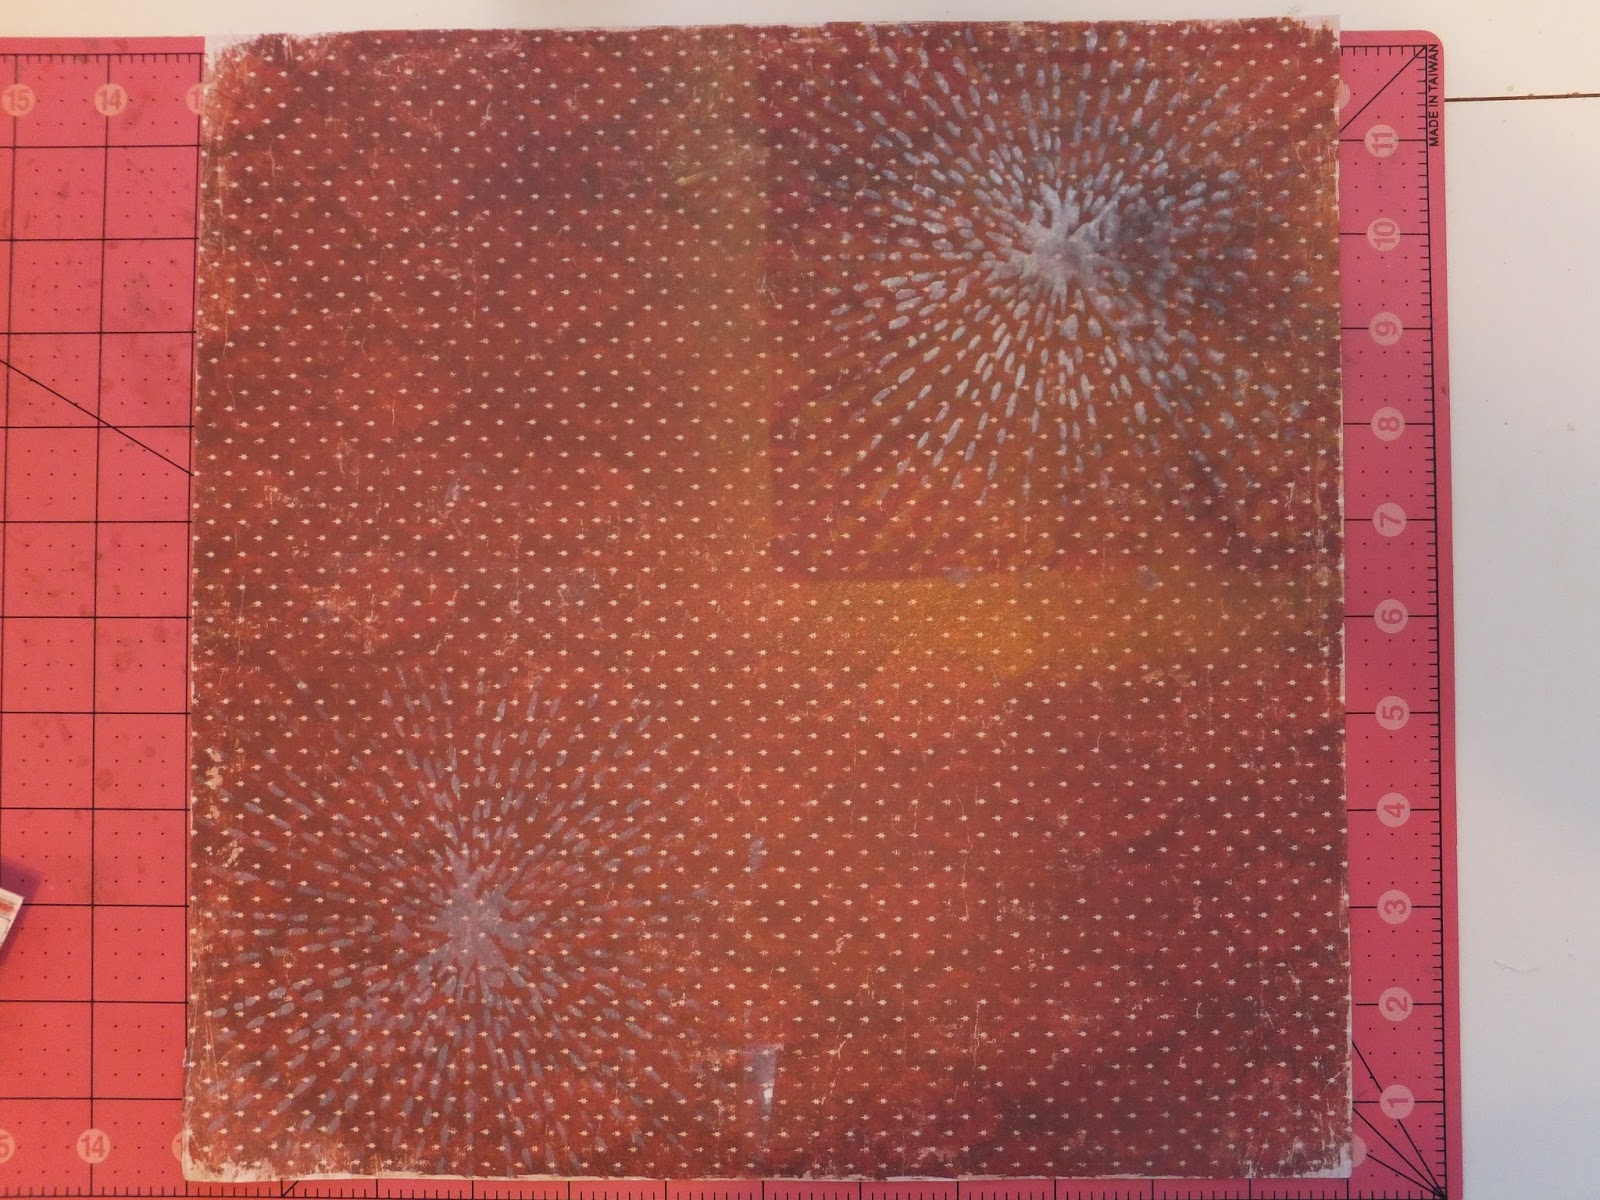
The background is a little dark so after pulling everything off the page... I inked a TCW burst stencil to lighten it up a bit.

Now I glued things all back down again to finish my page. Lots of fun strips, pieces and great accents.


Subscribe to:
Posts
(Atom)


