Showing posts with label A Gift for You. Show all posts
Showing posts with label A Gift for You. Show all posts
Monday, December 12, 2016
Celebrating Christmas at The Rubber Buggy

Hi ... Bev here today. Did you know I love Christmas... everything about it except snow and icy roads!
On this fun page I am using a mix of Collections from The Rubber Buggy. Maja Design and Photoplay along with some of my DT chipboard products from Creative Embellishments.
Supply List:
Accents: Creative Embellishments Merry Christmas, snowflakes
Stencil: The Crafters Workshop Burst
Mixed Media: Nuvo glitter paste, Tim Holtz ranger ink

Using lots of scraps, accents and strips is a great way to start a page. I laid things out across the page and move them around until it gives me the look or design I am looking for.

I am using ink and spray mist to cover the chippies I chose for this page.
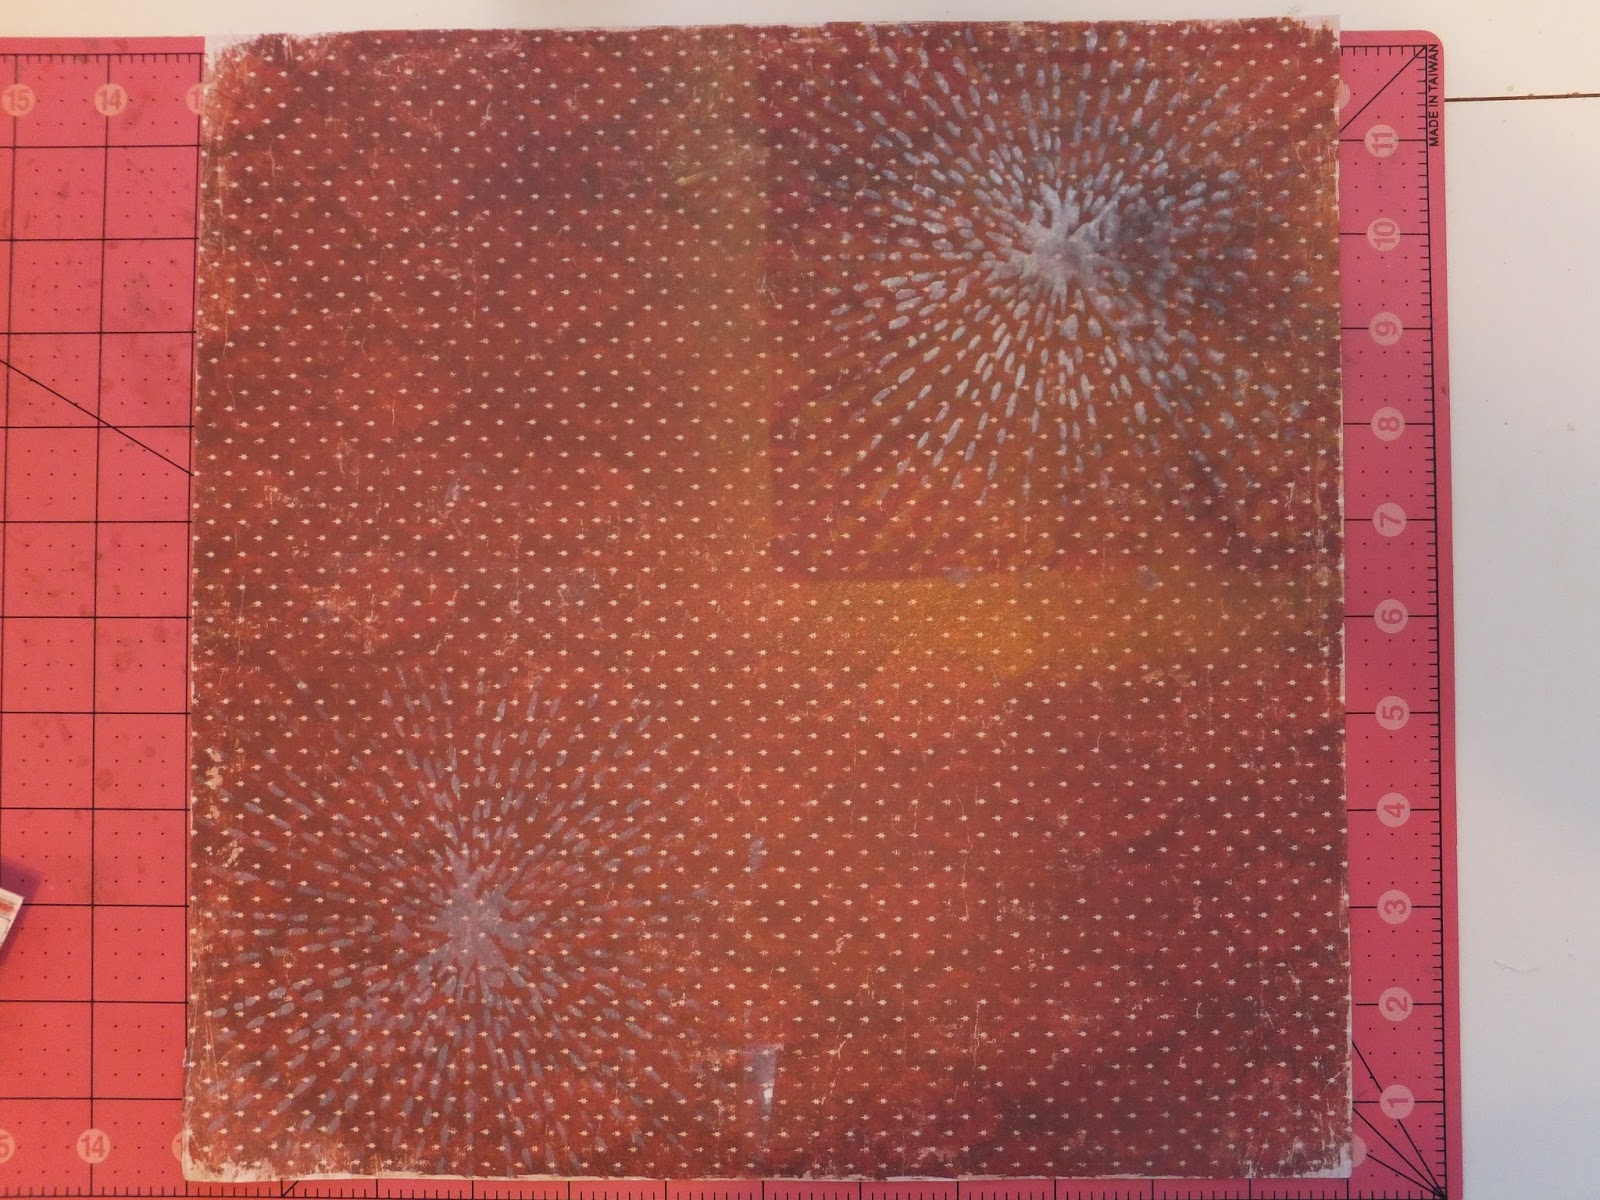
The background is a little dark so after pulling everything off the page... I inked a TCW burst stencil to lighten it up a bit.

Now I glued things all back down again to finish my page. Lots of fun strips, pieces and great accents.


Monday, December 28, 2015
Double Diamond Fold Card

HI.. Bev here today at The Rubber Buggy I am excited to share with you this fabulous card using Maja Design A Gift for You collection. I thought we'd step
out of our comfort zone and try a new card shape. This is the Double Diamond
Fold Card.
Supply List:
The Rubber Buggy Products:
Paper: Maja Design A Gift for You
Cardstock base:misc
Dew Drops: Robin's Nest
Twine: Bella Creations Timeless twine
Here is the link to the instructions and template to make it.
http://www.allfreepapercrafts.com/Birthday-Cards/Happy-Birthday-Fancy-Fold-Card
and here is the template link: https://castleparkdesigns.files.wordpress.com/2014/12/double-diamond-fold-template.png
Here is a close up of my card.

**Please note the start
template is 7"x12" (not marked on template that I could see)**

and here is the closed version for viewing and this would be the
envelope size required 6x7"
Thanks for visiting..see you again soon.

Monday, December 21, 2015
Christmas at The Rubber Buggy

At The Rubber Buggy there is amazing Christmas Collections I created this fun Christmas layout page with the Maja Design A Gift for You Collection. I then added lots of glitter and sparkle for Christmas.. it's perfect. This is Jake's first Christmas with family and he celebrated with his cousins.
Supply List:
Twine:Bella Creationz timeless twine
Pen: micron 01 black
Circle Cutter: Kreaxions
Stickers: misc
Sketch: SIT Rochelle Spears #167
Pen: micron 01 black
Circle Cutter: Kreaxions
Stickers: misc
Sketch: SIT Rochelle Spears #167

In the close ups you get a better view of the details and accents.

What a great frame for the cute photos.

Lots of circles, snowflakes, and fun cluster with tag, twine along with a great mix of grey and red print papers all set the stage for this great page.


****************************************************************
Here is a card project using some more scrap stash from the Maja Design collection and added some of the Authentique Paper Tradition Collection to do the base.


Supply List:
Ribbon: Lemon Craft
Ink: Tim Holtz ranger
Ink: Tim Holtz ranger


So glad you could visit today..come back again soon... and Happy Holidays to you and your families.

Monday, December 7, 2015
The Rubber Buggy has amazing Christmas Collections

Hi, Bev here today. The Rubber Buggy carries amazing Christmas paper lines. Today I have 2 great cards using Maja Design A Gift for You Collection. The first card is a paper blocking design using lots of stash scraps and then cut a tag and santa stamp accent off the paper die cut sheet. Added a touch of twine and it's done.
Supply List:
The Rubber Buggy Products:
Paper: Maja Design A Gift for You
Ink: Tim Holtz ranger distress
Pen: micron 01 black
Cardstock base:misc
Sketch: Feeling Sketchy
Twine: Bella Creations Timeless twine
And here is another Christmas card using all the same products.
The Rubber Buggy Products:
Paper: Maja Design A Gift for You
Ink: Tim Holtz ranger distress
Pen: micron 01 black
Cardstock base:misc
Sketch: Feeling Sketchy
Twine: Bella Creations Timeless twine
And here is another Christmas card using all the same products.

This card used even more of the great tags off the sheet of die cut accents. The santa stamp, the red borders and more twine accents along with the "for you" sentiment finishes off this 2nd card.
Both these cards used a Feeling Sketchy sketch and Maja Design A gift for you paper.


Thanks for visiting today.. come back again.

Monday, November 9, 2015
Homemade Card Accent - using Maja Design A Gift for You

Hi.. Bev here today at The Rubber Buggy I share a card with a super fun but easy make your own accent on it. All it takes is squares and a corner punch. They look like petals - sort of?

Cut squares 2 different sizes about 1/4"in difference for the double layered shapes. You can then use as many or as little to design with.
For those of you that like a video view I am attaching it for you... with more details.
Supply List:
The Rubber Buggy Products:
Paper: Maja Design A Gift for You
Ink: Tim Holtz ranger
Lace: Crochet Lace 3/8 \" Cream
Other: Twine, dew drops,
cardstock base


******************************
Using the same collection I have another fun card to share.. it is one of those that only require small pieces (from your stash) to create.
Using scraps you can design with diagonal cuts, pop with colour by adding some cardstock border and also cutting custom pieces from small pieces as I used to cut the legs, socks and elf shoes. All I did was trace on the wrong side and cut the pieces. The title is perfect for this one. It all started with white cardstock base.
Thanks for visiting today.. and come back often.
Monday, November 2, 2015
Maja Design and Christmas Collection

Hi... it's Bev here today. I have been using products from The Rubber Buggy called Maja Design A Gift for You collection. What a fabulous collection for Christmas and winter pages.
On the page above I used the SVG cricut cut Snowflake border and the Christmas Trees from Sherri Baldy using the xmas themed papers.
Supply List:
Stencil: TWC
Molding Paste: Liquitex
Twine: Bella Creationz timeless twine
Ink: Tim Holtz ranger
Ink: Tim Holtz ranger
Stickles: Ranger
SVG cut files: Scrapbook Stamp Society with Sherri Baldy

Look at this too cute Santa.... great section of the paper... but also wanted to share the added texture using a stencil and modeling paste.

This close up show cases the matted adorable and too cute photo. It is topped off with a fun twine tied tag.

This close up gives you a view of the snowflakes border with added stickles for sparkle.

This close up show cases the fabulous trees.. one double cut with fussy front and one single background only. Notice the stickles added again for more sparkle.

Here is a page I shared previously at Sketches in Thyme using the sketch # 171 as seen below. It is used when creating this Christmas Wish layout. This page boasts lots of layers, shapes and accents.

Supply List:
Paper: The Rubber Buggy Maja Design A Gift for You
Twine: Bella Creationz timeless twine
Ink: Tim Holtz ranger
Twine: Bella Creationz timeless twine
Ink: Tim Holtz ranger
Punch: Kreaxions # 914
Sticker: Paper House Believe Puffy Stickers
SVG cut files: Scrapbook Stamp Society with Sherri Baldy
Sketch: SIT Rochelle Spears #171 by Shawn Lahr
Sketch: SIT Rochelle Spears #171 by Shawn Lahr
Thanks for visiting.. love when you have the time to pop in.. and do come again.... soon.


Monday, September 21, 2015
Fun technique.. smooching using plastic bag and Maja Design A Gift for You Collection

Hi it's Bev back again,,,, and today at The Rubber Buggy I am sharing a fun technique I just learned.. call smooching.. and also highlighting products .... Maja Design A Gift for You Collection.
However first I used Modeling Paste and a stencil cut with cricut.. Star shapes... and add a thin layer of paste over the background paper.

It's not over powering.. but definitely adds texture.

Next using a plastic bag over your fingers.. do one of two things your choice... 1. add paint to bowl, lid or tray and add small amount of water to thin it out. Take the plastic bag over your finger and dab into paint .. now pat and smooch over the page. OR 2. put the plastic bag over your fingers and add ink from the ink pad to the bag and spray with a small amount of water and dab and smooch over page. When done with the 1st colour you can wipe off and dry with a paper towel and now repeat with more colours. Above is the sample of my background smooching. I tried both ways and it worked great.

Above is my finished page starting with smooching and then fun layers, accents and photos to finish off my page.
Supply List:
The Rubber Buggy Products:
Paper: Maja Design A Gift for You
Ink: Tim Holtz ranger distress ink
Other: Bella Creationz Twine, stickles, glossy accents
Cricut cut file: Scrapbook Stamps Society SVG cut files,
The Rubber Buggy Products:
Paper: Maja Design A Gift for You
Ink: Tim Holtz ranger distress ink
Other: Bella Creationz Twine, stickles, glossy accents
Cricut cut file: Scrapbook Stamps Society SVG cut files,
Paint, color box, Liquitex modeling paste, Studio 71 gesso

In the close ups you can view some details better. This section shows the smooching, the fun cricut cut title and border ornaments along with the corner twine tied accent.

This section shows the fun twine tied slanted border and cute santa accent.

Really cute tags came as part of the paper.. cut them all apart and clustered them for a cute accent.

This close up shows that one photo was trimmed leaving some white border and the other photo was print paper matted.

I enjoyed sharing this project with you today.. and sure hope you'll try both ways of smooching using a plastic bag and watered down colours.

Subscribe to:
Posts
(Atom)


