Showing posts with label The Crafters Workshop. Show all posts
Showing posts with label The Crafters Workshop. Show all posts
Thursday, August 4, 2022
Slimline Distress Background
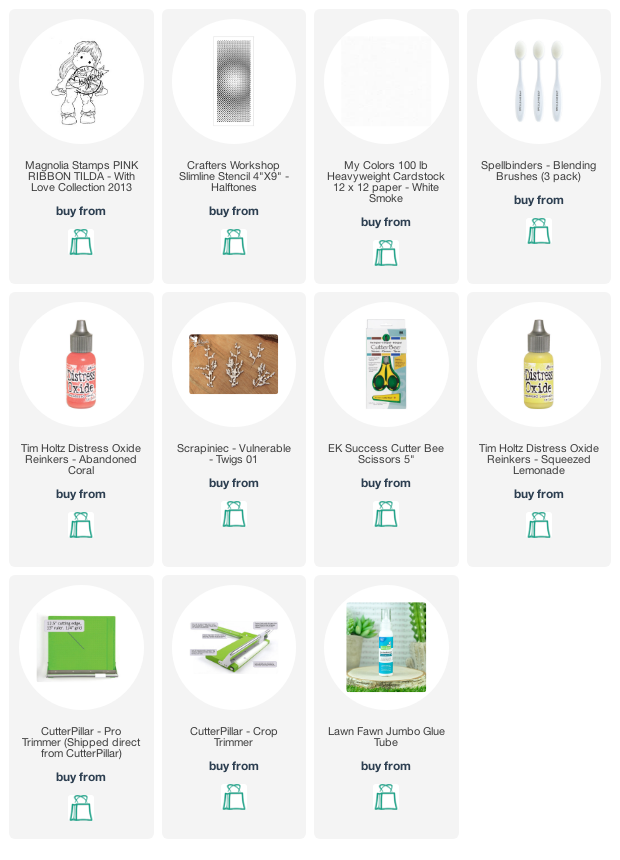
Welcome back to the Rubber Buggy blog 🥰 today I am sharing the girl everyone knows and loves Tilda. TRB has a huge selection of this beautiful girl in the large and small size

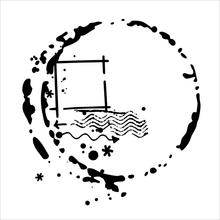
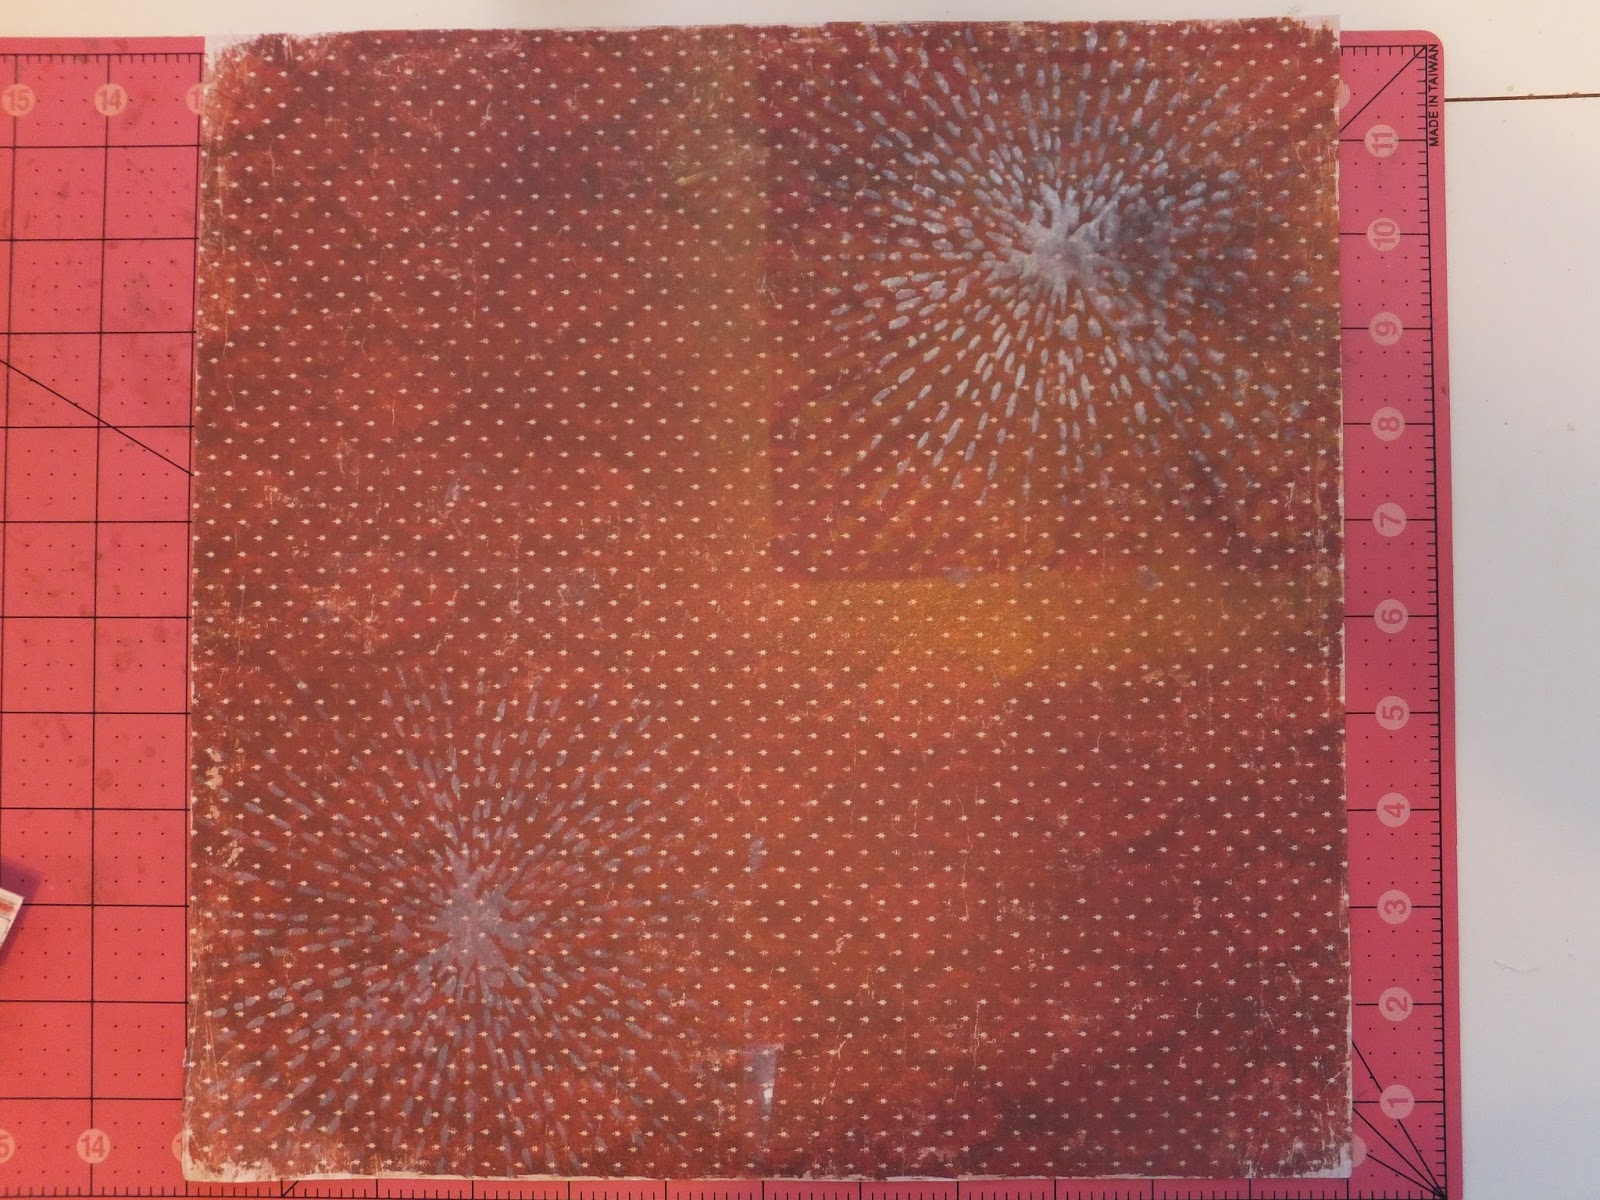
I used The Crafters Workshop new Halftones stencil to make the background by using blending brushes from Spellbinders with distress inks😍

Then I used some decorative chipboard pieces from Scrapiniec to create a decorative piece to balance the image with and give it some umpfff. We have started carrying more product from Spellbinders so be sure to check out all the new goodies in the TRB store. They carry a lot of those hard to get items from foreign craft shops like P13, Mintay, Lexi Design and more so take a stroll through the shop Kelli is always stocking new stuff ❤️❤️ Especially if you are a shabby chic vintage sort of gal oooppp or dude 🤪
Monday, March 18, 2019
Memories layout page at The Rubber Buggy

Hi it's Bev here at The Rubber Buggy. I am sharing a "dream" page using a photo of my eldest Grand Daughter and her friend spending time together. I am using Ciao Bella Le Repubbliche Marinare Collection, 49 and Market Flowers and lots of other products. With the colouring in the papers I chose to use the chipboards naked to coordinate ... perfect colouring match.
The Rubber Buggy Products
Paper: Ciao Bella Repubbliche Marinare Collection
Flowers: 49 and Market Garden Seeds Cotton,
Medium: Prima Market White Gold Icing paste
Stencil: Crafters Workshop, TCW 605
Paper: Ciao Bella Repubbliche Marinare Collection
Flowers: 49 and Market Garden Seeds Cotton,
Medium: Prima Market White Gold Icing paste
Stencil: Crafters Workshop, TCW 605
Glue: Beacon 3-in-1 Glue,
Accents: Scrapbook 3D foam
Machine/ tools: EK success cutter bee scissors, Fiskar Paper Trummer,
Other: stickers, pearl flourishes, paint,

For this page I paint splattered in green and stenciled in gold. I then fussy cut on right side to slide in a piece of dark brown burlap type accent ribbon.

Next I chose the circle panel for a photo background, pulled basic alpha letters for the word "dream" and also grabbed more chipboards and added sticker to the cluster.

In the close up views you can see the floral accents in better detail.


Thanks for stopping by... hope to see you again soon.... but in the mean time be sure to stop by the STORE where these items and so many others are available. Also take note of all the products that aren't carried in our regular local stores. ... AND the service is A1.

Thursday, February 7, 2019
Altered Notebook by Steph
Hi everyone, Steph Ackerman here today with lots of fun products from the store. Please visit the store for all the fun products I've used today.

Place the Ranger Ink Craft Sheet on your craft table. Some metal gears from my stash were glued to a notebook from my stash along some Prima chipboard elements. Then I used Prima's Black Gesso, and painted the notebook. I added dimension by using molding paste with the Tattered Lace Stencil from The Crafter's Workshop.


Thank you for visiting

Place the Ranger Ink Craft Sheet on your craft table. Some metal gears from my stash were glued to a notebook from my stash along some Prima chipboard elements. Then I used Prima's Black Gesso, and painted the notebook. I added dimension by using molding paste with the Tattered Lace Stencil from The Crafter's Workshop.

Be sure to place wax paper between the cover so the paint does not cover the book pages. Use assorted colors of Prima's Art Alchemy acrylic paints in Royal Blue, Red Wine, Golden Moss, Gold Amber and Yellow to add color to the cover. Painting over the black gesso really allows the colors to pop.

Glue Mini Art Stones from Prima randomly about the cover.

To finish I selected flowers to fit my design, then added tags from my stash.

With a project such as this, you can add all types and kinds of embellishments.
Thank you for visiting
Thursday, March 22, 2018
Let the Adventure Start
Hi everyone, Steph Ackerman here today with adventure and travel on my mind. Please visit the store for all the fun products I've used today.

Using The Crafter's Workshop Adventure Stencil with Ranger Weathered Wood Distress Ink, I inked around the edge of the card.

Using Stamping Bella's Molly Takes a Detour, I stamped her with Memento Tuxedo Black Ink and colored her with Copic Markers. For more detailing, I placed the stencil over the stamped image.

The panel was matted with brown cardstock from Lawn Fawn's Knock On Wood paper pad. The sentiment was stamped on white cardstock, matted with brown cardstock and added to the card with foam adhesives.

Thank you for visiting
Thursday, August 24, 2017
Altered Journal with Prima
Hi everyone, Steph Ackerman here today working with products from the Rubber Buggy Store. Have you checked out the store lately? There is so much to see!


Moving the book around allowed the colors to move around the covers.


Finally I used Ranger Texture Paste with a stencil to add words across the panel.
Thank you for visiting

I wanted to alter a journal so I began by painting Gesso on my covers.

Once dry, I used Ranger Texture Paste with The Crafter's Workshop brick stencil randomly about the cover.

Using assorted Color Blooms from Prima Marketing, I added color to the cover.

Moving the book around allowed the colors to move around the covers.

I painted the bricks with Prima Acrylic Paints using Rose-Gold and Royal Red.

I painted the edges of the book with Prima Acrylic Paints using Rose-Gold. Next, I painted some bits of chipboard with Prima Acrylic Paints using Turquoise.

Finally I used Ranger Texture Paste with a stencil to add words across the panel.
Thank you for visiting
Monday, December 12, 2016
Celebrating Christmas at The Rubber Buggy

Hi ... Bev here today. Did you know I love Christmas... everything about it except snow and icy roads!
On this fun page I am using a mix of Collections from The Rubber Buggy. Maja Design and Photoplay along with some of my DT chipboard products from Creative Embellishments.
Supply List:
Accents: Creative Embellishments Merry Christmas, snowflakes
Stencil: The Crafters Workshop Burst
Mixed Media: Nuvo glitter paste, Tim Holtz ranger ink

Using lots of scraps, accents and strips is a great way to start a page. I laid things out across the page and move them around until it gives me the look or design I am looking for.

I am using ink and spray mist to cover the chippies I chose for this page.
The background is a little dark so after pulling everything off the page... I inked a TCW burst stencil to lighten it up a bit.

Now I glued things all back down again to finish my page. Lots of fun strips, pieces and great accents.


Monday, August 29, 2016
Adore by Bev using Blue Fern Studio Tranquility Collection

hi Bev here today ... so I am still creating wedding pages... doing black and white and colour photos. I am using products from The Rubber Buggy. The Blue Fern Studio Collections have been amazing and have the perfect touch of softness and elegance for wedding pages.
The Rubber Buggy Products
Paper: Blue Fern Studio Tranquility Stillness
Stencils: TCW 455s, 605s, 507s
Ink: Tim Hotlz mini pads
Accent: ART C doily
Other: flowers, fern stickers, chipboard

In the close ups I'll share some of my techniques. I use both Color Box and Tim Holtz inks... shading to the outer edges of where the photo will be.

Now using some shades of green I add more defined straight lines through out the yellow.

Now I used green paint splatter applied by flicking the paint brush.

Now it's stencil time. I am using a few of them and mix up the yellow and green to them.

Here is my finished stenciling all placed to the outer edges of the photo spot.

At this point I play all the proposed accents on the page in estimated placement. I take a photo so when I take them all off to start gluing from the back going forward I have a photo to view.

In these close ups you can see the page come together. In the one above you can see I chose to move everything up higher from my sample photo to leave the 3 hearts showing in full size.

I loved the natural chipboard colouring with the paper and inking.

The stenciling and colouring is perfect for this page. I love the hearts and the word Love... just perfect.

I decided on single flowers but originally had tried larger clusters. They became too strong and went back to one each. The fern leaves are stickers and the other accent is the doily.
At this point less is better so I chose to stop at this point.


Thanks for stopping by.. see you again soon.

Subscribe to:
Posts
(Atom)


