Saturday, June 3, 2017
Sharing in Your Sorrow

Welcome back and I am excited to share with you some of the gorgeous Heartfelt Creations dies and stamps that was purchased at The Rubber Buggy on-line store.
Supplies:
Heartfelt Creations Flowering Dogwood Paper, Heartfelt Creations Flowering Dogwood Stamp Set, Heartfelt Creations Flowering Dogwood Die Set, Heartfelt Creations Botanic Window die, US Artquest Sage Green Prills, 1/4" wide Scor-Tape, 3mm flat back pearls, sage green and white seam binding ribbon, Brazzil card stock.
Instructions:
The card measure 6 1/2" x 7". Use gold metallic card stock to cut out the Heartfelt Creations Botanic Window die set. I used the HC Botanic Window die set to cut out the section of the crosses found in the HC Flowering Dogwood paper and adhere it to the back of the window. I stamped the HC Flowering Dogwood flowers with green and die cut it out with the HC Flowering Dogwood die set. I shaped each flower with my fingers. I applied with my fingers the NUVO Embellishment Aquamarine Mousse for the center of the flowers. I applied with my fingers the NUVO Embellishment Mother of Pearl Mousse on the petals of the flowers. I used a hot glue gun to glue the flowers on the card. I adhere the seam binding ribbons on the card with the Scor-Tape.
The Rubber Buggy Design Team has something new to share with you each day. Pop in and see for yourself what is being shared by this talented group of inspiring designers!!
Have a fabulous crafting day!
I'll be back again next Saturday with a new card or project.
In the meantime, here are all The Rubber Buggy quick links you will need:
In the meantime, here are all The Rubber Buggy quick links you will need:
Thank you again for stopping by
Nancy Hill
Designer for The Rubber Buggy

Friday, June 2, 2017
St. Tropez Card
Hi everyone!!
It´s Noe here... This week I received my new DT package along with some little cute goodies that I bought in the store ...Officially, I´m in love with the new collection of Prima "St. Tropez" ... At the end of this post I leave you a small video for that you can see some things that I bought and where you can see the complete collection!
I have in mind to make a nice album with this collection, I promise to do a tutorial on it ... but since the paper pad comes with 5 pieces of each model, I couldn´t resist and I made a card with it!

Supply list:

Don´t miss the details of this collection !! Here I show you whole !!!

Thank you for visiting
It´s Noe here... This week I received my new DT package along with some little cute goodies that I bought in the store ...Officially, I´m in love with the new collection of Prima "St. Tropez" ... At the end of this post I leave you a small video for that you can see some things that I bought and where you can see the complete collection!
I have in mind to make a nice album with this collection, I promise to do a tutorial on it ... but since the paper pad comes with 5 pieces of each model, I couldn´t resist and I made a card with it!

Supply list:
- St. Tropez 12x12 Paper Pad.
- St. Tropez Ephemera Pack.
- Pinpoint Double Frame Craft Die from Memory Box.
- Sea Glass from 28 Lilac Lane Shaker Mix.

Don´t miss the details of this collection !! Here I show you whole !!!

Thank you for visiting
Thursday, June 1, 2017
Thinking of You
Hi everyone, Steph Ackerman here today working with a bunch of products from the Rubber Buggy Store. Have you checked out the store lately? It has so many wonderful new products.
The store carries a large array of Tutti Designs Specialty Craft Dies and each one is amazing. These steel ruled dies cut easily in any die cut machine and are quite detailed.


The sentiment is from the Stamping Bella stamp set - Winnie Peeking Out the Window.
Thank you for visiting
The store carries a large array of Tutti Designs Specialty Craft Dies and each one is amazing. These steel ruled dies cut easily in any die cut machine and are quite detailed.

I'm using the Oriental Screen Craft Die for the background, die cutting it from Bazzill Easter Grass cardstock. I placed it atop some Bazzill Candy Bar cardstock for a great background before adding it to the card.

I used the Birthday Flowers Craft Die, cutting it from white cardstock, then used assorted Lawn Fawn inks to add color to the die cut. Using a Ranger Ink Blending Tool makes adding color to even the smallest of areas easy. Using Spellbinders oval dies, I die cut both sheets of cardstock and adhered the flowers on top, adding it to the card with Scrapbook Adhesives 3D Foam Squares.

The sentiment is from the Stamping Bella stamp set - Winnie Peeking Out the Window.
Thank you for visiting
Wednesday, May 31, 2017
Vintage Cards with Netra
Vintage lover? Me too !
I am so into the vintage style at the moment.
I decided to use 49th and Market papers and Tim Holtz die cuts.
You'll love the combination.


For this first card I used tiny ephemera pieces. I just tucked them
in under the edges. I also used the Wild Flower Die by Tim Holtz...a fave.

For this card I used some Prima Flowers and a metal butterfly.
I also stamped directly onto the patterned paper to create my
own ephemera.

I hope you enjoyed. Be sure to mix and match your favorite companies.
You're sure to create a stunner.
Products Used
Prima Color Philosophy Inks (hands down a must have)
Thank you for visiting
Tuesday, May 30, 2017
Pointsettia Tilda's Versatility

Hi it's Jennifer here with a Magnolia Card.
I though I would do something different I have looked
at this stamp since I got it and Loooooved it the only
thing was it was a bit late for Christmas and it kept saying
Bumble Bee to me so this week I turned her into a Bumble Bee
next week I will turn her back into to Christmas ready for
Christmas in July and show you how versatile she is. You
can also look at your other Christmas Stamps and see if you
could use them for different occasions through out the year too.
So the stamp I have used is Pointsettia Tilda. I have used
Papers from Lawn Fawn Water Colour Wishes and Prima
I also contemplated using the Pion Papers To My Valentine.
Also one of my favorite is Dohickey Leaf and Swirl Die.
The Flowers are a mix from Wild Orchid Flowers.
Pearls are Melissa Frances ones coloured with Copics.
Copics used
Face - E0000, E000, E00, E01, E11, E13, R20
Hair - E25, E27, E29, E30
Flower - C03, C01, C0
Yellow Strips and Flower Centre - Y11, Y15, Y18, YR23
Black Stripes - C3, C5, C7, N9

All these products and more are avaliable at the
The Rubber Buggy Shop and don't forget to visit us on Facebook
look for the Videos down the side too, Instragram and the
Rubber Buggy Design Team Blog where there's a post nearly
everyday from one of the team.
look for the Videos down the side too, Instragram and the
Rubber Buggy Design Team Blog where there's a post nearly
everyday from one of the team.
Happy Crafting
Jennifer
Monday, May 29, 2017
Super fun projects using Maja Design Sommartider Collection
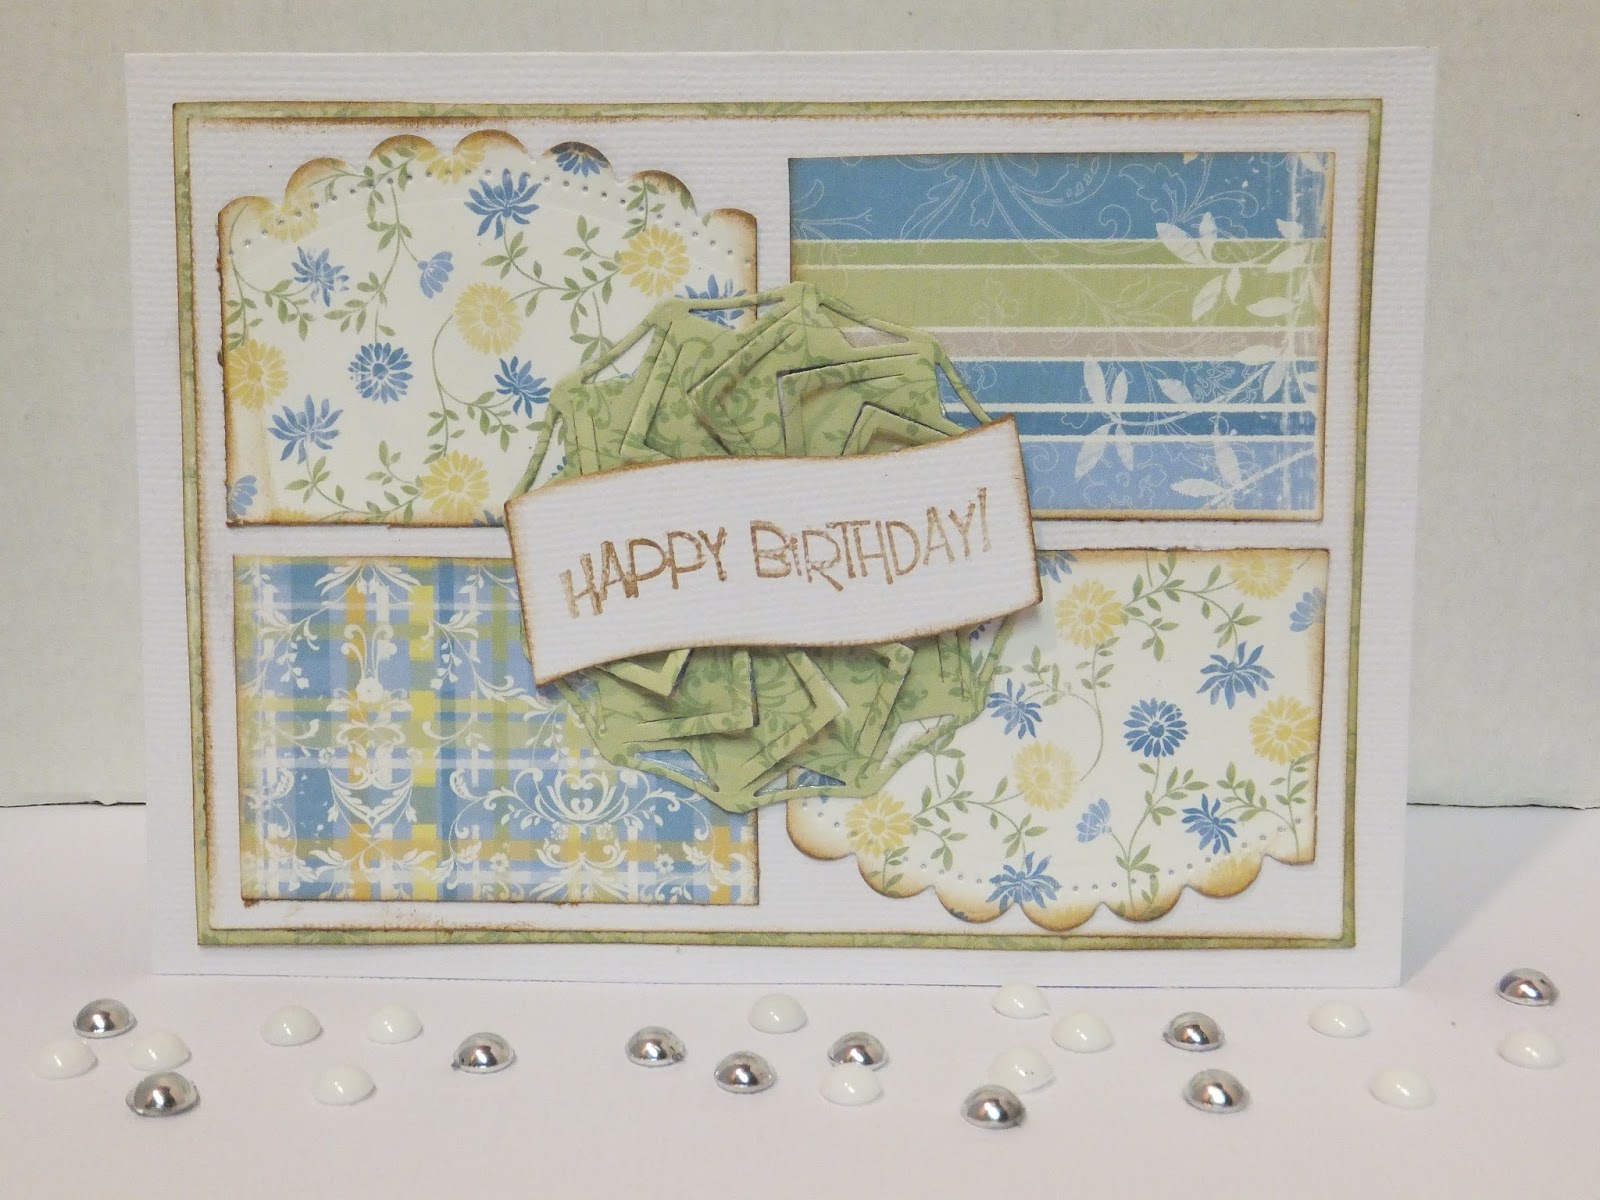
Today at The Rubber Buggy I am thrilled to share a few projects using Maja Design Sommaritider Collection and many other accents.
Up first is a cute birthday card that any one would love.. lots of different shapes, inked edges and a stamped sentiment.

This super cute pillow box is great for any small fun surprise for any child, for a gift box on the table for parties or for small size gifts too.

And up last is a super fun tag with great background stamping, stenciling and fabulous layer topped with some decorated chipboard.
Supply List:
Paper: Maja Design Sommaritider
Ink: Tim Holtz ranger mini pads
Dies Spellbinders
Other: cardstock, stamp/die sentiment, Creative Embellishments small word sentiments, trim, ribbon, flowers, pillow box template, pearls


Ink: Tim Holtz ranger mini pads
Dies Spellbinders
Other: cardstock, stamp/die sentiment, Creative Embellishments small word sentiments, trim, ribbon, flowers, pillow box template, pearls

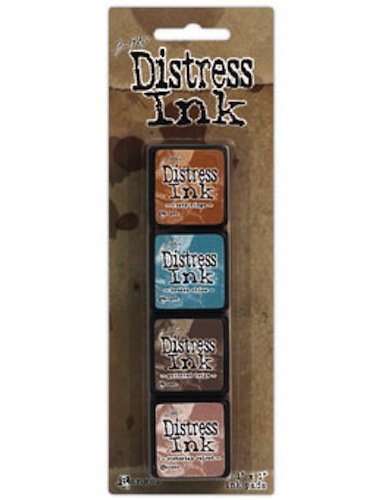
Thanks for stopping by today....see you again soon.

Saturday, May 27, 2017
My Wishes For You

This card measures 7" x 7" on the outside. The gold metallic card stock measures 7" x 7" and the cream frame measures 6 1/4" x 6 1/4".
Supplies:
Heartfelt Creations Fleur Border Die
Heartfelt Creations Sunrise Lilies stamp set
Heartfelt Creations Sunrise Lilies die set
Heartfelt Creations Wishes Stamp set
Heartfelt Creations Deluxe Flower Shaping tool set
Blue Fern Studio Autumn Anthology Penmanship paper
3D Scrapbook Adhesive
Go Green Artquest Mini Prills
My Sweet Petunia Misti - Regular size
Copic Markers
Ranger Archival Ink Pad - Sepia
Ranger Archival Ink Pad - Olive
Ranger Lavender Field Ink
Memento Black Tuxedo Ink
Instructions:
I used two square dies to made the cream frame. I cut four borders using the small corner border in the Heartfelt Creations Fleur Border die set and adhere the die cuts on the back of the cream frame. I used the 3D Scrapbook Adhesives 3D foam tape on the back of the frame to adhere to the Blue Fern Studio Autumn Anthology Penmanship paper.
I stamped using Ranger Sepia ink and die cut out two of the small Heartfelt Creations Sunrise Lilies with white shimmer paper. I sponged Ranger Lavender ink on the tips of each petal and used Copic Marker YG05 for the center. Shape the flowers using a flower shaping tool like the Heartfelt Creations Deluxe Flower Shaping set. I die cut two of the small stamens in the Heartfelt Creations Sunrise Lilies die set with yellow/green paper. I added glue to each tip of the stamen and dipped the stamen in the Go Green Artquest Mini Prills. Let dry for about 10 minutes.

I stamped the Heartfelt Creations Stamp Wishes sentiment and flower set except for the lily with Ranger Olive. I had to use just scissors to cut out the two flower sets since I didn't have the Heartfelt Creations Sunrise Lily Bouquet die set that would have been easier to use. I colored the flower sets with Copic Markers.

If you seen my other cards before, you would have seen the Heartfelt Creations Stamp Wishes sentiment since I love this so much. "My Wish For You" was stamped in front of the card.
I cut out a 7" x 7" cream paper and stamped this gorgeous Heartfelt Creations Stamp Wishes sentiment using the My Petunia Misti Stamp tool with the Memento Black Tuxedo ink and colored the flowers and birds with colored pencils since I wanted the details to show up more. I adhere it to the inside of the card.

The Rubber Buggy Design Team has something new to share with you each day. Pop in and see for yourself what is being shared by this talented group of inspiring designers!!
Have a fabulous crafting day!
I'll be back again next Saturday with a new card or project.
In the meantime, here are all The Rubber Buggy quick links you will need:
Thank you again for stopping by
Nancy Hill
Designer for The Rubber Buggy
Subscribe to:
Posts
(Atom)


