Thursday, November 17, 2016
Bird Tapestry
Hi everyone, Steph Ackerman here today working with an assortment of products from the Rubber Buggy Store.
There are some fun new dies in the Store and Tutti Designs are amazing.


Brads were added in the corners of the design and to the flower centers. The panel was added to a layer of Christmas Cosy from Riddersholm Design with foam adhesives for dimension.
Thank you for visiting.
There are some fun new dies in the Store and Tutti Designs are amazing.

I used the Tutti Designs Bird Tapesty die with Jelly Bean cardstock. To highlight the details, I placed peach cardstock behind the image. I love the detailing. I used Christmas Cosy from Riddersholm Design on the card base.

Brads were added in the corners of the design and to the flower centers. The panel was added to a layer of Christmas Cosy from Riddersholm Design with foam adhesives for dimension.
Thank you for visiting.
Wednesday, November 16, 2016
December Daily Prep with Netra
Happy Wednesday everyone!
I hope this week has been good to you so far.
I am really enjoying hot tea's and warm blankets.
So this year I decided to partake in the December Daily Album.
I hope I can stick with it.
After seeing the Sweet Peppermint collection is person, I knew
I wanted to create an album with it.
I purchased the Simple Stories - 6x8 SN@P! Faux Leather Album in Black.
Its a very nice album. Very well made.
Here is a sneak peek of what I have so far.
I plan on just adding pages and having embellishments ready to go by December.
I am so excited.
Hope you get a little inspiration for your December Albums.


Thank you for visiting
Tuesday, November 15, 2016
Brett and Brenda get Married

Hi Everyone it's Jennifer here with Tuesday's post. So today I thought
I would show you how to turn the Twisted Easle Card
I did with the Penguin for Christmas into a Wedding Card.
So here is the Twisted Easle Card Tutorial. I have then used
Pion Papers - Scent of Lavender and Bazzill Basics for your card
base layers. I have then added a Paper Doily to soften the look.
The Frame I used is Wild Rose Studio - Oval Frame.
I have then coloured the stamp Stamping Bella - Brett and Brenda get Married
up with Copics. The colours I used are
E0000, E000, E00, E01, E11
V0000, V000, V01, V12, V15, V17
C03, C05, C07, C09
G21, G63
This is the first time I have used this Venise White Lace and it is
Stunning. I also used May Arts Pearl Centre Lace on top of it.
I then finished it of using a mix of the beautiful Wild Orchid Flowers
in a mix of pink, mauves and whites.

I hope you enjoyed this card.
All these products and more are avaliable at the
down the side too, Instragram and the Rubber Buggy Design Team Blog
where there's a post nearly everyday from one of the team.
Enjoy your Crafting Week Everyone!
Jennifer
Monday, November 14, 2016
Smile for the Camera

Hi...Bev here today. I am super excited. I made this fabulous page celebrating my 2nd eldest Grand Daughters 19th birthday. OMG they grow up so fast... and they change from babies, little girls, big girls and into young ladies right before our eyes. I am also thrilled to be mixing my DT's. The papers are from The Rubber Buggy and the accents from Creative Embellishments.
Supply List:
The Rubber Buggy Products
Paper: Blue Fern Studio Serendipity, Riddersholm Design Our Country Christmas
Ink: Tim Holtz ranger, mini box
Markers: copics
The Rubber Buggy Products
Paper: Blue Fern Studio Serendipity, Riddersholm Design Our Country Christmas
Ink: Tim Holtz ranger, mini box
Markers: copics
Creative Embellishment Products
Chipboards: Smile for the Camera, Photo Booth Film Strip, Curly Flourishes
Stamp: Paint Splat Trio
Other: flowers, beads, cardstock


Using papers from both Blue Fern Studios and Riddersholm was perfect. I ripped the papers, inked the edges and trimmed them all back to 12x12" base again.

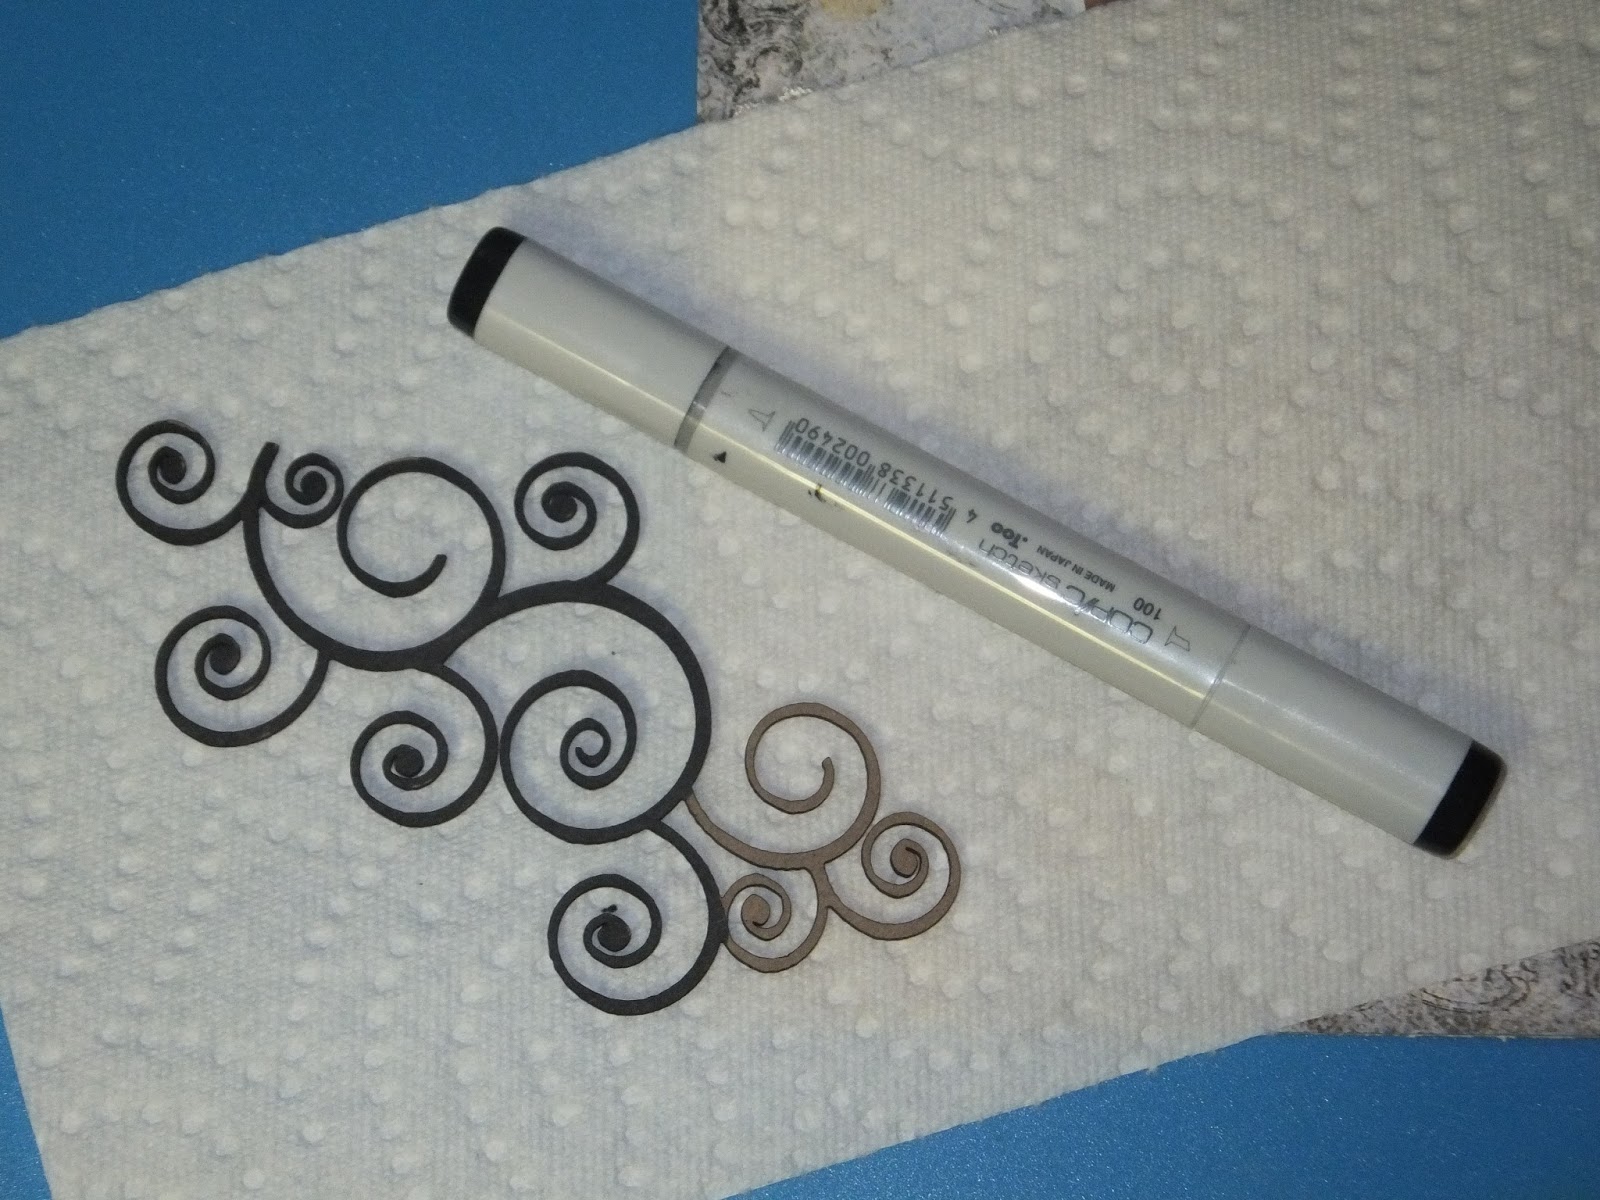
I am using chipboards from Creative Embellishments and I started copic colouring the title chipboards and then set them aside to dry.


I pulled flowers and copic markers to colour them to add as accents to the page.
 d
d
In the photo above take notice of the stamping. I used a Creative Embellishments stamp... I placed the paint splat stamped section on the page in the upper right and in the lower central section. This adds depth and texture to a background.

Proposed placement ... to be glued down yet.

Close ups allow you to see the details better. Above is the lower floral section with the copic coloured flourish chipboard.

This section shows the amazing chipboard film strip. The photos were sized to fit and they were mounted on a black cardstock to matt behind the chipboard. This allows the film strip to have black behind the top and bottom edge.

Here is the upper floral cluster with flourish chipboard. The photo is matted and the edges of the ripped paper is inked.

This photo shows the title copic coloured and the camera with black accents added to it.

This section show cases the main part with all the photos that tell the story of the birthday celebration.
Be sure to visit The Rubber Buggy where you can view other amazing projects using the best products.
Thanks for stopping by.... see you again soon.

Saturday, November 12, 2016
Nativity Christmas card
 |
| Tutti Designs- Snowglobe Expressions - Tutti-143 NUVO Glitter Drops - White Blizzard Maja Vintage Autumn Basics Pion Designs - Silent Night I |

 |
| Pion Design-Silent Night I |

This is the gorgeous nativity scene from the Pion Design - Silent Night I collection. I used the must-needed NUVO-Glitter Drops-White Blizzard on the background and on the nativity scene to bring out the snowflakes and glow on the nativity scene plus adding drops to the flowers.

I used the Noel from the gorgeous Tutti Designs Snow Globe Expression die set. Check out the reasonable price of $14.99 for 7 dies of the Tutti Designs Snow Globe Expression die set at The Rubber Buggy on-line store. Just look at all of the possibilities and uses of this die set.
I added some Wild Orchid Craft flowers and used the top quality card stock from Bazzill. The Rubber Buggy has a huge variety of Bazzill card stock to choose from in their on-store.
Now it is your turn to try these products out from The Rubber Buggy and see what you create!
Thank you again for visiting me today. I will be sharing with you next Saturday another exciting project or card made using the wonderful Rubber Buggy supplies.
Nancy Hill
Designer for The Rubber Buggy

Friday, November 11, 2016
Be Jolly!
Hi everyone!!
It´s time to continue with our Christmas Card!! So, I come with a very simple Card to make!!
And you do not need a lot of materials !!

I really LOVE this unicorn from Lawn Fawn!!
For make this card you only will need:

Thank you for visiting

It´s time to continue with our Christmas Card!! So, I come with a very simple Card to make!!

I really LOVE this unicorn from Lawn Fawn!!
For make this card you only will need:
- Winter Unicorn Lawn Fawn Stamp.
- Stitched Rectangle Layers Memory Box Dies
- Cross Stitched Frame Borders Memory Box Dies
- Scor-Tape 6x6 Sheet
- Winter Big Scriptty Words
- Glitter.
- Copics Markers

Thank you for visiting

Thursday, November 10, 2016
Quick and Pretty Christmas Cards
Hi everyone, Steph Ackerman here today working with an assortment of products from the store. Have you explored the store lately to see all the new products available? You much check out the Graphic 45 papers.

Graphic 45 has come out with another new line and it is gorgeous. I've used A Christmas Carol collection on these cards. Using a coordinating Bazzill cardstock for the base, I cut Good Cheer paper to fit and wrapped the panel with May Arts ribbon. I fussy cut the images from Seasonal Sentiments and also matted them with Bazzill cardstock. For dimension, I used Scrapbook Adhesives by 3L.


Thank you for visiting

Graphic 45 has come out with another new line and it is gorgeous. I've used A Christmas Carol collection on these cards. Using a coordinating Bazzill cardstock for the base, I cut Good Cheer paper to fit and wrapped the panel with May Arts ribbon. I fussy cut the images from Seasonal Sentiments and also matted them with Bazzill cardstock. For dimension, I used Scrapbook Adhesives by 3L.

This card used the Good Cheer paper which was torn and added to the Bah Humbug paper. A tag from Figgy Pudding was matted with Bazzill cardstock and added to the card.

Two quick and simple cards with an amazing paper collection.
Thank you for visiting
Subscribe to:
Posts
(Atom)


