Tuesday, June 20, 2017
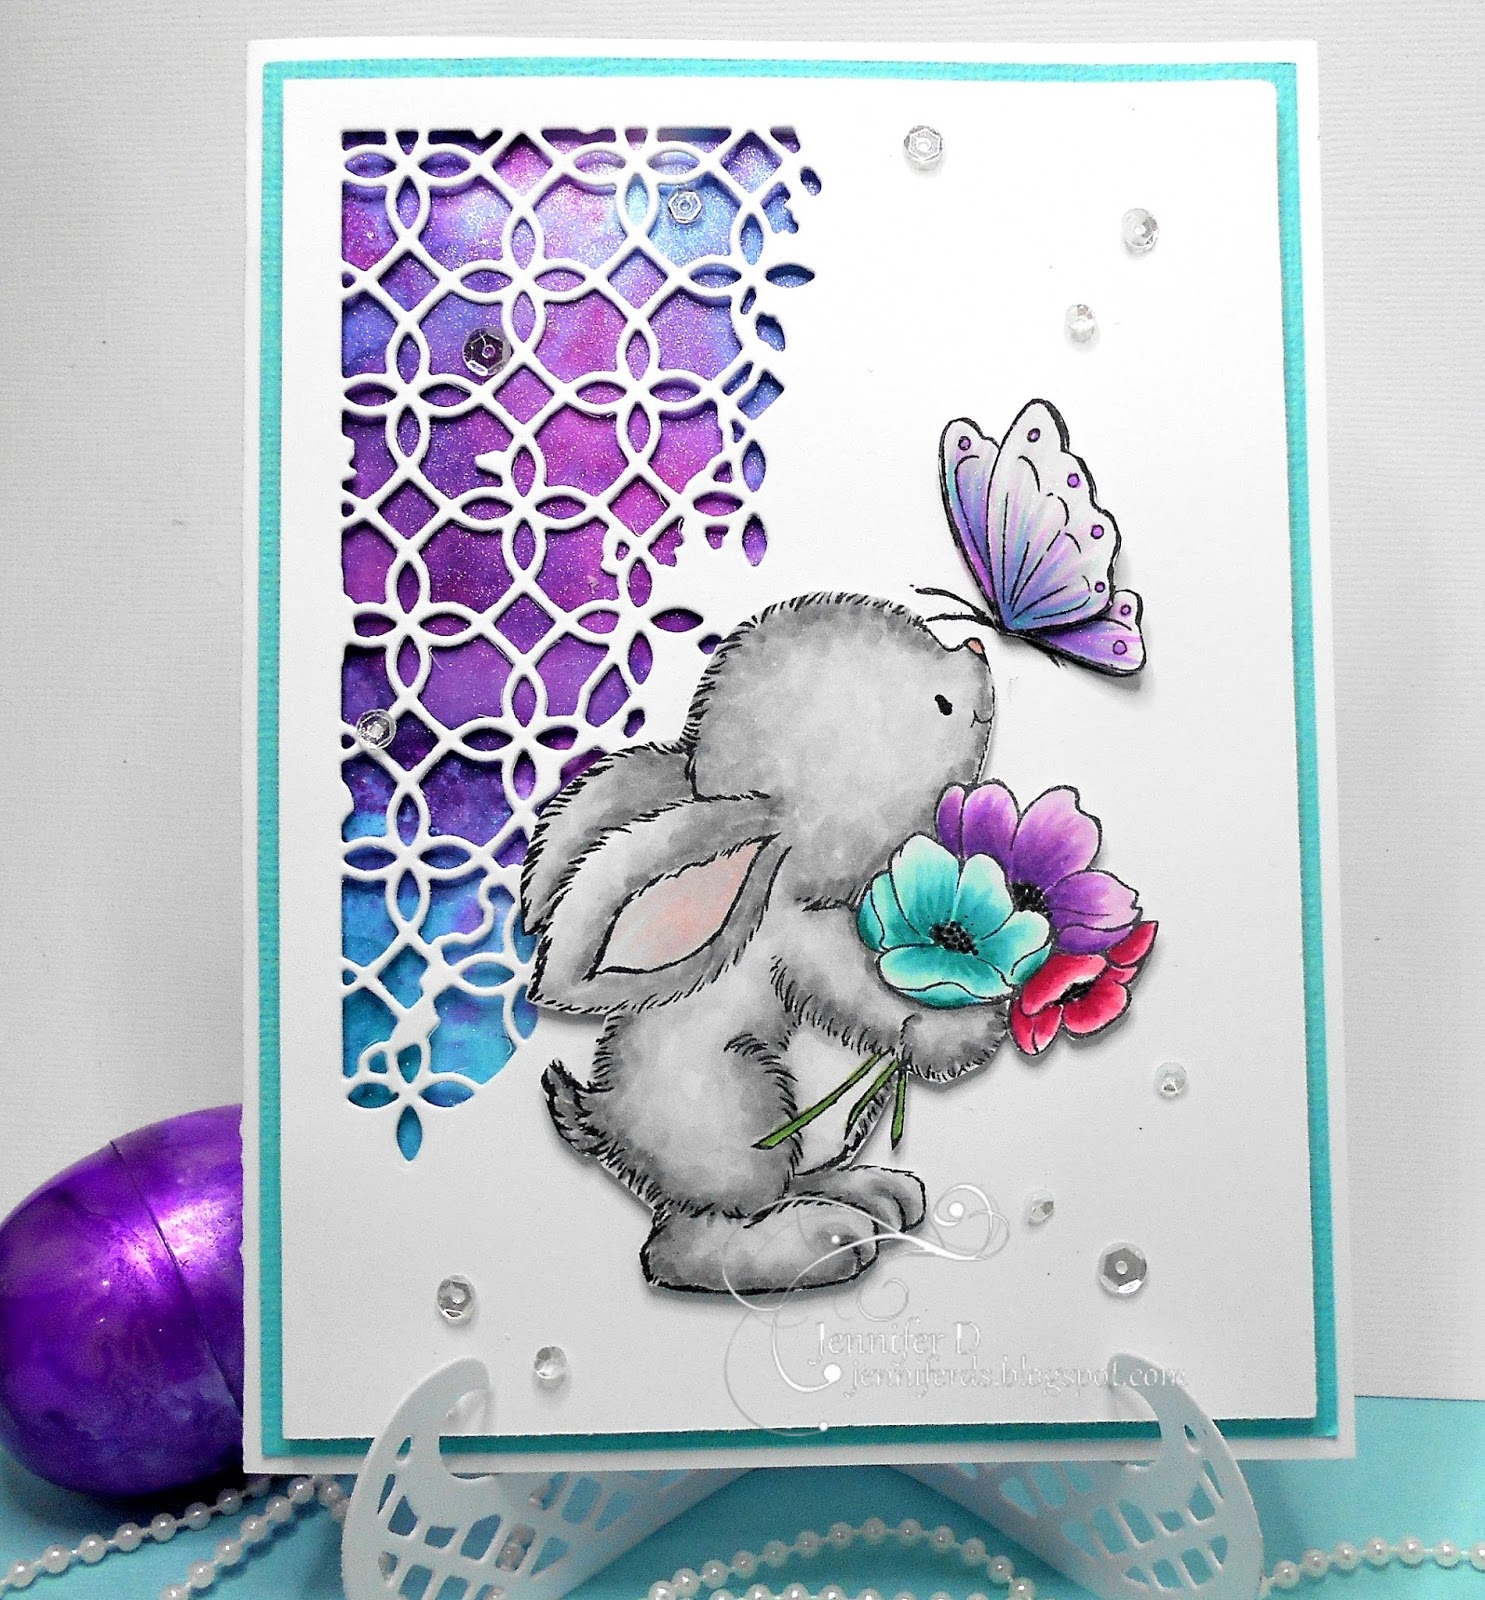
Bunny, Butterfly and Flowers

Hi it's Jennifer with Tuesday's post. I am still waiting
on the Postie with all my new goodies to create with I
will keep my fingers crossed and hopefully they will be
here before next week to share with you all.
So this week I used this really Cute Stamp
created this background by wiping Distress Ink Pads on a
Tim Holtz Mat.I used Picked Raspberry, Dusty Concord and
Wilted Violet inks on a mat and spraying 2 squirts of water on
each colour. I then smoosh my papers in them drying inbetween
each layer and building up until its the right depth. I did it quiet
Tim Holtz Mat.I used Picked Raspberry, Dusty Concord and
Wilted Violet inks on a mat and spraying 2 squirts of water on
each colour. I then smoosh my papers in them drying inbetween
each layer and building up until its the right depth. I did it quiet
dark. I then sprayed it using Tim Holtz Perfect Pearls

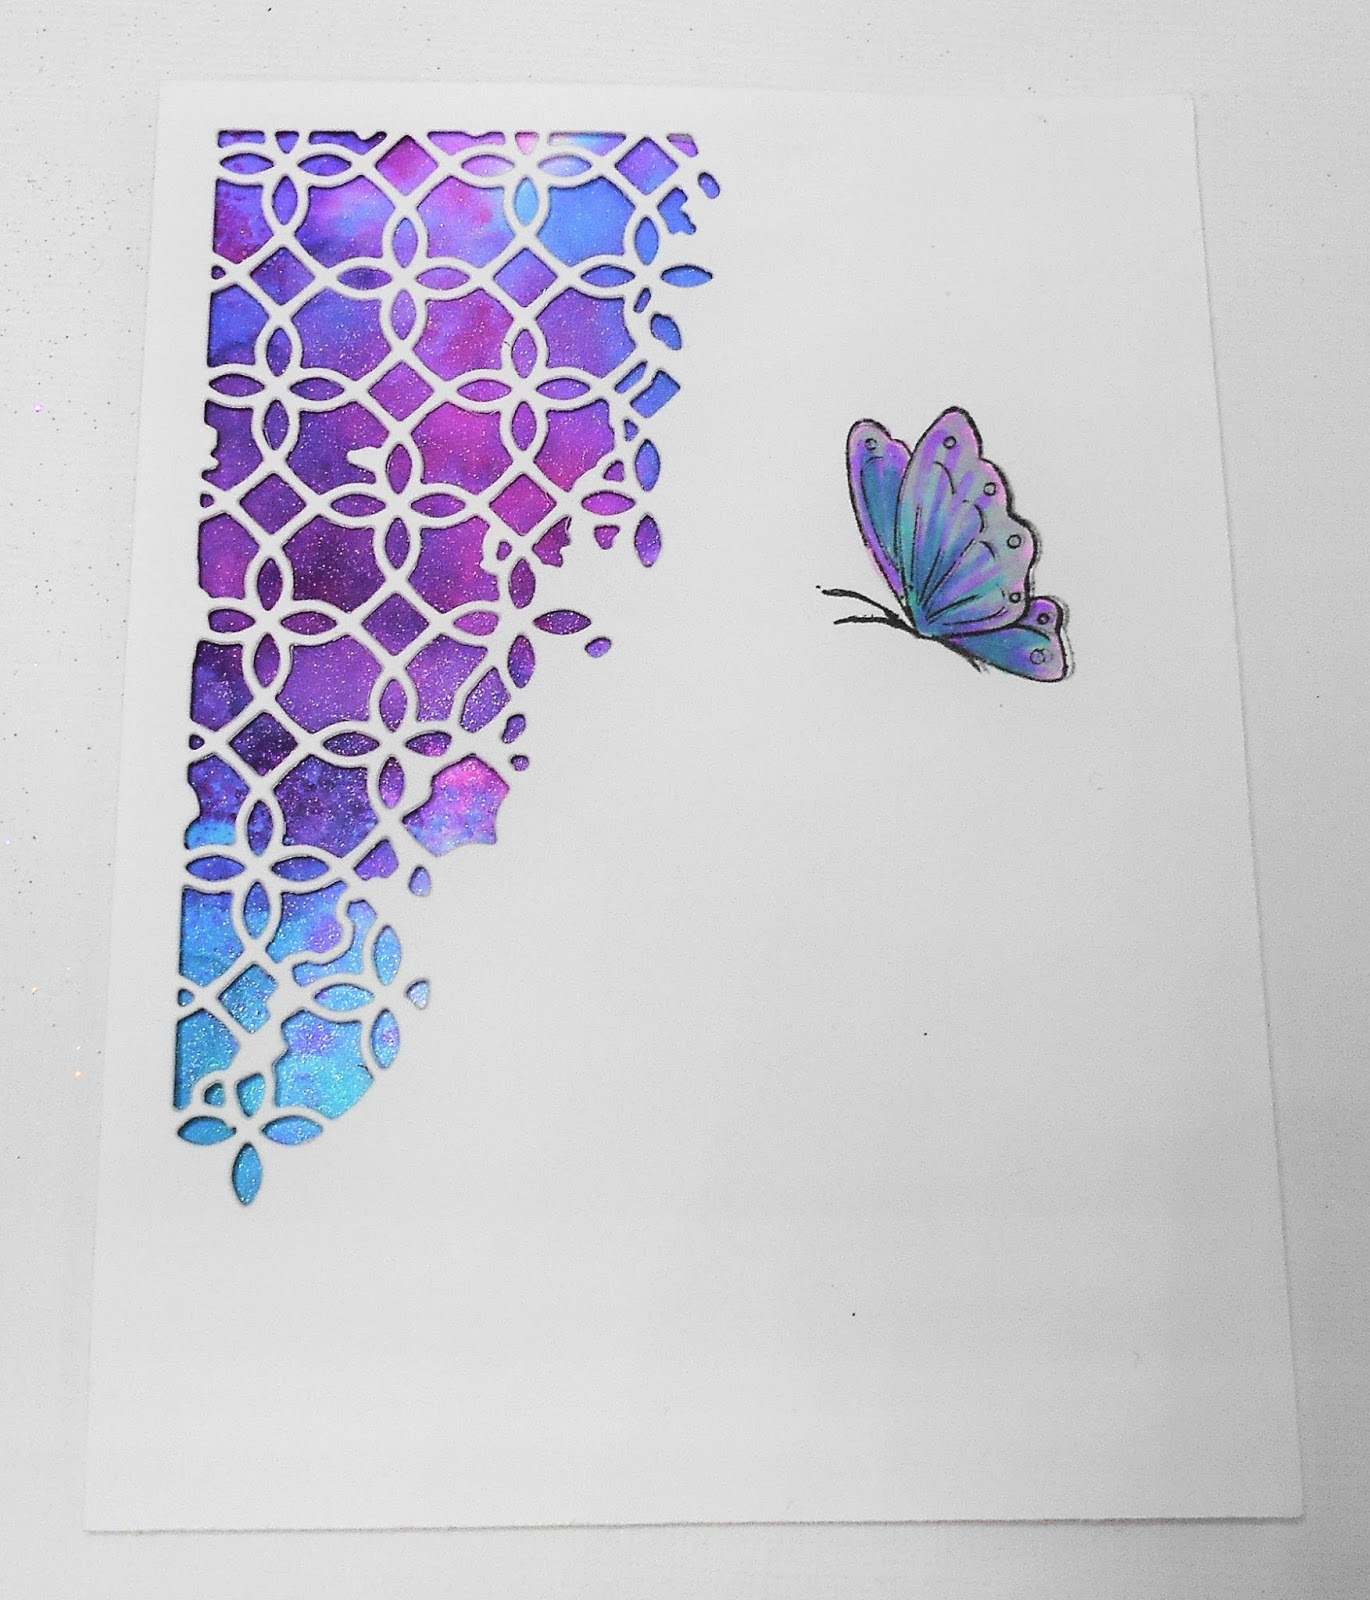
As you can see by the Memory Box Distressed Addington Die
I only needed one corner with colour. I then diecut it from
White Card Stock and used 3D Foam Tape around the edges and a
couple of strips down the center for support and taped it too the
coloured piece. You could use any of the Memory Box Dies with
an open pattern to do this with.

I then stamped the Butterfly only making sure I didn't get ink on
the rabbit. I coloured it roughly. I then stamped another two
butterflies and fussy cut the butterfly wings one altogether and
the other with only the top wing. I coloured them and then covered
them in Wink of Stella Clear. I then layered each
one using 3D foam squares.
I then sprinkled a few clear sequin around. I then stamped
and fussycut the Rabbit and used 3D Tape to pop him on.

I also layered it on a white card base with an aqua layer.
All these products and more are available at the
The Rubber Buggy Shop and don't forget to visit us on Facebook
look for the Videos down the side too, Instragram and the
Rubber Buggy Design Team Blog where there's a post nearly
everyday from one of the team.
look for the Videos down the side too, Instragram and the
Rubber Buggy Design Team Blog where there's a post nearly
everyday from one of the team.
Happy Crafting
Jennifer
Monday, June 19, 2017
Capture the Moment using Blue Fern Studios Memories

Hi... it's Bev here today at The Rubber Buggy. I am sharing a Wedding page with my eldest son using a group photo. I went with a soft elegant colour combo and accents. I used gold liquid pearls to cover the chipboards to make them shimmer.
Supply List:
The Rubber Buggy Products:
Paper: Blue Fern Studios Memories: Songbird's Drama, Autumn Biography
Chipboard: Blue Fern Studios Captured Words, Trailing Scrolls, Film Strips
Flowers: Blue Fern Studios Attic Charm
Markers: Copics
Ink: Tim Holtz Vintage Photo, Gold Liquid Pearls
Other: beads, metal, accent, PH accents
The Rubber Buggy Products:
Paper: Blue Fern Studios Memories: Songbird's Drama, Autumn Biography
Chipboard: Blue Fern Studios Captured Words, Trailing Scrolls, Film Strips
Flowers: Blue Fern Studios Attic Charm
Markers: Copics
Ink: Tim Holtz Vintage Photo, Gold Liquid Pearls
Other: beads, metal, accent, PH accents

To start this page I chose to change up the background with a bolder outer border and soft elegant central section and still keep the flower image.

I copic coloured the chippie then applied gold liquid pearls.

The photo was matted and on the side there are some Paper House 3D stickers in silver.

In this close up you get to see the pearl trim to separate the border edges, fussy cut floral and a film strip filled with print papers.

This section highlights a small floral cluster and a bead border.

The other floral cluster has more accents added like a metal butterfly and a liquid pearl trimmed chipboard.


The photo still remains front and centre with lots of great accents to compliment it.


Thank for joining me today... see you again soon,

Saturday, June 17, 2017
Nature Card

Welcome back and Nancy Hill for The Rubber Buggy Design Team. Every Saturday, I have a card or project posted to share with you and really appreciate your comments, suggestions and advice.
The Rubber Buggy on-line store has the name brand items for you to make your next card. The Rubber Buggy has fast delivery and wonderful customer service.
The Heartfelt Creations Woodsy Wonderland Collection is wonderful to create those Father's Day cards, male cards or anyone that loves nature.

The Rubber Buggy Supplies:
Additional: Fern and pine branch die

Instructions: Card measures 6 1/2" x 6 1/2". Cut out the 6" square image from the Heartfelt Creations Woodsy Wonderland paper. Add the 6 1/2" square frame around the image. Stamp and cut out the Heartfelt Creations Woodsy Wonderland Critter and color it with Copic markers. Adhere it with Scrapbook Adhesive 3D Foam Tape. Color the birds with blue and lavender Copic markers and glue to the card.
The Rubber Buggy Design Team has something new to share with you each day. Pop in and see for yourself what is being shared by this talented group of inspiring designers!!
In the meantime, here are all The Rubber Buggy quick links you will need:
Thank you again for stopping by
Nancy Hill
Designer for The Rubber Buggy

Thursday, June 15, 2017
Water colored cards with Art Impression stamps
Hi everyone, Steph Ackerman here today working with a bunch of products from the Rubber Buggy Store. Have you checked out the store lately? It has so many wonderful new products.


Next, I stamped a bucket in the center of a white panel.


I used a water brush with brown ink along the bottom then added some tiny birds on the fences. The panel was matted with blue cardstock and added to the card. A sentiment from WPlus9 was stamped in black ink and die cut with spellbinders dies. Using foam adhesives, it was added to the card.
Thank you for visiting

I've always loved how Art Impressions creates the most amazing cards. When I saw the buckets in the store, I knew i'd have to give them a try. So I watched some Art Impressions videos and got to creating.

I stamped the milk jug in the center of my panel and used a water brush to add some color. Then I stamped the fences from another Art Impression stamp set.

I used a water brush with blue ink to create the sky and green ink to create the grassy knoll. Pink flowers were stamped round the bucket. A gaggle of birds were stamped in black ink.

The panel was matted with blue cardstock then added to the card.
A sentiment from WPlus9 was stamped in black ink and die cut with spellbinders dies. Using foam adhesives, it was added to the card.


I stamped fence posts on either side of the bucket and water washed in some green ink. Pink flowers were stamped around the fence. I stamped clouds with blue ink then used a water brush to move out some of the color to paint the sky.

Thank you for visiting
Tuesday, June 13, 2017
Magical Christmas Fairies

Hi it's Jennifer here with a Christmas in July
Card I am trying to be a little bit organized this year.
Just a reminder too take a look at all the amazing
What's New section of goodies in the shop and on Preorder.
I have a nice bundle comming so cann't wait to get it and create
for you.

So I have done a Border Shaker Card using
LF Fancy Scalloped Rectangles the largest and largest
LF Stitched 4 Bar Rectangles also. I cut the frame.
I added acetate to the back and diecut
LF Small 4 Bar Stitched Rectangle and added 3 clouds
one of each of the LF Puffy Cloud. 1 in card stock and the other
2 in velum layered to look good. I also cut them out using the
center rectangle die and the glued them on. Papers used are
LF Perfectly Plaid 6x6 the sequins are a mix from all the
newly stocked range of Sequins. I have created a shaker card
using the 3D Tape around the edge of the image piece
that I taped to the center of the acetate and the frame. The stamps I
used were all from Lawn Fawn Frosty Fairy Friends.

All these products and more are avaliable at the
The Rubber Buggy Shop and don't forget to visit us on Facebook
look for the Videos down the side too, Instragram and the
Rubber Buggy Design Team Blog where there's a post nearly
everyday from one of the team.
look for the Videos down the side too, Instragram and the
Rubber Buggy Design Team Blog where there's a post nearly
everyday from one of the team.
Happy Crafting
Jennifer
Monday, June 12, 2017
'HAPPY' using Blue Fern Studios Memories

Hi ... it's Bev here today at The Rubber Buggy. I am sharing a page with a photo from 2008-09. OMG where does the time fly... she has now grown into a beautiful young lady. I am so happy though that they still like to come visit, sleep over and spend time with us.
Supply List:
The Rubber Buggy Products
Paper: Blue Fern Studios Memories
Ink: Tim Holtz ranger. Blue Fern Studios Imagine Ink Glitter
Chipboard: Blue Fern Studios Arrow Words
Markers: copics
Stencil: TCW 238s Mini Splats
Other: ribbon, metal accent. white signo gel pen, mesh, Modeling paste
The Rubber Buggy Products
Paper: Blue Fern Studios Memories
Ink: Tim Holtz ranger. Blue Fern Studios Imagine Ink Glitter
Chipboard: Blue Fern Studios Arrow Words
Markers: copics
Stencil: TCW 238s Mini Splats
Other: ribbon, metal accent. white signo gel pen, mesh, Modeling paste

I start by laying out the layers.

I now estimate the stenciling placement and use modeling paste to texture it.


Next I used the Imagine Ink Glitter and glue to add sparkle.

Just an easy tip to save the excess glitter..... tap it off page onto a paper.

Fold the paper and slide and tap excess into the jar to save it for another project.

This close up shares the corner stitches made using a signo white gel pen, the copic coloured chippie, and the variegated cardboard with great metal flower accent.

This section has added borders and mesh accent.

The photo is slipped in behind some print images on the paper.... slice them and slide the photo in.

More close ups for your viewing.

Thanks for stopping by.... see you again soon.

Subscribe to:
Posts
(Atom)


