Showing posts with label Wink of Stella. Show all posts
Showing posts with label Wink of Stella. Show all posts
Sunday, October 21, 2018
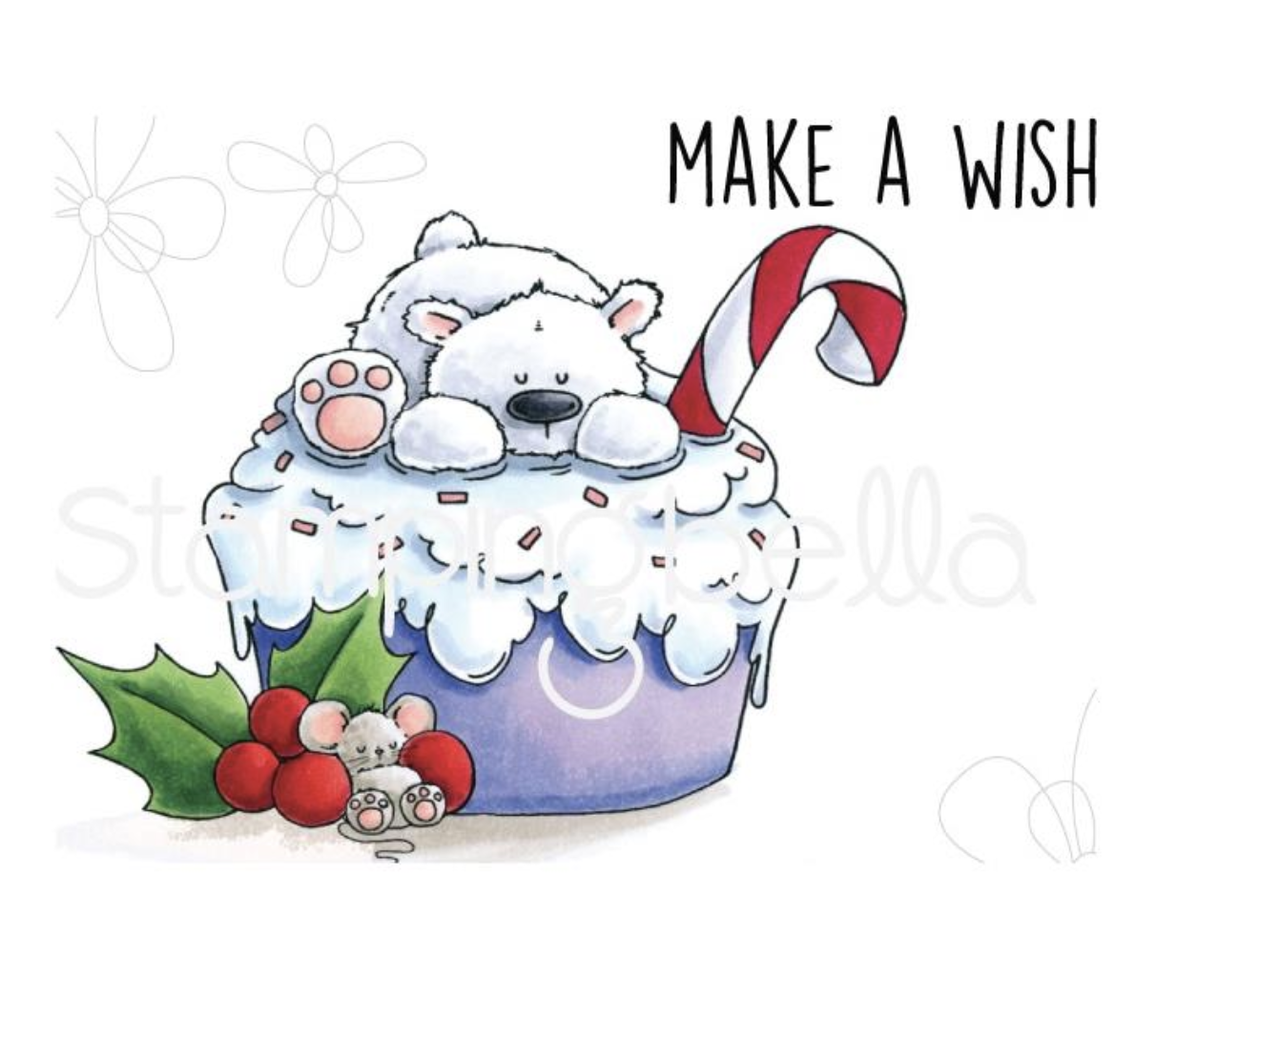
New Release Stamping Bella

Hi Everyone it's Jennifer here I have created this card using one of the New Release
Stamps from Stamping Bella and they are Adorable. They are on Pre- Order
so pop on over and order yours at The Rubber Buggy before it's too late.
I have of course created a Shaker Card I have distressed the background using
Mermaid Lagoon and Chipped Sapphire. I coloured him up using
Copics
Polar Bear - C00, C0, C01, C03
Candy Cane - R24, C27, R29
Holly - YG17, YG21, YG23, G63
Mouse - W00, W1, W2
Cupcake Paper - E70, E74, E75, E77, E79
Paw Pads, Ears - RV00, R81, R83
I also glittered the whole of the Cup Cake Icing
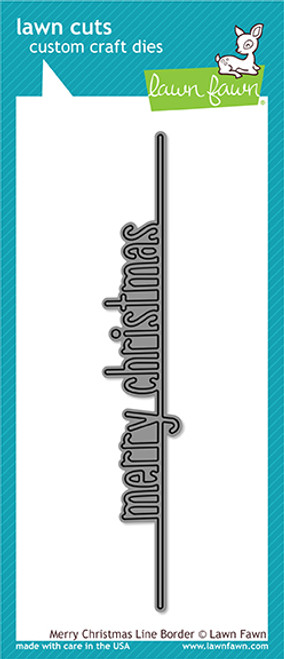
I finished it of with a Merry Christmas covered in Clear Wink Of Stella
Stamps from Stamping Bella and they are Adorable. They are on Pre- Order
so pop on over and order yours at The Rubber Buggy before it's too late.
I have of course created a Shaker Card I have distressed the background using
Mermaid Lagoon and Chipped Sapphire. I coloured him up using
Copics
Polar Bear - C00, C0, C01, C03
Candy Cane - R24, C27, R29
Holly - YG17, YG21, YG23, G63
Mouse - W00, W1, W2
Cupcake Paper - E70, E74, E75, E77, E79
Paw Pads, Ears - RV00, R81, R83
I also glittered the whole of the Cup Cake Icing
I finished it of with a Merry Christmas covered in Clear Wink Of Stella

Stamping Bella - Polar Bear On A Cupcake
Lawn Fawn Merry Christmas Border
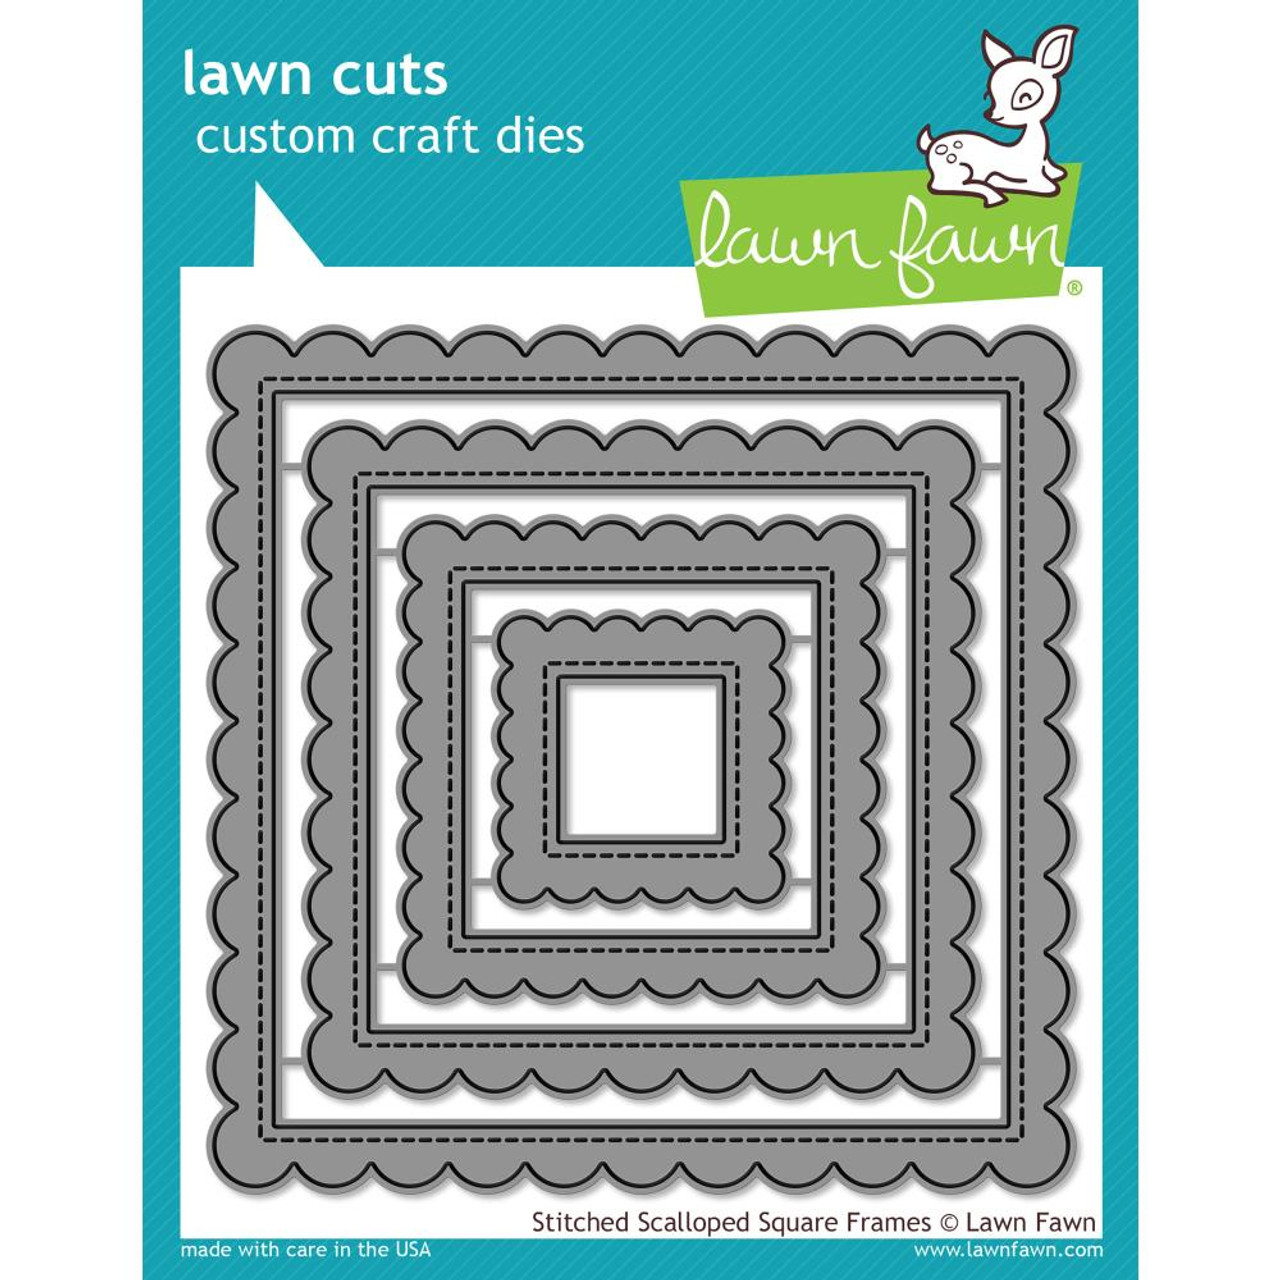
Lawn Fawn Outside In Stitched Scalloped Squares
LF Small Stitched Stackables


Bazzill


I hope you all have a Great Crafting Week
Jennifer
Tuesday, December 12, 2017
Layered Gift Cards

Hi it's Jennifer here with a couple of layered gift cards as the
gift wrapping has started and we need a few.
I have used LF Cheery Christmas and coloured the Deers,
presents and lights up with Copics and glittered the presents and
lights with a Wink of Stella glitter pen. The LF Mini Snowflakes
were die cut and glittered. The backgrounds were stamped with
snowflakes from multipul LF Stamp Sets with LF Yeti white Ink.
I die cut the slopes using LF Stitched Hills and the slope from the
LF Shadow Box. I also glittered them. Circles were cut
using the LFStitched Circles. Hope you enjoyed these cards.

A Card close up of One.

Two

Three

Hope you enjoyed these cards.
Hoping your Christmas organization is going well.
see you all next week with my last card before Christmas.
Jennifer
Tuesday, September 12, 2017
Ellie The Elf

Hi it's Jennifer here with my Tuesday post and also to remind
you not to forget that our Challenge Blog is back up and
running here at The Rubber Buggy Challenge Blog.
So don't be shy pop on over be inspired and create. We have two
Challenges a month starting the 1st and 15th and they run for a
month each and you can win some crafty dollars.
So I am here with a Christmas Card using this really cute stamp
Stamping Bella Ellie The Elf she was a lot of fun to colour up.
I layered her on a 22 x14.5cm White Card Stock for the base,
I then cut the red out of Red Bazzil with the largest
LF Fancy Scalloped Rectangle the next layer is silver glitter
cardstock cut using the Largest LF Small 4 Bar Stitched Rectangle.
The Image is cut out using the largest LF Largest Stitched 4 Bar Die.
Inbetween each layer I have raised them using 3D Foam Tape.
I have coloured her up using Copics. I have added some sparkle
to the Baubles and fur trims using Wink of Stellar Clear.

The Sentiment was cut out using the smallest die from
LF Large Stitched 4 Bar Dies. I also ran glue around the
edge of the rectangle on the image and the sprinkled
Clear Glitter on it. I finished the card off with some
clear scattered Sequins.
LF Large Stitched 4 Bar Dies. I also ran glue around the
edge of the rectangle on the image and the sprinkled
Clear Glitter on it. I finished the card off with some
clear scattered Sequins.

Hope you enjoyed this card and hopefully next week I will
have all my new Lawn Fawn product to create with.
Hope you have a happy Crafting Week
Jennifer
Tuesday, June 20, 2017
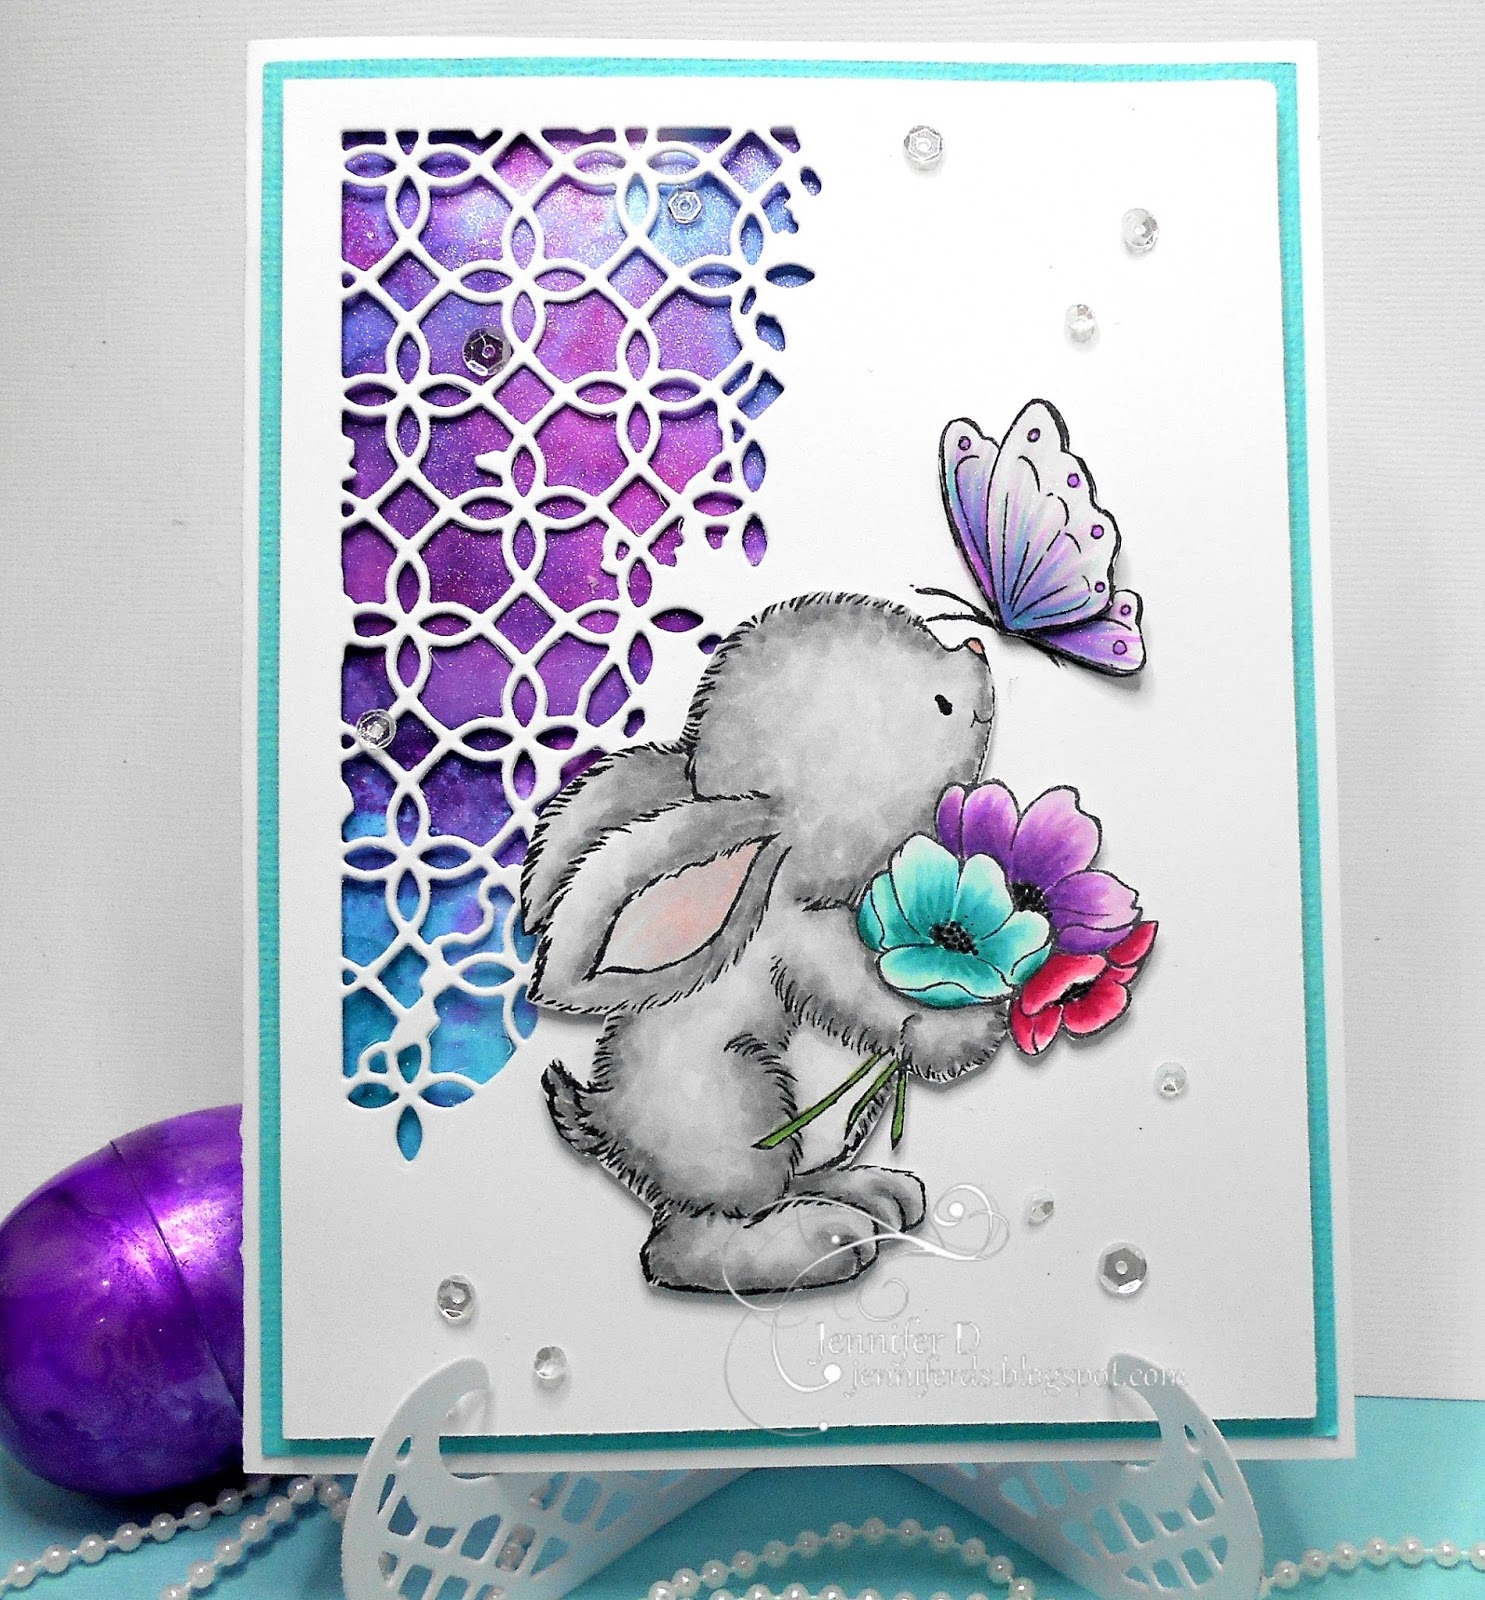
Bunny, Butterfly and Flowers

Hi it's Jennifer with Tuesday's post. I am still waiting
on the Postie with all my new goodies to create with I
will keep my fingers crossed and hopefully they will be
here before next week to share with you all.
So this week I used this really Cute Stamp
created this background by wiping Distress Ink Pads on a
Tim Holtz Mat.I used Picked Raspberry, Dusty Concord and
Wilted Violet inks on a mat and spraying 2 squirts of water on
each colour. I then smoosh my papers in them drying inbetween
each layer and building up until its the right depth. I did it quiet
Tim Holtz Mat.I used Picked Raspberry, Dusty Concord and
Wilted Violet inks on a mat and spraying 2 squirts of water on
each colour. I then smoosh my papers in them drying inbetween
each layer and building up until its the right depth. I did it quiet
dark. I then sprayed it using Tim Holtz Perfect Pearls

As you can see by the Memory Box Distressed Addington Die
I only needed one corner with colour. I then diecut it from
White Card Stock and used 3D Foam Tape around the edges and a
couple of strips down the center for support and taped it too the
coloured piece. You could use any of the Memory Box Dies with
an open pattern to do this with.

I then stamped the Butterfly only making sure I didn't get ink on
the rabbit. I coloured it roughly. I then stamped another two
butterflies and fussy cut the butterfly wings one altogether and
the other with only the top wing. I coloured them and then covered
them in Wink of Stella Clear. I then layered each
one using 3D foam squares.
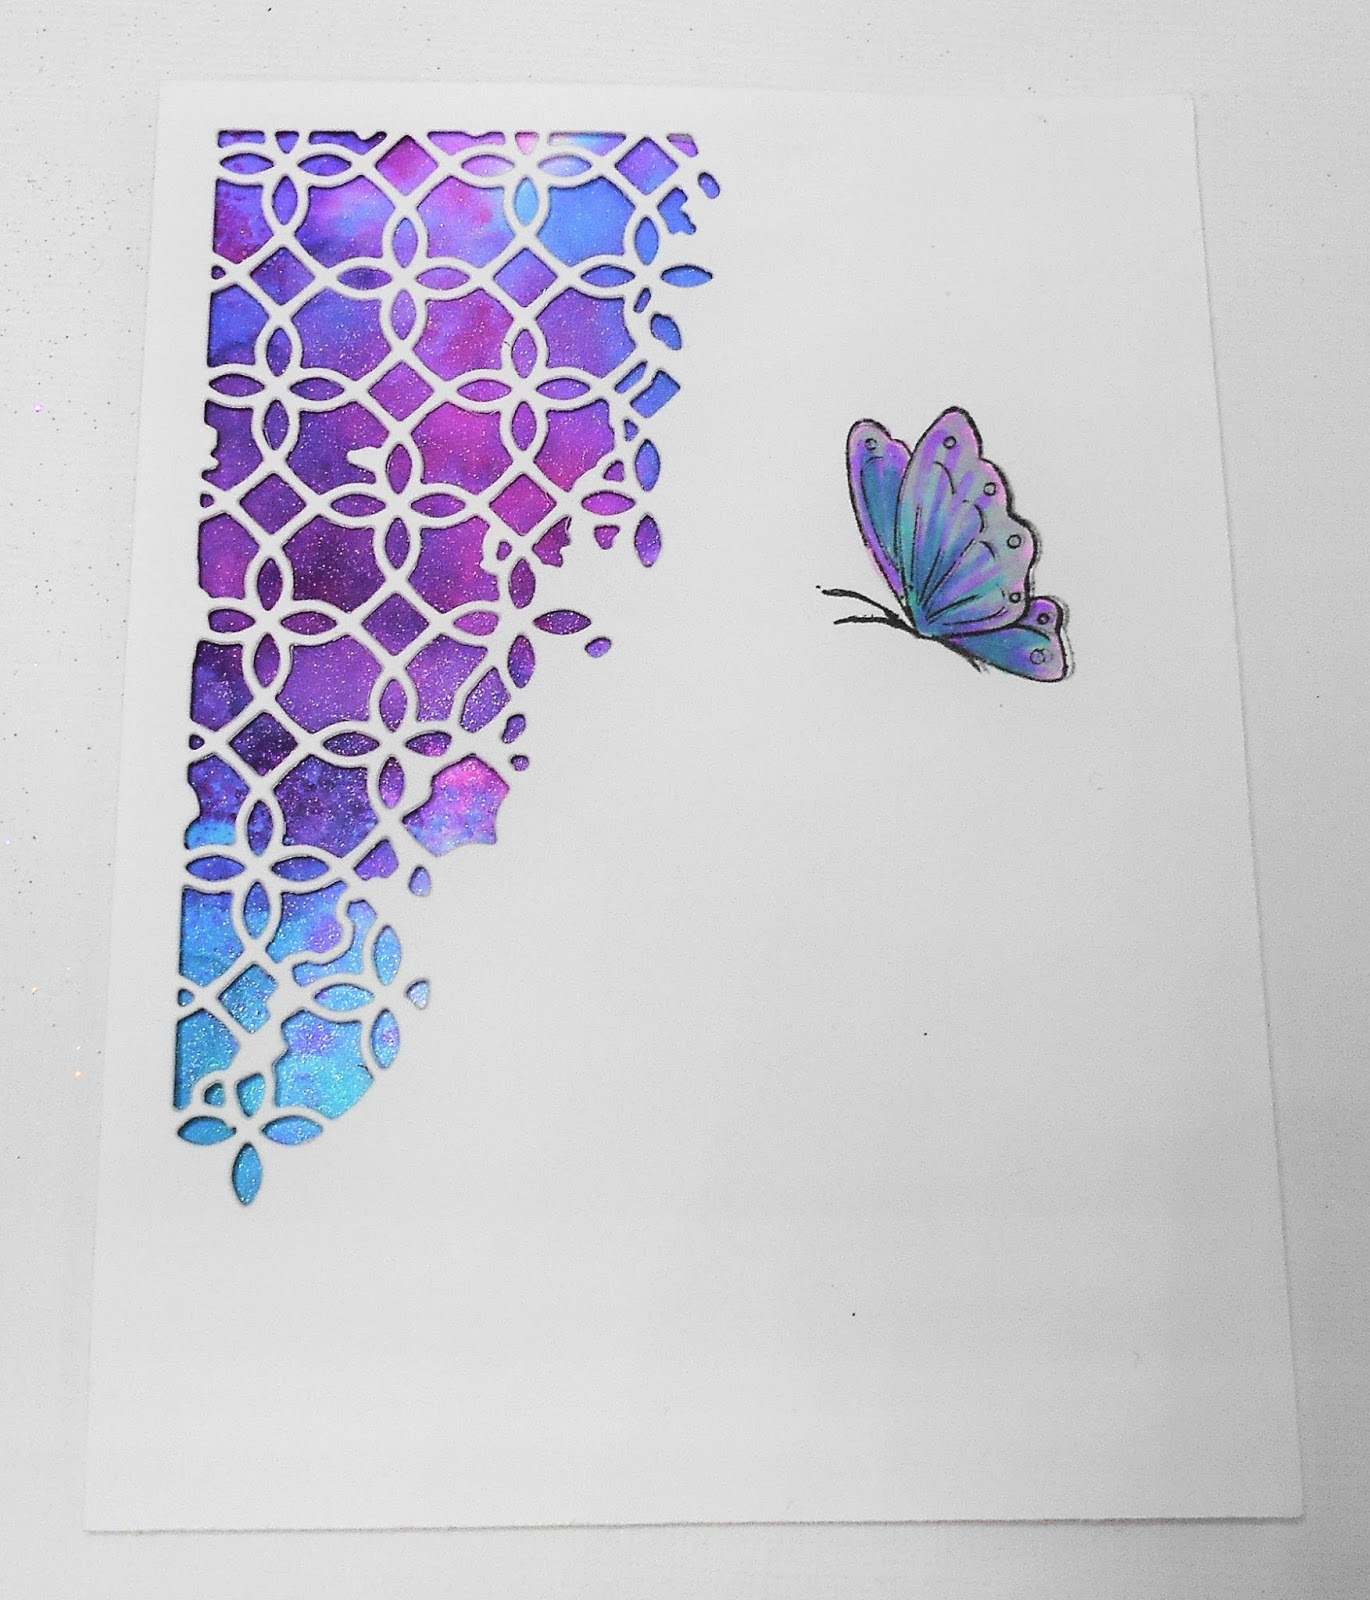
I then sprinkled a few clear sequin around. I then stamped
and fussycut the Rabbit and used 3D Tape to pop him on.

I also layered it on a white card base with an aqua layer.
All these products and more are available at the
The Rubber Buggy Shop and don't forget to visit us on Facebook
look for the Videos down the side too, Instragram and the
Rubber Buggy Design Team Blog where there's a post nearly
everyday from one of the team.
look for the Videos down the side too, Instragram and the
Rubber Buggy Design Team Blog where there's a post nearly
everyday from one of the team.
Happy Crafting
Jennifer
Tuesday, February 21, 2017
Dragon Flying

Hi it's Jennifer here with my card for the week and I
have used this great stamp from
I have Inked the background using Distress Ink Pads
Twisted Citron, Mustard Seed and Broken China. I have then
Sprayed it with Perfect Pearls to give it a nice shine.
I then made a mix of assorted sequins to match and turned
it into a Shaker Card.
The Dies I used were from Lawn Fawn Stitched Circle Frames
and Small Stitched Circles the 3rd smallest.

I have stamped the butterflies out and placed them all over
the card and a few sequins for sparkle. I did use Wink of Stella Clear
on the Butterflies to glitter them up.
I used the same dies on the inside and a sentiment from
Copic Colours used
BG000, BG01, BG02, BG05, BG07
Y11, Y15, YG11, YG13

All these products and more are avaliable at the
The Rubber Buggy Shop and don't forget to visit us on Facebook look for the Videos
down the side too, Instragram and the Rubber Buggy Design Team Blog
where there's a post nearly everyday from one of the team.
Happy Crafting
Happy Crafting
Jennifer
Tuesday, December 27, 2016
Flower Power Quick and Easy Card

Hi it's Jennifer here with a nice quick and easy
card because that is just what you need at this time of year
with so much happening. So I have used the
largest die in the Lawn Fawn Small Stitched Rectangles
and layered the LF Licorice Cardstock under it and then
the white base. The Sentiment is LF Scripty For You
in the Licorice Cardstock. The Flowers are from the
LF Flower Power Die Set I have used white cardstock
and coloured them using Distress Ink Pads
in the colours of Festive Berries, Scattered Straw,
Spiced Marmalade and Shabby Shutters I used
3D Foam Squares on all the flowers and leaves.
The background I have used the Ranger Mister Bottle
and Tim Holtz Water Brush to apply the background.
on the flower centres I have used the
Wink of Stella Clear to give them sparkle and then
coated it in Ranger Glossy Accents for a lovely gloss.
I didn't have time to do the For You but am going
to do that the same.

Hope you enjoyed this one.
All these products and more are avaliable at the
down the side too, Instragram and the Rubber Buggy Design Team Blog
where there's a post nearly everyday from one of the team.
Enjoy your Crafting Week Everyone!
Jennifer
Tuesday, October 4, 2016
Tim Holtz meets Lawn Fawn Christmas

Hi Everyone this week I created a card where
Tim Holtz meets Lawn Fawn. So I have used this
really cool Dog from Tim Holtz Crazy Dogs and the
Cat from Tim Holtz Crazy Cats. The accessories are from
Tim Holtz Crazy Things these are such great sets as they mix
and match so well. Looking at it now I think I might go
back and pop a Crazy Bird behind the Cat from
Tim Holtz Bird Crazy pop back later and I will add a pic to the
bottom of this post.

So I have used the Lawn Fawn Stitched Hillside Pop - Up
it is so easy to use and looks so effective. I have also used the
I needed a Christmas Tree. The background is smooshed
with Tim Holtz Distressed Inks in the colours of Evergreen Bough
and Festive Berries and I have sparkled lots of things here with

I have used the Lawn Fawns Scripty Words and Dies
for the sentiment and teamed it up with Lawn Fawn Cardstock
and Lawn Fawn Ink

Here you go I think it looks way better with a Crazy Bird.
I also coloured everything in copics.

All these products and more are avaliable at the
down the side too, Instragram and the Rubber Buggy Design Team Blog
where there's a post nearly everyday from one of the team.
Enjoy your Crafting Week Everyone!
Jennifer
Tuesday, September 20, 2016
Cheery Christmas

Hi Everyone I am here with my Tuesday Post. This week I was
so excited to get my new Lawn Fawn Cheery Christmas Stamp and Die Sets
so I couldn't wait to create . I used the Tim Holtz Distress Ink Pads
Festive Berries and Ever Green Bough mixed with water and
Perfect Pearls to create the background.
I have coloured the Presents, ornamants and deer using Copics.
I used the Sweet Sentiment from another Lawn Fawn Stamp Set
Snow Day. The White Card layer I die cut using Stitched Rectangles
and the white circles I used Stitched Circles.I have then scattered a few
Sequins to give it sparkle.Then for a bit of glitter I used

All these products and more are avaliable at the
down the side too, Instragram and the Rubber Buggy Design Team Blog
where there's a post nearly everyday from one of the team.
Enjoy your Crafting Week Everyone!
Jennifer
Subscribe to:
Posts
(Atom)


