Showing posts with label glitter. Show all posts
Showing posts with label glitter. Show all posts
Tuesday, December 4, 2018
Burnie and Rosie in The North Pole

Hi Everyone it's Jennifer here I have created this card using another of the New Release
Stamps from Stamping Bella . I just love Burnie The Unicorn and Rosie is Soooo Sweet.
Yes it is another Shaker Card. I have distressed the background using
Lilac and Violet. I coloured them up using
Copics
Skin - E0000, E000, E00, E01, E11, r20
Blue - BG00, BG01, BG02, BG05
Purples - BV02, BV04, V04
Boots - C05, C07, C09
Unicorn, Igloo - C00, C0, C01, C03
Sign - YG01, YG23
I have Glittered the snow for an extra sparkle.
Stamping Bella -Rosie and Burnie in the North Pole

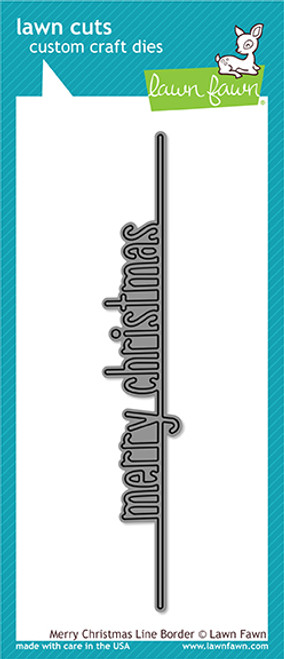
Lawn Fawn Merry Christmas Border
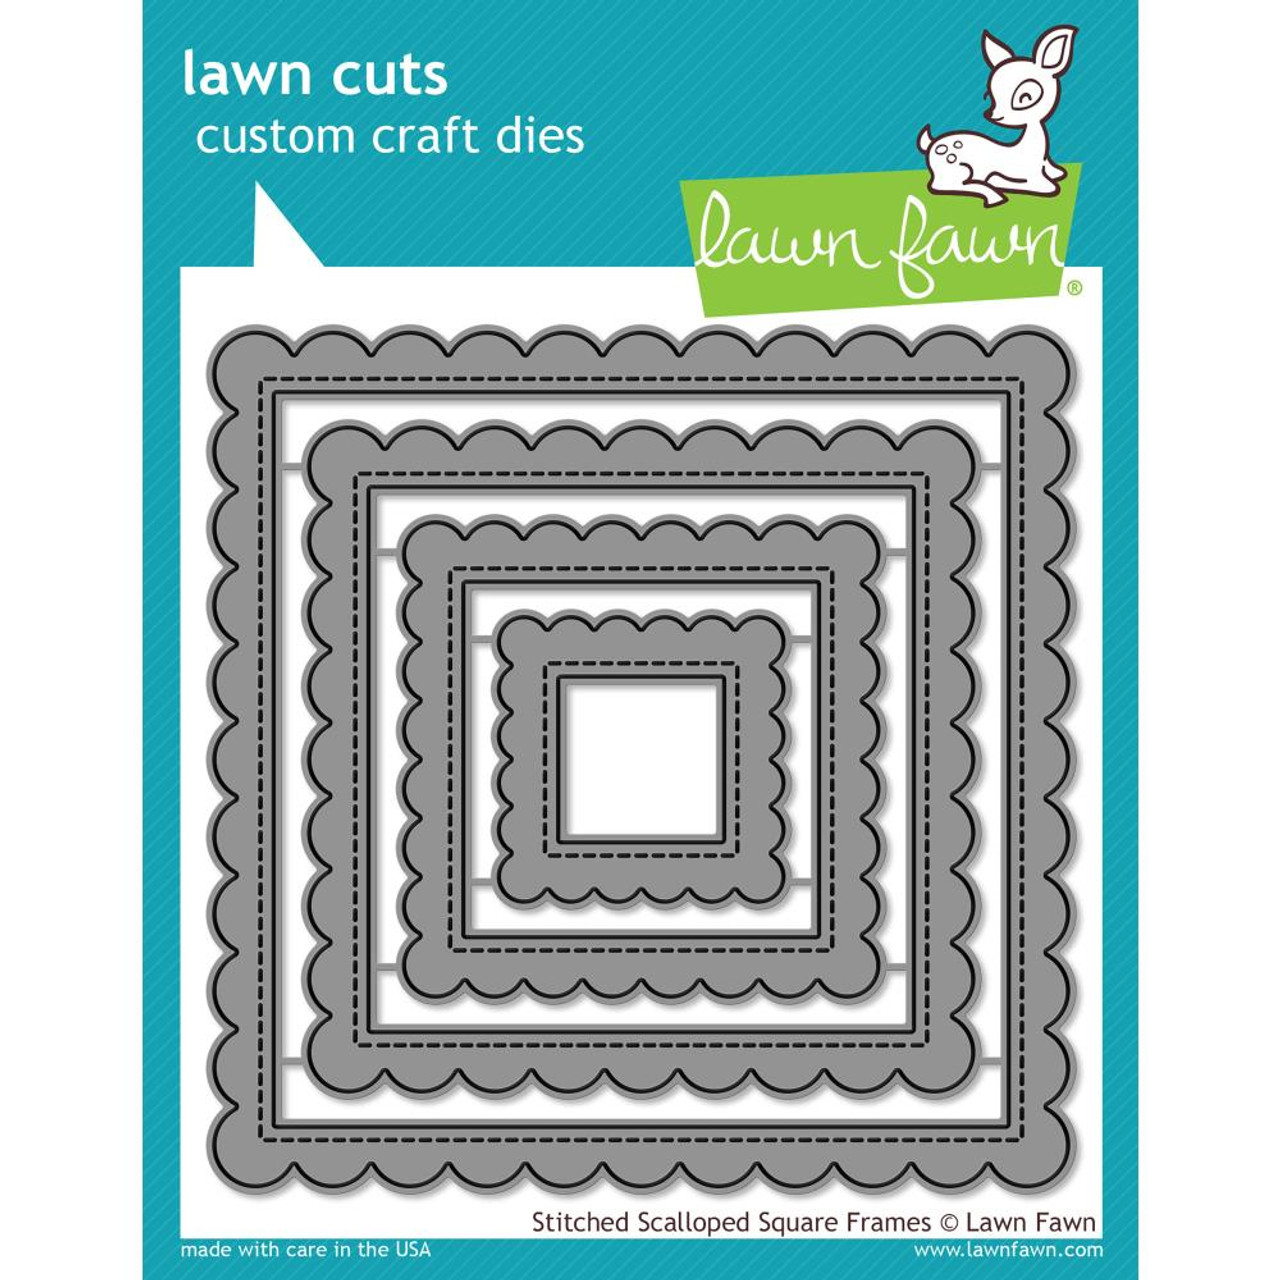
Lawn Fawn Outside In Stitched Scalloped Squares
LF Small Stitched Stackables


Bazzill


I hope you all have a Great Crafting Week
Jennifer
Tuesday, November 6, 2018
All About Christmas

Hi Everyone it's Jennifer and I am here with another of the New Release
Stamps from Stamping Bella only new in
The Rubber Buggy Shop
The Rubber Buggy Shop
so pop on over and get yours before it's too late.
I have made this simple but effective card by layering each layer
with these Gorgeous Lawn Fawn Dies.
I have coloured it up using
Copics
Green - YG01, YG17, YG23
Purple - BV02, BV04, BV25, V05
White - C00, C0, C01, C03
Red - R24, R27, R39
Y02, Y06, Y15
I also finished it of with a good sprinkling of clear glitter.


Bazzill
I hope you all have a Great Crafting Week
Jennifer
Tuesday, September 4, 2018
Dimentional Christmas Card

Hi it's Jennifer here and I am here with another card similar to the Shaker Card
I created a Month ago. So today I will show you how I made it.
I cut 1 piece 10cm x 10cm in Soft Mauve. I die cut one of these and used it as
a stencil with texture paste to create a snowy background and while it was
wet I covered it with glitter.
I created a Month ago. So today I will show you how I made it.
I cut 1 piece 10cm x 10cm in Soft Mauve. I die cut one of these and used it as
a stencil with texture paste to create a snowy background and while it was
wet I covered it with glitter.

I cut 3 squares 10cm x 10cm and Die Cut one from each square.
I then Created the frame using the Outside In Stitched Scalloped Rectangle and
did a partial cut and created a square I then cut the centre out using the
4Bar Stitched Rectangle partial die cutting too. Squares are still on my wishlist
and will make it a lot easier.
and will make it a lot easier.

I layered the two white and the two mauve Christmas Sentiments and then glued
them together with the mauve off centre.

behind the deers . For the back I glued the mountains on to the Mauve that we
used texture paste on then using 3D tape joined it all together. I then attached this on the
used texture paste on then using 3D tape joined it all together. I then attached this on the
base Card and glued on the Sentiment to the front. I finished it of with a couple of sequins and glued some glitter to the top of the mountains.


Deer Family Circle


Bazzill

Hope you all have a Great Crafting Week
Jennifer
Sunday, December 24, 2017
15 Minute Christmas Card

Good morning it's Jennifer from Australia and it is already
Christmas here. So I am going to show you a quick last minute
card you can just whip up.
So I have just die cut the largest LF Small Stitched Rectangle
twice and then placed random snowflakes from the
LF Mini Snowflakes and LF Stitched Snowflakes and diecut them
but I left them in place. The second rectangle I glued on the
back so the pieces didn't fall out.
Next I diecut the same Snowflakes in Glitter Paper and glued
them on top. I then Layered the the rectangle on glitter paper and
then on to LF Fancy Scalloped Rectangle and on to a card base.
Cut and stamped LF Winter Big Scripty Words in matching ink and
done. Well I did add a few Pearls for the the Snowflakes.

OK Everyone have a Really Lovely Christmas and New Years
and see you back next week. Off to bake lunch for Dinner and Tea 20ish
plus family and friends.
Merry Christmas
Love
Jennifer
Tuesday, December 12, 2017
Layered Gift Cards

Hi it's Jennifer here with a couple of layered gift cards as the
gift wrapping has started and we need a few.
I have used LF Cheery Christmas and coloured the Deers,
presents and lights up with Copics and glittered the presents and
lights with a Wink of Stella glitter pen. The LF Mini Snowflakes
were die cut and glittered. The backgrounds were stamped with
snowflakes from multipul LF Stamp Sets with LF Yeti white Ink.
I die cut the slopes using LF Stitched Hills and the slope from the
LF Shadow Box. I also glittered them. Circles were cut
using the LFStitched Circles. Hope you enjoyed these cards.

A Card close up of One.

Two

Three

Hope you enjoyed these cards.
Hoping your Christmas organization is going well.
see you all next week with my last card before Christmas.
Jennifer
Tuesday, December 5, 2017
Teddy Baubles

Hi it's Jennifer here with one of my last Christmas Cards
not many sleeps now.
I have used the stamp Wild Rose Studio Teddy Baubles and
stamped it in Lawn Fawn Jet Black and coloured it in Copics.
Bears - E50, E51, E53, E55, E57
Hat, Bauble- R32, R35, R37, R39
Bauble - YG17, YG21, YG23
Bears - E50, E51, E53, E55, E57
Hat, Bauble- R32, R35, R37, R39
Bauble - YG17, YG21, YG23
The papers used are Lemon Craft Christmas Greetings.
I have Die cut the Image layer using LF Stitched 4 Bar Large Rectangles
and the bottom layer I have used LF Outside In Scalloped Rectangles.
I have used the White Uni-Ball Pen
I have used the White Uni-Ball Pen
to dot the baubles to give them a glitter look. I have also glittered the
fur trims of there hats using a clear Glitter.
fur trims of there hats using a clear Glitter.

I hope you all have a great week and get some
Crafting in.
Jennifer
Thursday, September 14, 2017
Glittered Background with Tutti Designs
Hi everyone, Steph Ackerman here today working with a bunch of products from the Rubber Buggy Store. Have you checked out the store lately? It has so many wonderful new products.
I love Tutti Designs dies and wanted to do something a little different with the Oriental Screen Craft Die.

I die cut a white panel using the Oriental Screen Craft Die. Due to the delicate nature of this die, I placed it on a sheet of Scor-Tape, cutting the adhesive sheet to fit the die cut panel.

Because of the exposed adhesive, I knew glitter would stick. I poured an assortment of Blue Fern Studio Glitter on the panel then gently rubbed the glitter into the adhesive.


Using a journaling card from the Rossi Belle Journaling pack, I die cut it with a Spellbinders oval die and matted it with a larger die. I adhered it over the ribbon using Scrapbook Adhesives 3D foam squares for dimension.
Doesn't it look pretty?
Thank you for visiting.
I love Tutti Designs dies and wanted to do something a little different with the Oriental Screen Craft Die.


Because of the exposed adhesive, I knew glitter would stick. I poured an assortment of Blue Fern Studio Glitter on the panel then gently rubbed the glitter into the adhesive.

I tapped off the excess glitter and then added the panel to a card created from Bazzill Taffy cardstock.

I wrapped May Arts ribbon around the panel.

Doesn't it look pretty?
Thank you for visiting.
Tuesday, September 12, 2017
Ellie The Elf

Hi it's Jennifer here with my Tuesday post and also to remind
you not to forget that our Challenge Blog is back up and
running here at The Rubber Buggy Challenge Blog.
So don't be shy pop on over be inspired and create. We have two
Challenges a month starting the 1st and 15th and they run for a
month each and you can win some crafty dollars.
So I am here with a Christmas Card using this really cute stamp
Stamping Bella Ellie The Elf she was a lot of fun to colour up.
I layered her on a 22 x14.5cm White Card Stock for the base,
I then cut the red out of Red Bazzil with the largest
LF Fancy Scalloped Rectangle the next layer is silver glitter
cardstock cut using the Largest LF Small 4 Bar Stitched Rectangle.
The Image is cut out using the largest LF Largest Stitched 4 Bar Die.
Inbetween each layer I have raised them using 3D Foam Tape.
I have coloured her up using Copics. I have added some sparkle
to the Baubles and fur trims using Wink of Stellar Clear.

The Sentiment was cut out using the smallest die from
LF Large Stitched 4 Bar Dies. I also ran glue around the
edge of the rectangle on the image and the sprinkled
Clear Glitter on it. I finished the card off with some
clear scattered Sequins.
LF Large Stitched 4 Bar Dies. I also ran glue around the
edge of the rectangle on the image and the sprinkled
Clear Glitter on it. I finished the card off with some
clear scattered Sequins.

Hope you enjoyed this card and hopefully next week I will
have all my new Lawn Fawn product to create with.
Hope you have a happy Crafting Week
Jennifer
Wednesday, May 29, 2013
Rainbow style
Hi everyone it's Kelly and it's Design Team Thursday for me again for The Rubber Buggy. This week I've done a project that is quite out of the box and it's a crazy hair saturated canary girl. You can find the Saturated Canary stamps over at The Rubber Buggy.com and try this out for yourself. This was actually one that I enlarged on my computer to make her stand out on the scrapbook page. I made a layout of my daughter's skating birthday party and I used this little gal because she is my fav and she has a special gift of flowers for the birthday girl so here is my project and again check out The Rubber Buggy for all the most amazing Saturated Canary stamps as well as many others.


Thank you for visiting
Subscribe to:
Posts
(Atom)


