Monday, October 21, 2019
Sisterly Love Easel Card


Welcome back and I am so excited to share my easel box card with my tutorial on how to make with boxes and I am using the beautiful Lemon Craft My Sweet Provence paper collection which comes in two different paper pads available at The Rubber Buggy on-line store. The Rubber Buggy carries all of the name-brand products and supplies you will need to create those amazing keepsake cards, scrapbook pages and beautiful craft projects!
 |
| Lemon Craft My Sweet Provence and Lemon Craft My Sweet Provence Basic |


10mm Wild Orchid Craft rose in the center of the rhinestone heart.

Instructions
Top and Bottom For Drawer
 | |
I highly recommend heavy card stock and if the pattern paper isn't heavy, just use heavy card stock for the frame and glue the pattern paper on it.
This is the bottom for drawer. Cut a 7 3/8" x 8 1/2 using heavy cardstock. Score 1 1/4" on the three sides with one of the long sides not scored. Fold the score lines. As shown on the photo below, cut along the score line of the corners. You will add double-sided self adhesive tape and tape the tabs to this box (see photo below). I like using 1" Scor-Tape which is very adhesives and wonderful for heavy cardstock. See below.  
Cut the top for drawer at 7 5/16" x 8 7/16" and score 1 1/4" on the three sides with one of the long sides not scored. Follow the same instruction above for the drawer. Afterwards, add double-sided self adhesive tape on the outside of this drawer on three sides and adhere to the bottom drawer.
  
Drawer

This is the drawer that will pull out. Using heavy weight cardstock, cut 8 1/8" x 8 1/8" and score 1 1/8" on all four sides and fold. Cut the top and bottom of each fold like in the corners as shown above. Using double-sided self adhesive tape, tape the box.
Easel Card to Attach to Drawer
Make sure to use heavy cardstock or one solid cardstock and at patterned paper adhere to the cardstock. I found that if you don't do this and add flowers, the easel part of the card will droop due to the weight.
Cut a 6" x 12" cardstock and score at 3" and 6" and fold the score lines. This is what it may look like gluing or using 1" double-sided adhesive tape of the easel card to the drawer.

I liked adding my flowers and finishing the easel card before adhering this to the drawer. Cut a 6" x 6" square and add your flower, etc. and adhere from the 3" fold to the bottom.

Cut another 6" x 6" square for the inside of the easel card and adhere. Add your sentiment on a decorative frame and use 3D foam tape or dots to give the height of the decorative frame for the inside so that the top with slide on and stay when the easel card is opened.

2 samples of using 3D foam tape or dots to give the height of the frame on the inside for the top of the card to slide and sit/fit on the inside.
I hope I have inspired you try out these products available at The Rubber Buggy on-line store. My cards and projects are always posted on Saturday. Keep watching and thank you so much for those wonderful comments as well as suggestions.
Enjoy and Happy Crafting!
|

Saturday, October 19, 2019
Lemon Craft My Sweet Provence

Welcome back and I am so excited to share two birthday cards make with the beautiful Lemon Craft My Sweet Provence paper collection which comes in two different paper pads. I just love working with the colors of lavender with the beautiful pink and purple shade which is found in this paper collection along with the additional embellishments found in the Lemon Craft My Sweet Provence available at The Rubber Buggy on-line store. The Rubber Buggy carries all of the name-brand products and supplies you will need to create those amazing keepsake cards, scrapbook pages and beautiful craft projects!
|
| Lemon Craft My Sweet Provence and Lemon Craft My Sweet Provence Basic |
 |
| Lemon Craft Provence collection |

Also, check out all of the beautiful chipboards such as the photo below from Laserowe available at The Rubber Buggy.

I colored the chipboards on these two cards this time dabbing on the Ranger White Picket Fence Distress Paint and Prima Marketing Art Alchemy Opal Magic Wax Royal Robes. I stamped a label and used the Beacon 3 n 1 Advanced glue to cover Love on the chipboard.
In the Lemon Craft My Sweet Provence paper pad below, I cut out a rose and glued it on the chipboard to coordinate with the paper.


I used the paper from the Provence (below) for this card. Doesn't the lace look like an additional rather than being part of this patterned paper. The "For You" sentiment is part of the collection and I cut it out and added to the center of the chipboard. I dabbed on the Ranger Distress Paint Picket Fence on the chipboard and corner metal embellishments and added the Prima Marketing Art Alchemy Opal Magic Royal Robes wax with my finger and brush before gluing on the card. I made my handmade foamiran flowers with a flower die and added the purple bow to the card. I used my fingers around the frame of the paper to distress the edges before gluing on to the next layer of the Provence paper. I found the dove in my stash and added to the card.

Better buy now this beautiful Lemon Craft My Sweet Provence collection while supplies are available at The Rubber Buggy on-line store.
I hope I have inspired you try out these products available at The Rubber Buggy on-line store. My cards and projects are always posted on Saturday. Keep watching and thank you so much for those wonderful comments as well as suggestions.
Enjoy and Happy Crafting!
 |
Thursday, October 17, 2019
Happy Holidays with Wild Rose Studio
Hi everyone, Steph Ackerman here today with lots of fun products from the store. Please visit the store for all the fun products I've used today.

Christmas is only 11 weeks away so it's time to start creating Christmas cards. I've used the Mia with Candy from Wild Rose Studio - a sweet stamp, perfect for your Christmas cards or even general holiday cards. I stamped her twice on Lawn Fawn white cardstock with Memento Tuxedo Black Ink then colored the images with Copic Markers.

I die cut the images using Lawn Fawn Small Stitched Circle Dies, then added them to green cardstock which was die cut with Lawn Fawn Large Stitched Circle Dies.

The cards were created using Bazzill Wax Lips cardstock, cut to 5 1/2" x 11" and scored in half with Scor-Pal Scoring Board. The papers are from Graphic 45's Joy To The World collection which I mixed and matched to create my cards.
May Arts Sheer Ribbon was wrapped around the panels before adding the images with Scrapbook Adhesives 3D Foam Adhesives for dimension. Baker'sTwine was then tied around the ribbon to add some color.
The included phrase was stamped with Memento Tuxedo Black Ink on Lawn Fawn white cardstock, matted with green and red cardstock and then added to the card with Scrapbook Adhesives 3D Foam Adhesives for dimension.
Thank you for visiting

Christmas is only 11 weeks away so it's time to start creating Christmas cards. I've used the Mia with Candy from Wild Rose Studio - a sweet stamp, perfect for your Christmas cards or even general holiday cards. I stamped her twice on Lawn Fawn white cardstock with Memento Tuxedo Black Ink then colored the images with Copic Markers.

I die cut the images using Lawn Fawn Small Stitched Circle Dies, then added them to green cardstock which was die cut with Lawn Fawn Large Stitched Circle Dies.

The cards were created using Bazzill Wax Lips cardstock, cut to 5 1/2" x 11" and scored in half with Scor-Pal Scoring Board. The papers are from Graphic 45's Joy To The World collection which I mixed and matched to create my cards.
May Arts Sheer Ribbon was wrapped around the panels before adding the images with Scrapbook Adhesives 3D Foam Adhesives for dimension. Baker'sTwine was then tied around the ribbon to add some color.
The included phrase was stamped with Memento Tuxedo Black Ink on Lawn Fawn white cardstock, matted with green and red cardstock and then added to the card with Scrapbook Adhesives 3D Foam Adhesives for dimension.
Thank you for visiting
Wednesday, October 16, 2019
Time for Home Winter Pocket Card
Hello friends! Debbie here today sharing a frosty winter card pocket with tags featuring Ciao Bella Time for Home Collection. This new release is just so gorgeous and has so many beautiful embellishments to coordinate with it. On this card set I used Winter Tags and one of the Papers from the Collection
Perfect for layouts and card making!
I used a Laserowe Love Chipboard - Twig with Cone 2 on the front of the pocket. I simply used embossing powder to cover it.


Perfect for layouts and card making!
I used a Laserowe Love Chipboard - Twig with Cone 2 on the front of the pocket. I simply used embossing powder to cover it.


The flowers are from my stash as well as the ribbons.
Thanks for stopping by the Rubber Buggy blog today.
Debbie
Thanks for stopping by the Rubber Buggy blog today.
Debbie
Tuesday, October 15, 2019
Lawn Fawn Shadow Box

Hi it's Jennifer here and I combined some
new and old Lawn Fawn to create this
Shadow Box Scene. For the front I created a Shaker
and used the papers with the rabbit print to be the
scene in the shaker. The Merry Christmas is from
Ready Set Snow Set and the scattering of Snowflakes
is from Stitched Snowflakes.

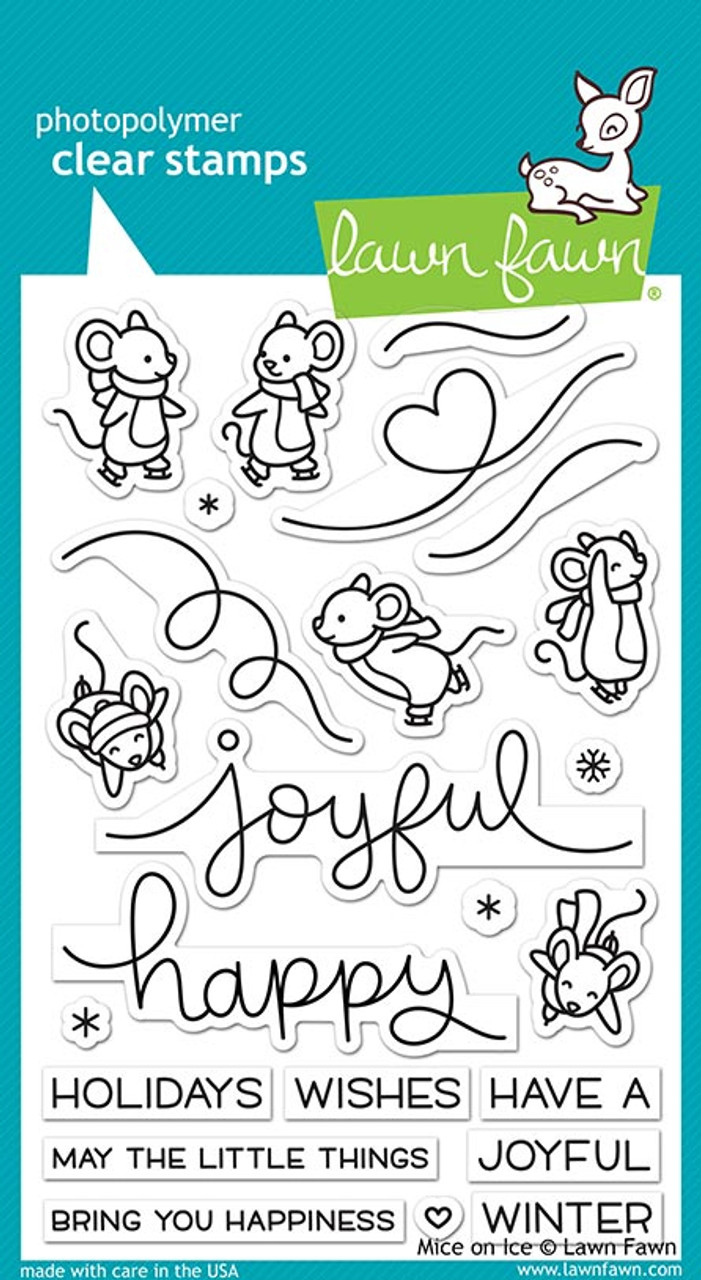
Then for the inside I decorated it with all these very Adorable Mice.
I coloured them with lots of different Coloured Copics. I also
coloured up the tree diecuts and the little die house.
Lawn Fawn - Mice On Ice
Lawn Fawn - Shadow Box

Lawn Fawn - Shadow Box Card Mountain

Lawn Fawn - Snowday Remix


I hope you all have a Great Crafting Week
Jennifer
Jennifer
Monday, October 14, 2019
3 Waterfalls Brag Book with full INSTRUCTION
hi everyone... so you all know I have been doing classes .. .and I have held back with sharing a few of the things with you only because the classes were still active and had to save the shares until after they were over.
So today I can share wtih you my latest 3 Waterfall Brag Book with instruction sheet for you to print and make one too.
I holds 18 4x4 horizontal photos and 23 4x6 vertical photos in this fairly small compact cover which you will be making too.
It's amazing what great things you can create ... by saving some cardboard from cereal boxes and other food items.... along with the back cover of many of your crafting paper 12x12 pads.
Here are just a few.

They can be fussy for celebrations, occasions, OR Plain and accents for all those sports photos OR themed with paper to match all those occasions, trips, travel, .... OR for those cute babies and grandbabies... it's endless and with the amount of photos it allows for a great number of photos in a compact sharing brag book that will fit on any coffee table. OMG and what fabulous gifts full of photos for mom's, gramma's for birthdays, xmas ... Did i say the ideas and occasions are endless.

It starts with a homemade cardboard cover with themed paper inside and out... and a right side closure piece.

The inside holds the 3 waterfalls created using cardstock.

For the Waterfalls inside this brag book I have a video on how to on them... LINK: https://youtu.be/CoIo18R7BcE
You can use magnets for closure... but I am loving these very small sized velcro circles.

Here is my finished ready to fill with photos Brag Book.
And now here is LINK to a Video I did : https://youtu.be/PwP8P8dRzBw
I would love if you watch it to click love it and also leave a comment... trying to build up youtube subscriptions.

 And last up is the Printable Instruction Sheets for you to follow and keep in your personal creative files.
So today I can share wtih you my latest 3 Waterfall Brag Book with instruction sheet for you to print and make one too.
I holds 18 4x4 horizontal photos and 23 4x6 vertical photos in this fairly small compact cover which you will be making too.
It's amazing what great things you can create ... by saving some cardboard from cereal boxes and other food items.... along with the back cover of many of your crafting paper 12x12 pads.
Here are just a few.

They can be fussy for celebrations, occasions, OR Plain and accents for all those sports photos OR themed with paper to match all those occasions, trips, travel, .... OR for those cute babies and grandbabies... it's endless and with the amount of photos it allows for a great number of photos in a compact sharing brag book that will fit on any coffee table. OMG and what fabulous gifts full of photos for mom's, gramma's for birthdays, xmas ... Did i say the ideas and occasions are endless.

It starts with a homemade cardboard cover with themed paper inside and out... and a right side closure piece.

The inside holds the 3 waterfalls created using cardstock.

For the Waterfalls inside this brag book I have a video on how to on them... LINK: https://youtu.be/CoIo18R7BcE
You can use magnets for closure... but I am loving these very small sized velcro circles.

Here is my finished ready to fill with photos Brag Book.
And now here is LINK to a Video I did : https://youtu.be/PwP8P8dRzBw
I would love if you watch it to click love it and also leave a comment... trying to build up youtube subscriptions.


Saturday, October 12, 2019
Lawn Fawn Fortune Teller

set along with the adorable Lawn Fawn dies and papers. All of these wonderful name-brand products are available at The Rubber Buggy on-line store.
 |
| Lawn Fawn Fortune Teller Tabby Stamp Set |
 |
| Lawn Fawn Reveal Wheel |
 |
| Lawn Fawn Scalloped Rectangle Frames |
For beautiful night skies, the Lawn Fawn Starry Sky die is small and very easy to die cut for star in your sky. I sponged on the Ranger Distress ink before die cutting the stars. I sponged on Ranger Distress inks such as Chipped Sapphire, Black Soot, and Tumbled Glass. I kept the die cut stars and glued around the sky for added effect.


 |
| Photo Play Fall Plaid paper |
I hope I have inspired you try out these products available at The Rubber Buggy on-line store. My cards and projects are always posted on Saturday. Keep watching and thank you so much for those wonderful comments as well as suggestions.
Enjoy and Happy Crafting!
|
Subscribe to:
Posts
(Atom)


