Saturday, November 23, 2019
Stamperia Blue Land Birthday Card
Welcome back and excited to share a birthday card made for a special friend using the gorgeous Stamperia Blue Land paper available at The Rubber Buggy. Please visit the store for all the wonderful products and supplies I have used and order soon while supplies are available. 


Instructions: Cut out a 6" x 9" white cardstock and score at three inches on the left. Cut out two 2 3/4" x 5 3/4" blue card stocks (one for the front and one behind on the inside of the card. Cut out two 2 1/2" x 5 1/2" of Stamperia Blue Land paper and adhere together and then adhere one of the rectangles to the left side of the white cardstock and the other to the inside of the card. Cut a 6" x 6" blue cardstock and 5 3/4" x 5 3/4" Stamperia Lue Land paper and adhere with glue.
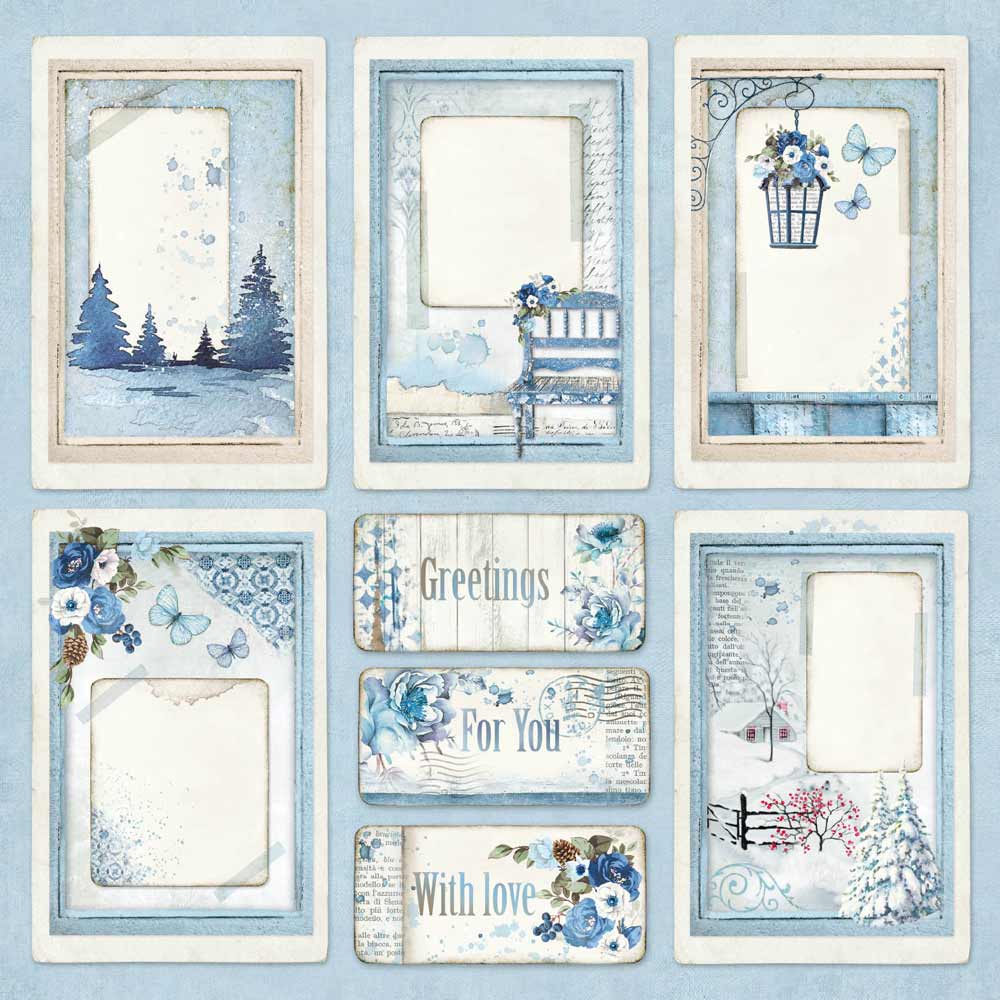
Cut out one of the tags (photo shown below) and stamp your sentiment in the opening. Adhere to inside of card.
Cut out two doilies. I cut out the circle with the church found in the Stamperia Blue Land paper pad (12" x 12") and used the Beacon 3-n-1 Advance glue to adhere to the doily die. Print out the sentiment on the patterned paper and adhere to the other doily. Glue one doily on the front of the card and the other behind it to the back side of the card. Try to match the front and back of the doily when gluing the doilies together.

Flower Instructions: I die cut several flowers with an ole Heartfelt Creations flower die with white cardstock and shaped the flowers. I tried to coordinate and match with the flowers in the patterned paper. I used a 6mm flat back pearl and adhered in the center of each flower and colored the pearl with a dark blue Copic marker. I handmade the blue seaming bow with additional leaves in the back of the bow. I added the gorgeous NUVO White Blizzard drops to the snow on the picture for an additional shimmer and appearance of snow.
I typed a personal message and printed it out on the Stamperia Blue Land paper and used a Stitched Circle die to cut it out and adhere behind the doily. I love this gorgeous page in this collection to stamp my sentiment on one of the tags and adhere it to the inside of the card. I plan on using this page to add a Christmas sentiment and use it for the front of a Christmas card. I cut out a butterfly in this paper collection and adhered it to the top of the tag to blend in to part of a butterfly on the patterned paper behind the tag.
 |
| Stamperia Blue Land Paper Pad |
I hope I have inspired you try out these products available at The Rubber Buggy on-line store. My cards and projects are always posted on Saturday. Keep watching and thank you so much for those wonderful comments as well as suggestions.
Enjoy and Happy Crafting!
 |
Thursday, November 21, 2019
Merry Christmas Tags
Hi everyone, Steph Ackerman here today with lots of fun products from the store. Please visit the store for all the fun products I've used today.

I found this fun Memory Box die - Everlawn Bells - and knew it would be an amazing die to work with along with the Maja Design Holiday in the Alps paper pad.

I created 4 different 2 layered tags from the paper pad and then die cut 4 bells from Bazzill Mashmallow Cardstock. As I wanted the center flower to appear 3 dimensional, I also die cut that portion of the die again for each tag. The leaves on the main bell dies were inked with Lawn Fawn Freshly Cut Grass using an art dauber. The flowers were inked Lawn Fawn Chili Pepper using an art dauber.

The tag layers were inked with Distress Ink Vintage Walnut prior to assembly. The bells were layered on top using Beacon 3-in-1 Craft Glue to adhere all the small pieces in place. Phrases from Lawn Fawn and Stamping Bella's Paisley has a Prezzie were stamped with Memento Tuxedo Black ink, then adhered to each tag.

Ranger Liquid Pearls were added to the flower centers and to create the berries. Finally, May Arts Ribbon was tied to each tag. Now just add them to your Christmas packages.
Thank you for visiting
Wednesday, November 20, 2019
Valentine, Weddings, Anniversary Cards
Hello Friends! It's never too soon to think about the coming holiday's and one of my favorites is Valentines Day! hese cans also be used for Weddings, anniversaries or any special birthday. I saw this gorgeous paper - Navy Romance and Chipboard pieces - Hearts With Lilies of the Valley by Laserowe LOVE and could not stop thinking about them and how they would make some beautiful Valentines Day cards! The collection comes with embellishments that can be fussy cut to add to your projects like the butterflies on these cards.

To alter the chipboard I painted it with
Prima Marketing - Art Alchemy-Acrylic Paint - Metallique Silver Spoon and then rubbed it with Opal Magic Wax

To finish these cards I Embellished them with flowers from

Thank you for stopping by the Rubber Buggy Blog today!
Debbie
Tuesday, November 19, 2019
The Three Amigas

Hi it's Jennifer here with a Card I createsd using these Three Gorgeous
Girls from Stamping Bella The Tree Amigas.
I have cut a card base in white card stock 12 x 24cm. I then Diecut the
Stitched Scalloped Square from Lawn Fawn in white card stock.
I layered each usung 3D Tape. I then coloured up the Girls using
Copics
Skin - E0000, E000, E00, E01, E04, E11
Hair - Girl 1. E50, E53, E55, E57
Dress - B34, B37, B39
Girl 2 - E23, E27, E29, E50
Dress - YG00, YG01, YG17, YG23, YG
Girl 3 - Hair - E71, E74, E77, E79
Dress - RV10, RV14, RV23, RV25, RV27
I finished it off with a few scattered Sequins.


I hope you all have a Great Crafting Week
Jennifer
Jennifer
Monday, November 18, 2019
Stamperia Pink Soul Collection and 3 projects

Lots of fun layers, great fuzzy cut images, die cut doily, cardstock matting and some fun pop ups and you have a cute card.

For this layout I used layers, fussy cut images, cut lots of inked circles for clusters, some fun chipboard accents and did some doodled inked stitch lines.

For this card I dug into some pieces and did a double section upper and lower divided with lace trim. I cut cardstock and print circular base for the accent, inked some edges and add some chipboards.
This collection is so versatile and all the projects look amazing.
The Rubber Buggy Supplies:
- Paper: Stamperia Pink Soul Collection
- Dies: Sizzix Tim Holtz Thinlets Doily
- Ink: Tim Holtz Distress Vintage Photo
- Glue: Beacon 3-in-1 Glue,
- Accents: Scrapbook 3D foam
- Machine/ tools: Tim Holtz 5" mini Snips, Fiskar Paper Trummer, Tim Holtz mini tool kit
- Other: lace, chipboard, black pen, cardstock
I fuzzy cut lots of the accent pieces, cut strips of paper for the layers and then inked them all for depth and dimension.


Thanks for stopping by... hope to see you again soon ... but in the mean time be sure to stop by the STORE where these items and so many others are available. Also take note of all the products that aren't carried in our regular local stores. ... AND the service is A1.

Saturday, November 16, 2019
Ho Ho Christmas Card
Welcome back and I am so excited to share my Christmas card made with adorable Lawn Fawn stamps and dies available at The Rubber Buggy on-line store. The Rubber Buggy has all of the name-brand products and supplies you will want for your adorable Christmas cards this season. Don't wait to order while supplies are available.


Lawn Fawn Ho Ho Holidays Stamp
Lawn Fawn Tiny Christmas
Lawn Fawn Upon A Star Stamp
Lawn Fawn Leafy Tree Background Landscape die
Lawn Fawn Fancy Wavy Banner die set
Lawn Fawn Winter Wavy Stamp set
Lawn Fawn White Embossing Powder
Memory Box Madison Window die Substitute Lawn Fawn Wonderful Window
Heartfelt Creations O Holy Night Scroll die and Hearfelt Creation O Holy Night Silent Night Stamp
Lawn Fawn Christmas Dreams Stamp
NUVO Grand Red Berry Drops
NUVO Pure Sheen Diamond Glitter
Uni-Ball Medium White Gel Pen
Beacon 3-in-1 Advanced Glue
Copic Markers
NUVO Aqua Shimmer Glitter Gloss Pen
NUVO White Blizzard Glitter Drops
Snow embossing folder
Ranger Gold Tinsel Embossing Powder
Tim Holtz Icicles
Front:

Inside:

I used the Heartfelt Creations O Holy Night Scroll die and Hearfelt Creation O Holy Night Silent Night Stamp and colored with Copic markers. I added the NUVO Grand Red Berry Drops to the berries and Ranger Gold Tinsel Embossing Powder to "Merry Christmas". I stamped the Lawn Fawn Ho Ho Holidays Stamp, Lawn Fawn Tiny Christmas and Lawn Fawn Christmas Dreams Stamp and fussy cut them out. I used Copic markers to color and the Uni-Ball Medium White Gel Pen. I used a patterned paper and gray-green cardstock. I always use the NUVO Aqua Shimmer Glitter Gloss Pen to add shimmer around the images especially to bring out the Christmas lights and fire place to give the images some glow. I also added the NUVO glitter gloss to the top of the dog and cat to highlight the glow of the fireplace on their backs.
I hope I have inspired you try out these products available at The Rubber Buggy on-line store. My cards and projects are always posted on Saturday. Keep watching and thank you so much for those wonderful comments as well as suggestions.
Enjoy and Happy Crafting!
|
Thursday, November 14, 2019
Merry Christmas Cards with Memory Box
Hi everyone, Steph Ackerman here today with lots of fun products from the store. Please visit the store for all the fun products I've used today.
I've used the Memory Box - Open Studio - Distressed Baptisia Collage, which is a collection of 4 different dies, along with the Graphic 45 Joy to the World Collection to create Christmas cards.

My first card is horizontal and the dies were used in 2 opposite corners. Papers from the Joy to the World collection were added to both the inside and outside of the card.


This vertical card uses one of the other Memory Box dies in one corner. Assorted tags from the Graphic 45 paper collection were added to the front of the card.


Thank you for visiting
I've used the Memory Box - Open Studio - Distressed Baptisia Collage, which is a collection of 4 different dies, along with the Graphic 45 Joy to the World Collection to create Christmas cards.

My first card is horizontal and the dies were used in 2 opposite corners. Papers from the Joy to the World collection were added to both the inside and outside of the card.


Inside, pattern paper was added to both sides and you can see the design peeking out behind the die. Lawn Fawn's Outside In Stitched Rectangle dies were used on Bazzill Marshmallow and Lollipop cardstocks.

My final card uses yet another die. A torn paper panel and a post card from the Graphic 45 collection were added on top. Ranger Liquid Pearls were added around the card for dimension.

Inside I also used Lawn Fawn's Outside In Stitched Rectangle dies with Bazzill Marshmallow and Lollipop cardstocks.

Subscribe to:
Posts
(Atom)


