Saturday, August 22, 2020
Stamperia Sweety Birthday Card
Welcome back and Nancy, here. Today, I have a birthday card made with Stamperia’s new Sweety collection to share with you! Ooh la la!. This collection is so beautiful with papers of gorgeous venice lace, chocolate, cupcakes and tea cups. It’s always nice to start a birthday with something sweet, don’t you think? So into my shopping cart it went and I am so glad!


I used the Graphic 45 Staples-Policy and Decorative Die to make the gift card to insert in the pocket on the inside of the card. Notice the other beautiful labels, corners, and lace dies in this set.


 |
| Graphic 45 Staples-Policy and Decorative Die |
On the back of the card, I cut out the label and adhered it to this section all found in the Stamperia Sweety 12" x 12" paper pad. I added twine and metal embellishments on the side. I cut out the gold corners with the new arrival of the Graphic 45 Staple Collection-Policy and Decorative die set.

Thanks for your visit today! The Rubber Buggy has the crafting supplies for your next project. So have fun crafting this weekend with these products. My cards and projects are always posted on Saturday. Keep watching and thank you so much for those wonderful comments as well as suggestions.
Enjoy and Happy Crafting!
 |
Thursday, August 20, 2020
Seek and Travel Cards
Hi everyone, Steph Ackerman here today with lots of fun products from the store. Please visit the store for all the fun products I've used today.

I know we can't travel at the moment, but that doesn't stop us from thinking about traveling. I, for one, am so looking forward to the time when traveling is no longer an issue! The Sizzix Thinlets words were perfect for these cards and they each come with 2 layers. They were die cut from Maja Designs Vintage Ships and Lawn Fawn Kraft cardstock.

I've used Stamping Bella's Uptown Girls - Sunny is Stylish - for both my cards, coloring them with Copic Markers. Fussy cutting around their legs, I used the Lawn Fawn Stitched Rectangle die to die cut them. Weathered Wood Oxide Ink was inked around the edges before they were added to kraft cardstock.

The cards were created from kraft cardstock and a striped panel from Maja Designs were added next. A strip of Maja Designs was matted with kraft cardstock and added to the cards. The girls were added with Scrapbook Adhesives 3d Foam Squares for dimension. The words where then added to the imaged with Tattered Lace Detail Glue.
Thank you for stopping by.
Saturday, August 15, 2020
Stamperia Forest Gift Box
Welcome back and Nancy, here. The perfect start my forest/nature gift box is with the beautiful Stamperia Forest collection! This package contains ten 12x12 inch double-sided sheets with a different design on each side. The Rubber Buggy has all of the wonderful name-brand products and supplies for your next crafty project and cards.
I have so many hunters and fishermen in my family which makes this collection ideal for creating birthday and projects for them. The Stamperia Forest collection also includes stencils, stamps, decoupage papers and rice paper. Everything you need to express your creativity!


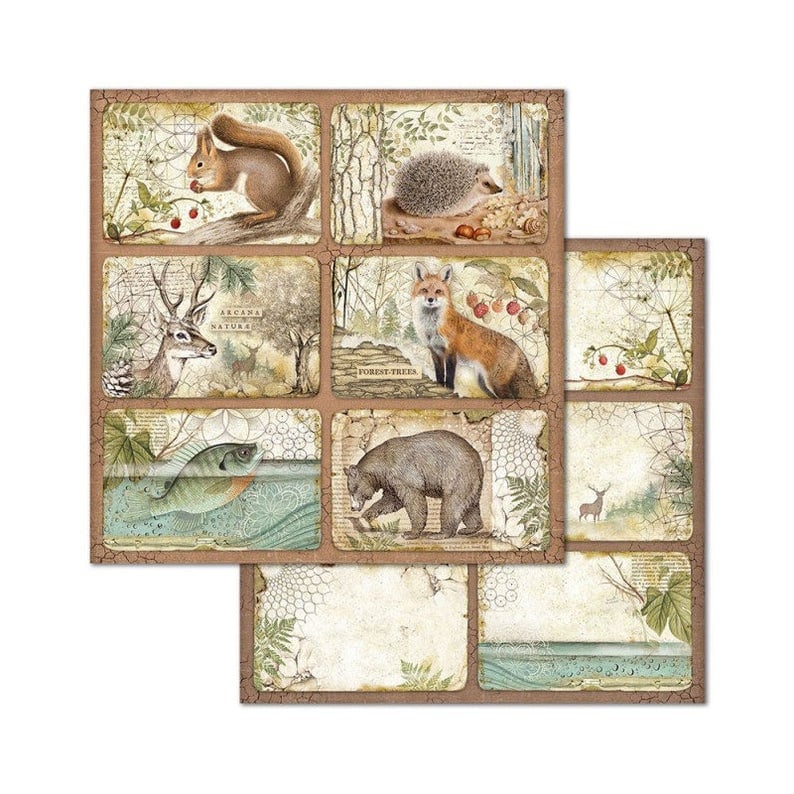
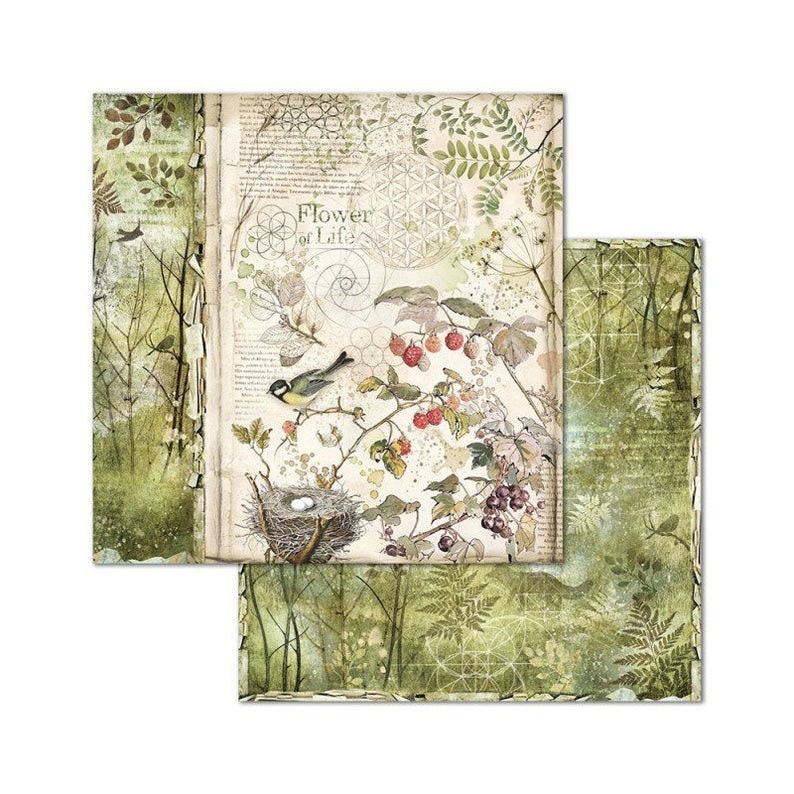
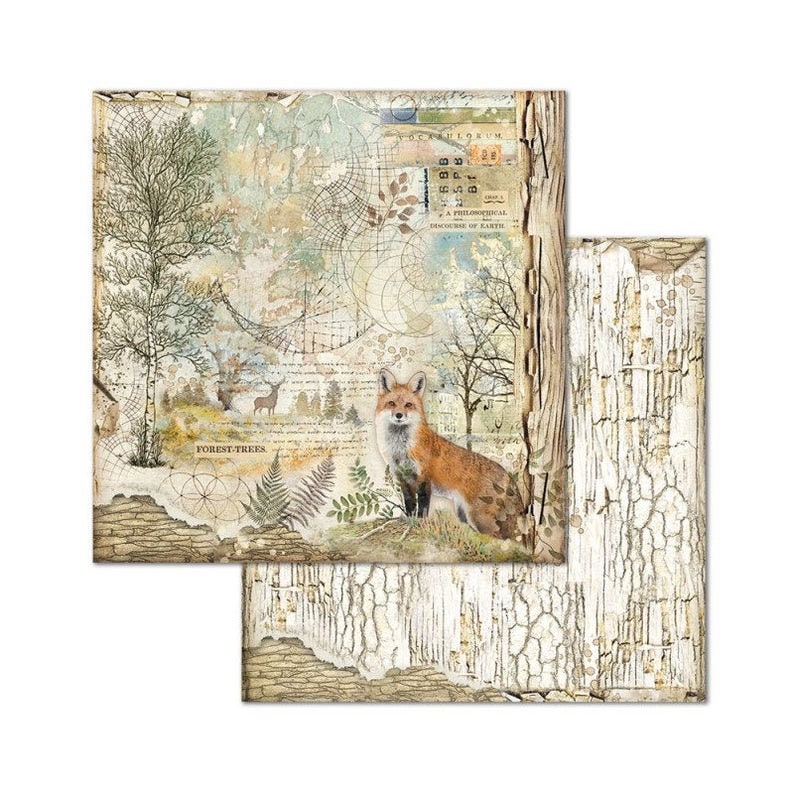


I always stamp my name on back of my cards and projects.
I have so many hunters and fishermen in my family which makes this collection ideal for creating birthday and projects for them. The Stamperia Forest collection also includes stencils, stamps, decoupage papers and rice paper. Everything you need to express your creativity!

First I painted the box with green chalk paint before adding the paper. I used the Beacon 3-n-1 Advanced glue to adhere the paper to the wooden box. I added the Stamperia Forest Die Cuts chipboard on the front and inside of the gift box. I used a hot glue gun to adhere the chipboard but glue would have been fine. I collected some bark, tiny pine cones and a stick to add to the box. I made the leather strip from brown cardstock and sponged on the Tim Holtz Distress Vintage Photo and Tim Holtz Distress Espresso ink to give it a leather appearance. Also, I used the Tim Holtz Vintage Photo ink sponged throughout the front, side and inside of the box to give it that worn look.

I was able to scan and add the sentiment to this patterned journal in the Stamperia paper pad and printed it out. Below are the papers from the pad for this box.


Now the gift box is ready to send with local Idaho huckleberry goodies and fishing supplies.

I always stamp my name on back of my cards and projects.
 | |
| Stamperia Forest Die Cuts chipboard
The Stamperia Forest die cuts includes 65 assorted die cut chipboards in this packet that coordinates with the Forest collection.
Thanks for your visit today! The Rubber Buggy has the crafting supplies for your next project. So have fun crafting this weekend with these products. My cards and projects are always posted on Saturday. Keep watching and thank you so much for those wonderful comments as well as suggestions.
Enjoy and Happy Crafting!
|
Thursday, August 13, 2020
Happy Fall Card
Hi everyone, Steph Ackerman here today with lots of fun products from the store. Please visit the store for all the fun products I've used today.

Fall will be here before we know it so I'm starting on fall cards for family and friends. Using a stamp from my stash I stamped it with Lawn Fawn Soot Ink. Then I colored the image with Copic Markers. Then, I used the Lawn Fawn Stitched Rectangle dies to die cut the image.


Fall will be here before we know it so I'm starting on fall cards for family and friends. Using a stamp from my stash I stamped it with Lawn Fawn Soot Ink. Then I colored the image with Copic Markers. Then, I used the Lawn Fawn Stitched Rectangle dies to die cut the image.

Before removing the die, I added color around the stamped image with Distress Oxide Inks in Speckled Egg and Dried Marigold using a Ranger Ink Blending Tool. This gives a nice line of color and a white band around the edge of the image.

I wanted to highlight the design so I adhered it to an orange burlap panel and frayed the edges.

The panel was matted to a wood background panel from Lawn Fawn Knock on Wood Paper Pad. This was then adhered to a white card.

Happy Fall is a Lawn Fawn Border Die, which was die cut from 7Gypsies Paper and adhered to the lower corner of the card using Tattered Lace Detail Glue.

To finish, I added Ranger Liquid Pearls and Nuvo Crystal Drops about the pumpkins.
Thank you for visiting
Saturday, August 8, 2020
Stamperia Forest Birthday Card

My card is fairly large measuring 7" x 8" but it was soooo much fun to create for my nephew who is a a fisherman and hunter. I added the Nuvo Crystal Drops Clear Morning Dew on the bubbles and fish on the patterned paper. The clear crystal drops added a beautiful glossy appearance on the bubbles and fish and almost made the fish look real.
I added the large and small green sequins and some beads throughout the front of the card using the 28 Lilac Lane Shaper Mix - Deck the Halls. I really love the variety of colored sequins, buttons and beads in the 28 Lilac Lane Shaper boxes that come in a variety of colors and mixes.
I added the Stamperia Forest Die Cuts chipboard on the front and inside of the card. I used a hot glue gun to adhere the rope. I had a fishing lure die that was cut out with metallic copper paper. This die has been retired a few years ago.
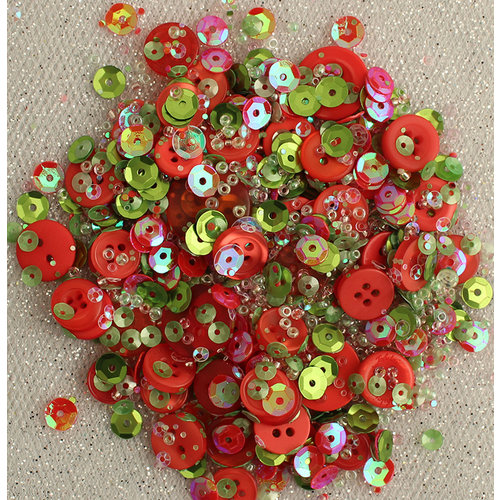
 |
| 28 Lilac Lane Shaker Mix - Deck The Halls |
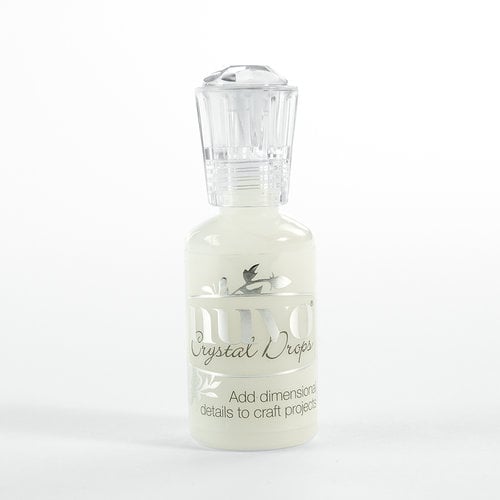 | |
Nuvo Crystal Drops Clear Morning Dew  |
I covered the inside of the card with this paper. Also, I scanned one of the journal sections found in this collection and used my Photoshop to type and print out the journal with the sentiment. I cut it out and added to the inside of the card.
Previously in the past for other cards, I taped the original journal section on copy paper and print the sentiment on section which is very time consuming since I had to make sure the sentiment would be nicely centered, etc. which would take some trials of printing to get it right before printing on the original patterned paper.
 |
| Stamperia Forest Paper Pad |
Below are the papers from this paper pad used on this card.


|
| Stamperia Forest Die Cuts chipboard |
Thanks for your visit today! The Rubber Buggy has the crafting supplies for your next project. So have fun crafting this weekend with these products. My cards and projects are always posted on Saturday. Keep watching and thank you so much for those wonderful comments as well as suggestions.
Enjoy and Happy Crafting!
|
Thursday, August 6, 2020
Stamping Bella Cards
Hi everyone, Steph Ackerman here today with lots of fun products from the store. Please visit the store for all the fun products I've used today.


.

I love the 7 Gypsies Boots & Brollas on Ivory cardstock. This is a sturdy cardstock with assorted boots and umbrellas. Creating 5 1/2" square cards from Bazzill Licorice Twist Cardstock, the pattern paper was cut 5" square and inked with Tim Holtz Gathered Twigs Ink.
Using the reverse side, I cut it 5 1/4" square and adhered the papers together.
After wrapping the panels with May Arts Sheer Black Ribbon, the panels were added to the cards.

I love the Stamping Bella stamps and used both Sunny is Stylish and Lolly with her Brollie. Both were colored with Copic Markers. Sunny was fussy cut and added atop a Tutti Designs oval die, with Scrapbook 3D Foam Adhesives for dimension, while Lolly was stamped on a Tutti Designs oval die. The ovals were then adhered to larger black ovals.

The right side of Lollie's oval was cut off to align with the edge of the card.
The ovals were then added to each of the cards with foam adhesives for dimension.
Thank you for visiting
Saturday, August 1, 2020
Lawn Fawn Outer Space Birthday Card
Your cards will be out of this world by creating a scene with the entire solar system and these cute little aliens! Nancy, here, and I am excited to share my fun to make birthday card with you. This Lawn Fawn Out Of This World and Lawn Fawn Beam Me Up stamp and die sets are wonderful for special occasions like birthdays and graduations, and for science and space lovers! The Rubber Buggy has the wonderful name-brand products you will want to create your next beautiful card and craft projects.
I sponged the background with Distress Oxide inks: Black Soot, Chipped Sapphire, Picked Raspberry, Fossilized Amber and Lawn Fawn White Ink. I mixed a little water with white Perfect Pearl powder but white acrylic paint will do as well and used a toothbrush with my fingers to spray on the card for the galaxy for the front and inside of the card. Before adhering the Lawn Fawn images and clouds to the card, I used a can of Gloss Spray found in a hardware on the card to have a touch of shimmer on the sky for the front and inside of the card. I let dry for an hour due to my sensitivity to the smell of the spray before gluing the images.


I stamped the images with the Memento Tuxedo Black ink and colored with Copic Markers. I cut out two Lawn Fawn Puffy Cloud Border clouds for the front of the card with white cardstock and vellum. I cut out the Lawn Fawn Pop Up Birthday die and sponged on the same Distress inks. I adhered the card with the Beacon 3-in-1 Advanced glue. Also, I added a touch of white Lawn Fawn Ink with a cotton swab to the stamped stars.


Thanks for your visit today! The Rubber Buggy has the crafting supplies for your next project. So have fun crafting this weekend with these products. My cards and projects are always posted on Saturday. Keep watching and thank you so much for those wonderful comments as well as suggestions.
Enjoy and Happy Crafting!
|
Subscribe to:
Posts
(Atom)


