Tuesday, September 19, 2017
Tilda with Ballet Shoes

Hi it's Jennifer here with my Tuesday post and also to remind you that
the first one is still running so pop on over and take a
look be Inspired Create and Enter and you will be in the
running for some crafty dollars.
So this week I decided to use an older Magnolia Stamp
as I needed a dance card. There are some really Beautiful
older Magnolia Stamps that just do not date so take a look.
The stamp I have used is Tilda with Ballet Shoes.
I have Stamped her using LF Jet Black Ink and coloured
her up with Copics.
Face E0000, E000, E00, E01, E11, R20
Hair - E30, E31, E33
Outfit - V91, V93, V95
Maja Vintage Romance. I have diecut the white layer using
LF Small Stitched 4 Bar Rectangles The Shaker centre
I created by using the LF Fancy Scalloped Circle.
I have also used a mix of Sequins picking the ones that
matched the papers. I have also Stamped the Sentiment from
a Stamping Bella Stamp Set and Die Cut it using
LF Large Stitched 4 Bar Rectangle the smallest.
I have finished it off using 3 matching flowers.

A Close up.

I hope you all have a lovely Crafty Week.
Jennifer
Monday, September 18, 2017
Fun cards using The Rubber Buggy Products and Feeling Sketchy Card sketches

I am multi tasking these cards using amazing Feeling Sketch card sketches and using The Rubber Buggy products. For these 2 cards I am using Blue Fern Studios Chesterville Collection. For this card I added 49 and Market flowers, Tim Holtz distressing ink, Beacon 3-in-1 Glue, bling flourish, cardstock, a Fred She Said Sentiment and some washi tape.


Up next is more Chesterville paper Collection,,,, but cut specific sections of the print papers to fit the squares and matted them to follow the sketch. Extra used are lace, Tim Holtz distress ink, white signo gel pen for written words, Beacon 3-in-1 Glue and some cardstock.


Thanks for stopping by.... see you again soon.

Saturday, September 16, 2017
Thinking of You At This Time

Welcome back bloggers and I am sooooo excited to share with you some techniques that I have used on my autumn card made with Heartfelt Creations Woodsy Wonderland and Heartfelt Creations Sun Kissed Fleur Flowers dies and stamps sets along with NUVO Embellishment Mousse colors and Copic markers. All of these amazing coordinating Heartfelt Creations papers, dies and stamps sets came from The Rubber Buggy on-line store. The Rubber Buggy has wonderful name-brand craft products with fast delivery and fantastic customer service.
I love the coordinating dies, stamps and paper in the Heartfelt Creations Woodsy Wonderland collection. We have several relatives who love the outdoors and also a few hunters. I have made several cards and projects with this collection and love how easy it is to make wonderful cards and this shadow box card using the beautiful trees, animals and birds in this collection.

One technique that I love to share with you is that the sunset was colored with NUVO Embellishment Mousse colors of Aqua Marine, Peony Pink, Coral Calypso, Lemon Sorbet and Mother-of-Pearl. I sprayed some water on the heavy white card stock and also sprayed some water in each of the NUVO Mousse jars. I would suggest to start on top with the NUVO Mousse Aqua Marine using a sponge or wet cloth and use the Pink and Coral and work in the Lemon Sorbet. Use the Mother-of-Pearl with a brush to create a few faint clouds in the sunset.


 |
| Heartfelt Creations Sun Kissed Fleur Stamp and Die Set |
Heartfelt Creations Sun Kissed Fleur petals after using a flower molding tool to shape the flowers.
Another technique that I have found is creating a mix colors in the Prills using Copic markers. After gluing the center of each flower, I dipped the center in Prills - Go Man Go and let it dry. I took the fine pointed felt side of the Copic marker and tap some of the tops of the Prills with red, black, green and brown Copic markers.
 |
| Go Man Go Prills |
 |
| Minnie Pearl Prills |
I did the same steps with these flowers shown below of applying glue and adding the white Minnie Pearl Prills to these flowers. After the glue dried, I colored most of the Prills with pink and lavender Copic markers using the fine tip of the Copic markers.

I will need to make a video within a few weeks on how I made my shadow box for this card. I thought it would take some time but I created this shadow box within minutes. The depth of the shadow box is only 1/4" which is good for mailing. I research shadow boxes on line and got some of my ideas and modified some of their instructions. Keep watching my blog and hopefully, I will get this videoed shortly.
 |
| Inside of card |
 |
| Heartfelt Creations Wishes Stamp Set |
The card measures 7 1/2" x 9" and the shadow box measures 6" x 8". After creating this card, I could have made this smaller and plan on doing this for my next shadow box card. I plan on creating a winter and/or Christmas card using this same collection and doing a shadow box card.
I can't wait to see the possibilities that you will create making a shadow box card. I really encourage you to purchase the entire coordinating collection of the Heartfelt Creations Woodsy Wonderland paper, dies and stamps from
The Rubber Buggy.
Enjoy and Happy Crafting!
 |
| Nancy Hill The Rubber Buggy Design Team |
Friday, September 15, 2017
Cute Mini Tag
Hi everyone!!
It´s Noe here another Friday... Have you seen all the new releases of Lawn Fawn? Sure you know it's one of my favorite brands so I couldn´t resist some of their stamps and dies !!
This one I show you below looks sooo cute to make small tags that accompany our gifts! Even to make small bookmarks !!


Supply List from Store:

Thank you for visiting
It´s Noe here another Friday... Have you seen all the new releases of Lawn Fawn? Sure you know it's one of my favorite brands so I couldn´t resist some of their stamps and dies !!
This one I show you below looks sooo cute to make small tags that accompany our gifts! Even to make small bookmarks !!


Supply List from Store:
- For you, Deer LF Stamp Set.
- For you, Deer Lawn Cuts.
- For you, Deer Add On Lawn Cuts.
- Copics: E77, E57, E35, W7, W5, W3, C2, E43 y R11.

Thank you for visiting
Thursday, September 14, 2017
The Rubber Buggy Challenge #2 - Flowers

The Rubber Buggy Challenge #2
Theme is Flowers
September 15th through September 30th
Join the FUN!
The Rubber Buggy design team will be selecting the top three cards or projects along with the winner of the $15.00 gift certificate to The Rubber Buggy on-line store. There is no limit on how many cards or projects for this challenge. Just use the link on The Rubber Buggy Challenge blog to post your project or card. Can't wait to see what you have to share with us and thanks for entering!
Glittered Background with Tutti Designs
Hi everyone, Steph Ackerman here today working with a bunch of products from the Rubber Buggy Store. Have you checked out the store lately? It has so many wonderful new products.
I love Tutti Designs dies and wanted to do something a little different with the Oriental Screen Craft Die.

I die cut a white panel using the Oriental Screen Craft Die. Due to the delicate nature of this die, I placed it on a sheet of Scor-Tape, cutting the adhesive sheet to fit the die cut panel.

Because of the exposed adhesive, I knew glitter would stick. I poured an assortment of Blue Fern Studio Glitter on the panel then gently rubbed the glitter into the adhesive.


Using a journaling card from the Rossi Belle Journaling pack, I die cut it with a Spellbinders oval die and matted it with a larger die. I adhered it over the ribbon using Scrapbook Adhesives 3D foam squares for dimension.
Doesn't it look pretty?
Thank you for visiting.
I love Tutti Designs dies and wanted to do something a little different with the Oriental Screen Craft Die.


Because of the exposed adhesive, I knew glitter would stick. I poured an assortment of Blue Fern Studio Glitter on the panel then gently rubbed the glitter into the adhesive.

I tapped off the excess glitter and then added the panel to a card created from Bazzill Taffy cardstock.

I wrapped May Arts ribbon around the panel.

Doesn't it look pretty?
Thank you for visiting.
Wednesday, September 13, 2017
Fall Journal Decrations with Netra
Happy Wednesday! I hope you all are
alright. The weather has been a little crazy, so I hope that your
neck of the woods is fine.
Today I am sharing my travelers notebook all decorated for fall.
I used the Amber Moon collection by Prima and Frank Garcia and its a
beautiful collection.


These pick flowers are from 49th & Market. I love them.
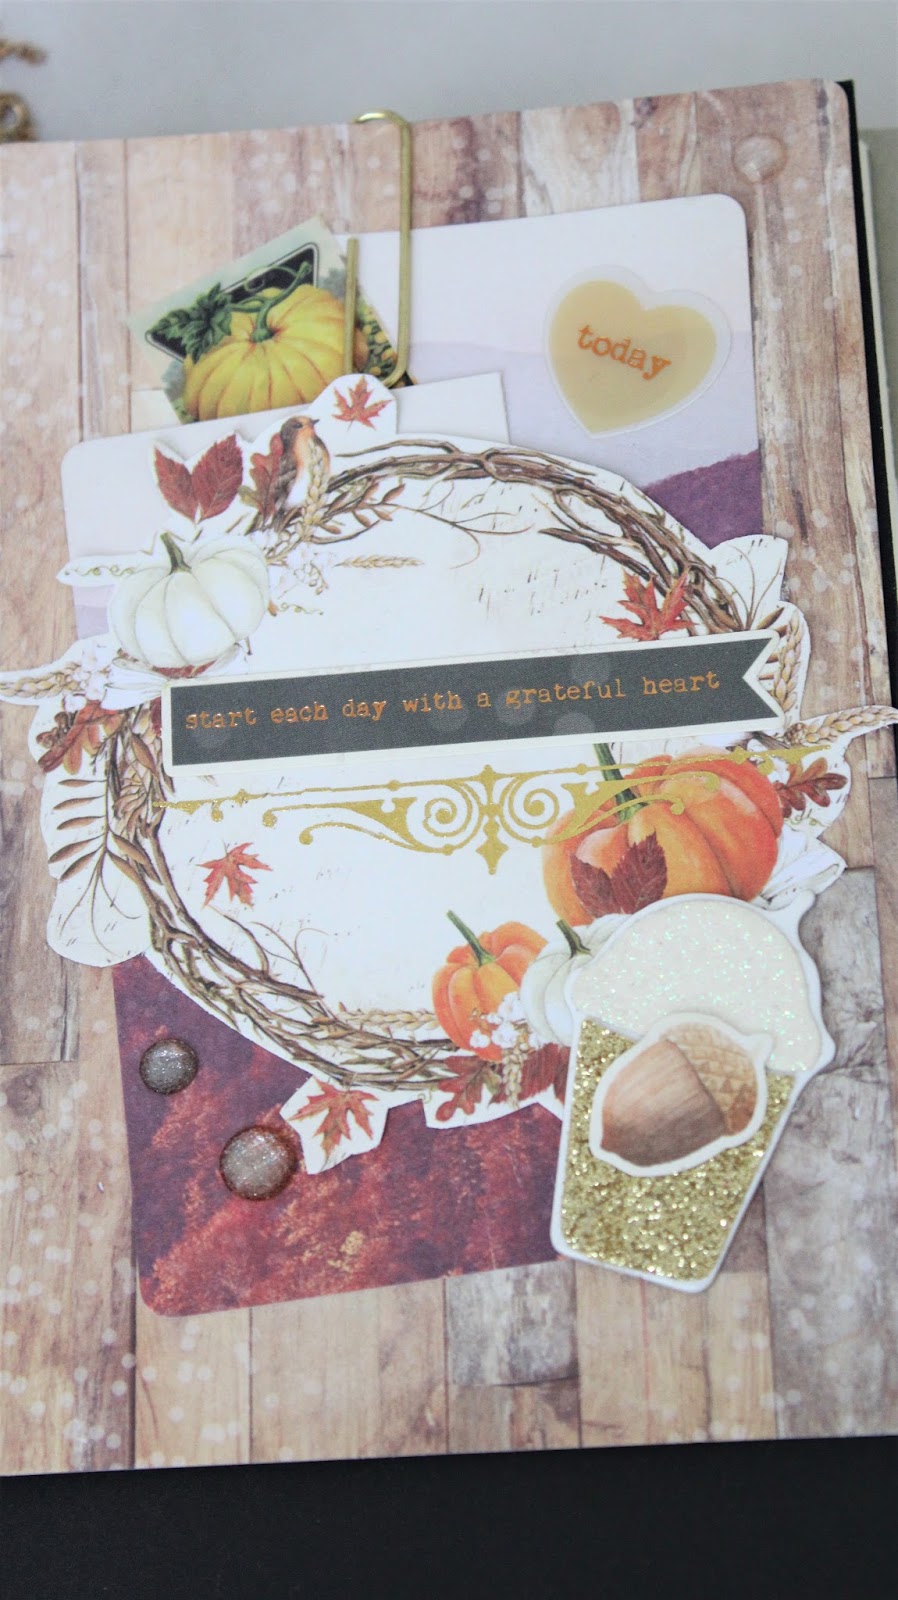

I am very excited for fall weather. And I cant wait to
add photos to my fall TN.
Thank you for visiting
Subscribe to:
Posts
(Atom)


