Tuesday, June 9, 2015
Namaste
Hi everyone!
Pi here with another card and I hope you like it :)

I mixed a lot of products and brands for this one. How silly of my that's something to overcome - LOL!
I love the YOGA MAMAS stamp! I colored her with my copic markers. For here hair I used E51, E55, E57 and for her clothes I used BG45 & BG49 and I'm loving this combo. All the layers of paper are leftover scraps and they go so well together. The little birds are chipboard pieces from the same collection by G45 - don't you love it when someone else is doing all the hard work for you.
The sentiments of the card is made with 2 set of stamps. "Namaste" is made with Milo's ABC. A great stamp set and so easy to use. The rest of the sentiment is from the awesome Handlettered thanks stamp set from Wplus9 design studio. So loving the versatility of that one and the fact that they both are clear stamps really helps getting a perfect position.
The piece that I stamped the sentiment on had the word "baby" showing, so I covered it with a strip of washi tape. But it works...
Products used from the store:
Saturated canary rubber stamp YOGA MAMAS
Copic markers
G45 deluxe collection BABY 2 BRIDE
WOC open roses 15mm
WOC 30mm leaves
Lawn Fawn clearstamps MILO'S ABC
Wplus9 design studio HANDLETTERED THANKS
MFT die-namics DECORATIVE DOILY
Washi tape PEACH W DOTS
Thanks for visiting!
Monday, June 8, 2015
Maya Designs Nyhavn collection and a cute Tag

Hi Bev here. The Rubber Buggy has fabulous collections. Using left over paper
from the Maja Design Nyhavn Collection I created the tag above to
share with you. Using lots of smaller pieces it's still easy to add layers, punch out
accents and add pennants to your core tag.
Add ink to all the edges to give depth and texture.
Small homemade tassels are easy to make and add a great trim to many projects.
Supply List:
Other Products: Twine
Punch: Fiskars, Kreaxions

Making small tags, or creating cards are always fun and amazing
when you can use all those small but great stash that accumulates from the
left overs from the bigger projects.


Thanks for stopping by.. visit the store and blog often to view the great products and
the amazing creations the DT all have to share.

Friday, June 5, 2015
"Candie" Card
Hi everyone!!
Here Noe! Like every Friday I bring you a inspiration post for The Rubber Buggy!!
Lately I can´t stop making cards!! And make them it´s so much fun !! So, here is my card for this Friday:

I painted "Candie" Prima Doll Stamp with my Spectrum Noir and then, for the dress, I used de paper piecing tecnique, stamping doll in differents scrapbook papers, cutting and pasting each other.

For the background I used a stencil and Sparkle Medium.

To complete this card, one tag to hide a message and a pretty butterfly.

Products used:
- Brilliant Memory Box Stencil
- Prima Marketing Julie Nutting Doll "Candie".
- Brights Spectrum Noir
- Stamping Supplies
Thanks for stopping by... glad to see you.
Have a great Friday!!

Thank you for visiting
Thursday, June 4, 2015
Whatever road you take........
Hi everyone, Steph Ackerman here today with a featuring an assortment of products from the store.
Using Spellbinders dies, I created an oval card. Using the same sized oval, I die cut a strip of Graphic 45 to fit, then tore the edges. A smaller die cut oval from Bazzill black cardstock created the next layer.

The stamped image is Karlie, from the Prima Marketing Bloom collection. There is so much going on in this stamp from the flowers to the thread to the paint brushes to the pin cushion. She is gorgeous and I colored in assorted Copic Markers and then fussy cut her to fit the card.

Because the image is so busy and has so many things going on, I chose the sentiment from Stamping Bella's Molly Makes a Detour stamp set. I thought worked well with the image.
Thank you for visiting.
Wednesday, June 3, 2015
Tilda and Chanel The Puppy with Netra
Hey everyone !
I hope this week has been good to you all so far.
The DT has been showcasing so many wonderful projects for you
and we are only 3 days in !
I have been enjoying my summer off from homeschooling.
AND that means lots of crafting time !!!
So, today I am sharing a super shabby chic card using a ton of
products from The Rubber Buggy store.
I can't get enough
of all of the embellishments I have been working with.
I also used some more Pion Designs paper.
Another thing that I can't get enough of.
For your shopping ease I have links down below as always.
I hope you like the card. I have not made one like this in while.
 |
| I colored Tilda and Chanel with Colored Pencils |
 |
| added just a few BEAUTIFUL flowers and some lace |

 | ||
| added some dimension |
 | ||
| added a butterfly from the paper on the puppy's nose. so cute. |
Pion Designs Paris Flea Market Collection
Tilda and Chanel the Puppy
Pearls
Roses
Cosmo Daisy
Tiny Tan Rose
Leaf Die
Lace
Distress Ink in Vintage Photo
Tilda and Chanel the Puppy
Pearls
Roses
Cosmo Daisy
Tiny Tan Rose
Leaf Die
Lace
Distress Ink in Vintage Photo
Thank you for visiting
Tuesday, June 2, 2015
Hello you (Lawn Fawn)
Hi everyone!
Pi here with another card using Lawn Fawn.

I had a blast making this card. It may be old news for most of you, but I just recently found out this cool way to use your dies as stamps and make the most awesome embossing.
Here I used MFT decorative doily and Lawn Fawn Freshly cut grass. I'm sorry that the photo wont pick up the cool one layer dimension you get.
I used the scripty sentiments from Lawn Fawn and the same ink as for the doily. Then I topped it with some coffee cups from Love you a latte set - my favorite stamp set!
I just couldn't help myself but to make a background using the coffee bean stamp too.
Products used from the store:
MFT die-namic Decorative doily
Lawn Fawn ink pad freshly cut grass
Lawn Fawn Love you a latte stamp set
Lawn Fawn Love you a latte coordinating die set
Lawn Fawn Scripty sentiments stamp set
Circle die
Scrap from G45 deluxe edition baby 2 bride
Stamping supplies (doublesided tape, watercolor paper, neenah kraft paper, bonefolder, dye ink (black, grey & brown)
Thank you for visiting!
Monday, June 1, 2015
"Moments" and Blue Fern Studios Love Story Collection

Hi Bev here again.. always excited to share my projects using products from
The Rubber Buggy. Today's page is another old photo vintage style page using
the fabulous Blue Fern Studios Love Story Collection and
some super flowers, lace, doily and chipboard accents.
Supply List:
The Rubber Buggy Products: Blue Fern Studios Love Story
Chipboard: Blue Fern Studios, 7 Dot Studio Illumination
Accents: Mulberry Open Roses, Crochet Lace Trim
Markers: copics
Doily: Unique
Ink: Tim Holtz ranger Distressed
Sketch: Let's Get Sketchy
Other: bling
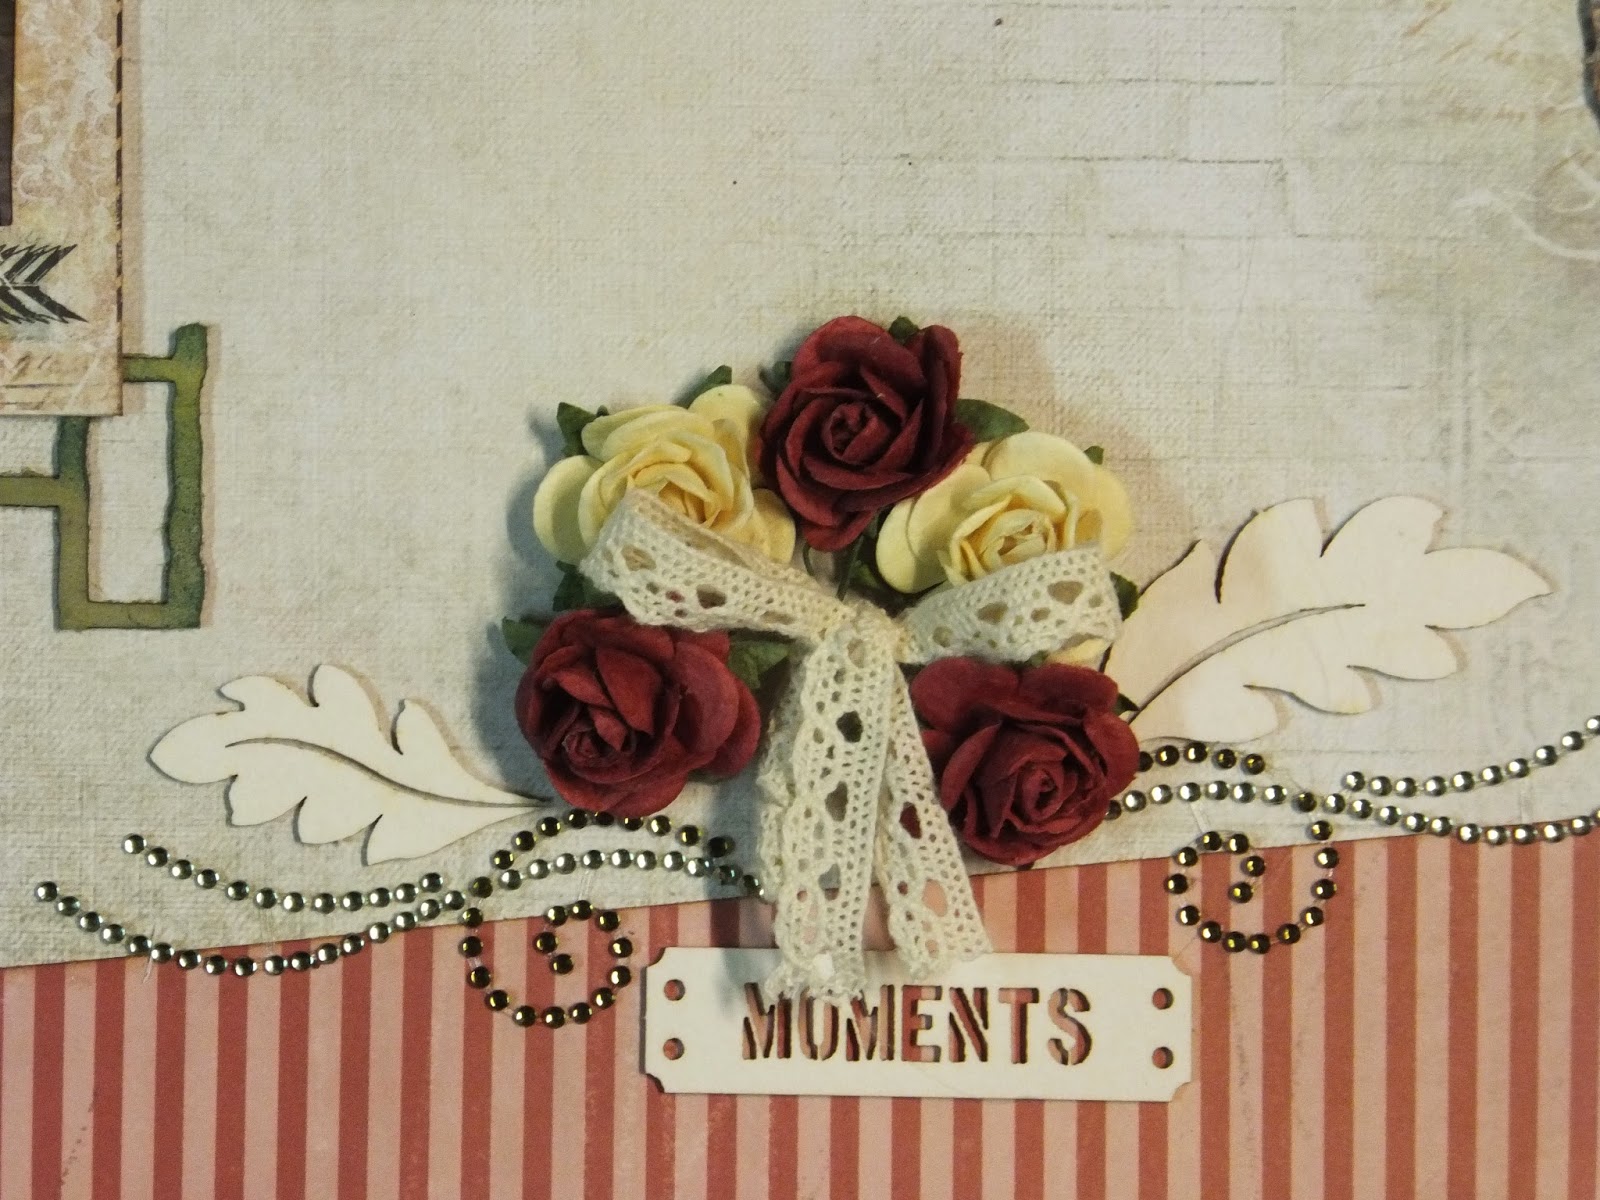
And here is the video tutorial on how to make this floral cluster with tied lace.

In the close ups it gives you a better detailed view of the project.
Here is hand fussy cut section from a 2nd sheet of paper, inked the edges and
used foam strips to pop up on the same design on background paper.

Here you see the lace that is base to the photo along with some copic coloured chipboard as
and accent. Also in the lower section there was the cutest birds in the cage and so that
I didn't cover it up with the striped border paper I made a slit in to the design to slide the
border paper behind.

The top of photo have some flowers from the paper, an inked doily and some
copic coloured chipboard to accent the photo.


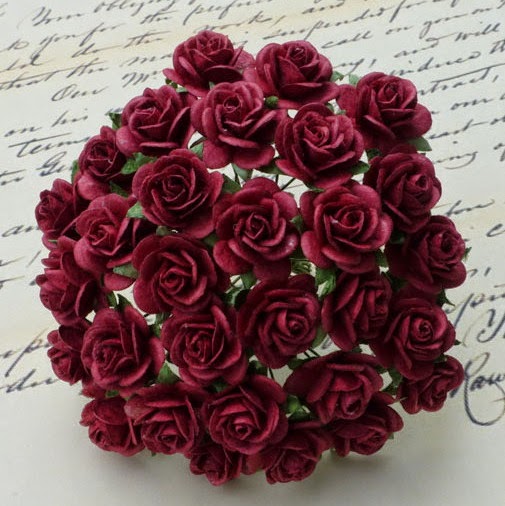


I used some amazing products.. be sure to check them out. Thanks for stopping by.. come again soon.

Subscribe to:
Posts
(Atom)


