Thursday, July 16, 2020
Thanks Shaker Card
Hi everyone, Steph Ackerman here today with lots of fun products from the store. Please visit the store for all the fun products I've used today.


Thank you for visiting

Using Tutti Designs Butterfly Dance die, I die cut it from white and pink cardstock from the Lawn Fawn Schoolyard paper pack. I then die cut larger ovals from acetate, yellow cardstock and a newsprint panel from Dress My Craft'sWhispering Love collection.
Adhere the white die cut butterfly panel to the acetate using Tattered Lace Detail Glue, then place the yellow oval on top. Adhere foam adhesives along the edge of the pattern panel creating the shaker. Fill the channel with Dress My Crafts Shaker Elements - Dessert, then place the acetate butterfly panel on top, creating the shaker.

Fussy cut the butterflies from the pink die cut oval and place them atop the white panel, letting the wings free. The butterflies appear to be in flight.

Create a card from white cardstock. Mat pattern paper (from the Whispering Love collection) with pink cardstock and wrap with May Arts Sheer Black ribbon. Adhere the panel to the card.
Adhere the butterfly shaker to the card. Using the Lawn Fawn Thanks Line die to die cut Thanks from black cardstock. Adhere it across the bottom of the oval., cutting off the excess portion as necessary.
Thank you for visiting
Saturday, July 11, 2020
Graphic 45 Fairy Wishes Tags
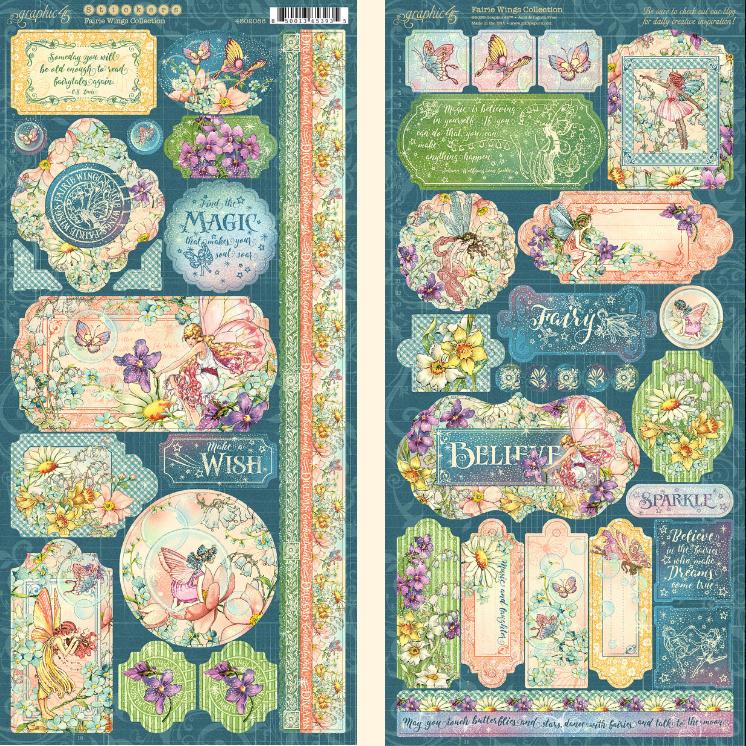
Welcome back and Nancy, here. Come find the magic of creating with the Graphic 45 Fairy Wishes collection! I am excited to share with you my tags made with the new Graphic 45 Fairy Wishes collection available at The Rubber Buggy

 Tags on wrapped gifts


 Throughout each tag, I adhered the Dress My Crafts-Sequins-Pink Celebration sequins, stars and hearts from the jar. I love the tiny hearts and stars in this jar along with the clear shimmering sequins that add sparkle to my fairy tags. I added the Wild Orchid Craft flowers with a hot glue gun.
Each tag was cut out with the Graphic 45 Staples Tag dies: Graphic 45 Staples Tag and Clock die set and Regular Tag and Gears set. I added Tim Holtz-Idea-ology metal flowery hardware to one tag and adhered it with a hot glue gun.
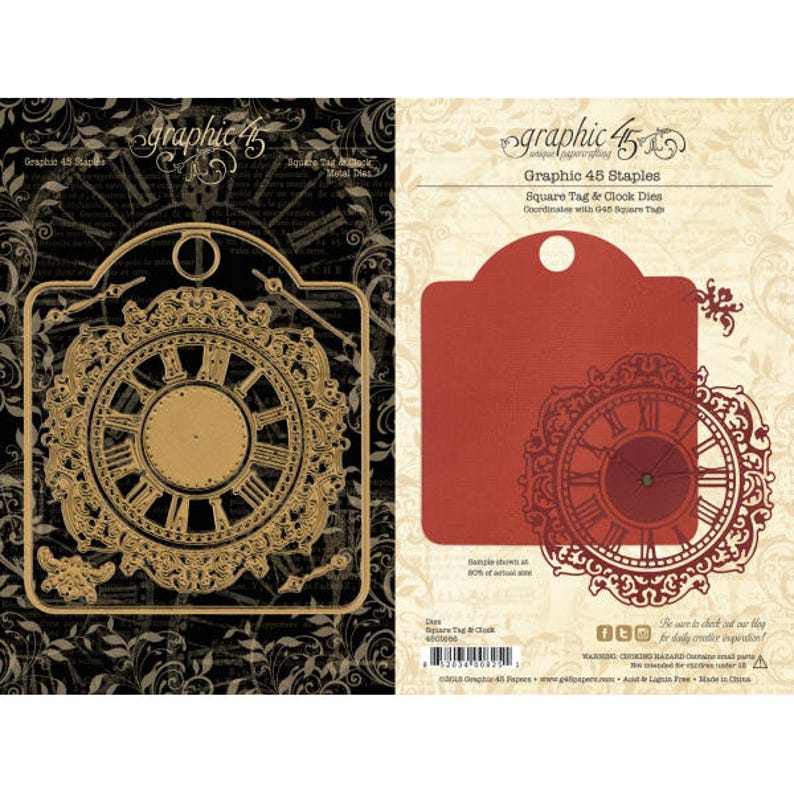
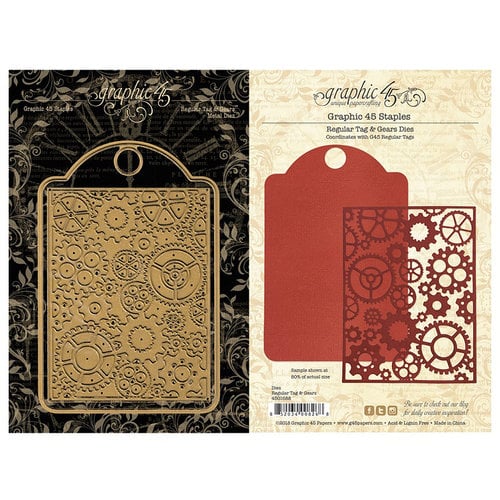


Each tag was cut out with the Graphic 45 Staples Tag dies: Graphic 45 Staples Tag and Clock die set and Regular Tag and Gears set. I added Tim Holtz-Idea-ology metal flowery hardware to one tag and adhered it with a hot glue gun.
 | |
| Graphic 45 Fairy Wishes
I had so much fun making these cards and hope you will too. So have fun crafting this weekend with these products. My cards and projects are always posted on Saturday. Keep watching and thank you so much for those wonderful comments as well as suggestions.
Enjoy and Happy Crafting!
|
Thursday, July 9, 2020
Watercolor Thank you cards
Hi everyone, Steph Ackerman here today with lots of fun products from the store. Please visit the store for all the fun products I've used today.


Thank you for visiting

Have you tried the Prima Marketing Metallic Accents Semi-Watercolor Paints yet? These water activated paints are perfect for creating backgrounds or adding details to your creations.

Using Prima Marketing Watercolor Paper Pad, I created 2 different backgrounds by mixing the paints together. I randomly chose the colors I wanted to use then painted the watercolor paper, creating 2 different designs.

Next, I used the Memory Box die - Tanglewood Frame to die cut Bazzill Buttermint cardstock and Bazzill Easter Grass cardstock. Using Tattered Lace Detail Glue, I glued the die cut panels to the painted backgrounds.
The panels were then adhered to the card fronts.

Tilda with Butterfly Jeans was stamped twice with Memento Tuxedo Black Ink, then colored with Copic Markers. One image was fussy cut and the other was die cut using a Lawn Fawn Stitched Rectangle die.
Thanks was die cut from Lawn Fawn Thanks Line Border Die and used as a shelf for the fussy cut image. A second die was placed across the rectangle die cut image.
Finally, I added Nuvo Crystal Dots about the die cut panels.
Thank you for visiting
Saturday, July 4, 2020
Stamping Bella Curvy Girls Birthday Card
Welcome back and Nancy, here. Hopefully, The Rubber Buggy Design Team has inspired you to add awesome supplies and stamps to your collection, or if you already have it, get creating and sharing! We all would LOVE to see what you’ve been creating lately!!!
The Rubber Buggy has wonderful name-brand supplies and products you will need for crafting your cards and projects.
Stamping Bella have so many fantastic stamps across the various ranges but Stamping Bella The Uptown Girls still have a special place on my craft desk. With all the fun details, they make for such adorable cards.


Optional for additional coloring, I used the Picket Fence Studio Blender brush and brushed on the Distress Ink: Spun Sugar and Worn Lipstick in some areas of the circle. NOTE: When applying this method of applying ink to the brush before applying on paper, brush the ink on the ink pad and then lightly brush on scrap paper to get off excess ink before brushing on the circle. Otherwise, you will end up with streaks from excess ink. This will take practice so try it on scrap paper a few times. Also, some inks are heavier on the brush than other inks.
I applied glue to the Stamping Bella girls and adhere to the card. I stamped out a sentiment and die cut it out and used 3-D foam tape on the back. I brushed on the Distress Ink-Spun Sugar around the sentiment. I adhered the ribbon with 1/2" wide Scor-Tape and added a 10mm Wild Orchid Craft rose. I adhered the 3mm flat-back pearls to the center of the flowers.
For the final touch, I added the I added the hearts and stars from the

Thanks for your visit today! The Rubber Buggy has the crafting supplies for your next project. So have fun crafting this weekend with these products. My cards and projects are always posted on Saturday. Keep watching and thank you so much for those wonderful comments as well as suggestions.
Enjoy and Happy Crafting!
 |
Thursday, July 2, 2020
Framed Dimensional Cards
Hi everyone, Steph Ackerman here today with lots of fun products from the store. Please visit the store for all the fun products I've used today.



Thank you for visiting

I used some fun 7Gypsies Adhesive Embellishments. I die cut a frame using Bazzill Marshmallow Cardstock with Lawn Fawn Stitched Rectangle dies. The edges were inked with Ranger Brushed Corduroy Distress Ink, and placed atop a scrap of pattern paper. Several stamps from Tim Holtz Tiny Text cling stamps were inked with Memento Tuxedo Black Ink and stamp around the panel. Add the panel to a Lawn Fawn Kraft card.

I used the Old Paint Brush for my first card, adding it to the card on an angle. Using Tutti Designs Nesting Ovals, I die cut white and kraft cardstock. Another phrase was stamped on the white layer and the ovals were then added to the card with Scrapbook Adhesives 3D foam squares for dimension, overlapping the paint brush.

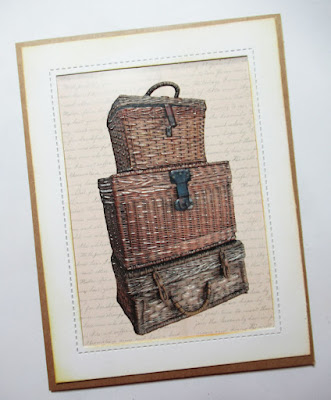
For my second card, I used the 3 Wicker Woven Trunks. I really liked the packaging so I used it for the background, and placed another die cut panel on top.

Again, I stamped several stamps from Tim Holtz Tiny Text cling stamps with Memento Tuxedo Black Ink around the die cut panel. A third stamp was stamped on a strip of white cardstock, matted with kraft cardstock and added to the card with foam adhesives. The panel was then added to a Lawn Fawn Kraft card. Makes me want to pack my trunks and do some traveling.

Thank you for visiting
Saturday, June 27, 2020
Graphic 45 Fairy Wishes Gift Box
Welcome back and Nancy, here. Come find the magic of creating with the
Graphic 45 Fairy Wishes collection! It is just the prettiest collection with vivid colors and lots of pretty flowers, and fairies of course!
I am excited to share with you my gift box for my granddaughter's birthday that will be filled with gifts that was made with the new Graphic 45 Fairy Wishes collection. This beautiful collection is filled with images of fairies, florals, and yellow butterflies that flutter about with backgrounds of soft pink and purple violets galore.

I typed and printed the name with a laser printer and then used a laminator to foil the name. The frame is a sticker included in this collection. I traced this sticker on heavy cardstock three times and cut it out and adhered it together to form the height to give a 3D appearance. I added Tim Holtz brads to the sticker frame and 3mm flat back pearls around her name. I added the hearts from the Dress My Crafts-Sequins-Pink Celebration.
I hand crafted my flowers with foamiran and handmade a coral ribbon and adhered all with hot glue gun. I adhered a metal butterfly and metal covers after covering it with Prima Marketing Art Alchemey Ginger Sparks paint. I added NUVO glitter pen through the front of the box.
Throughout the card, I adhered the Dress My Crafts-Sequins-Pink Celebration to parts of the card. I love the tiny hearts and stars in this jar along with the clear shimmering sequins that add sparkle to this fairy project.

 Venice lace was added around the box using Scor-Tape and Beacon 3-in-1 Advanced Glue.
 I painted the inside of my box with green Chalk paint and let dry. I cut out the different frames from the collection and used the glue to adhere to the Graphic 45 Fairy Wishes paper for the top and bottom. I cut out the doilies and added it behind some of the fairy frames.


Graphic 45 Fairy Wishes collection! It is just the prettiest collection with vivid colors and lots of pretty flowers, and fairies of course!
I am excited to share with you my gift box for my granddaughter's birthday that will be filled with gifts that was made with the new Graphic 45 Fairy Wishes collection. This beautiful collection is filled with images of fairies, florals, and yellow butterflies that flutter about with backgrounds of soft pink and purple violets galore.

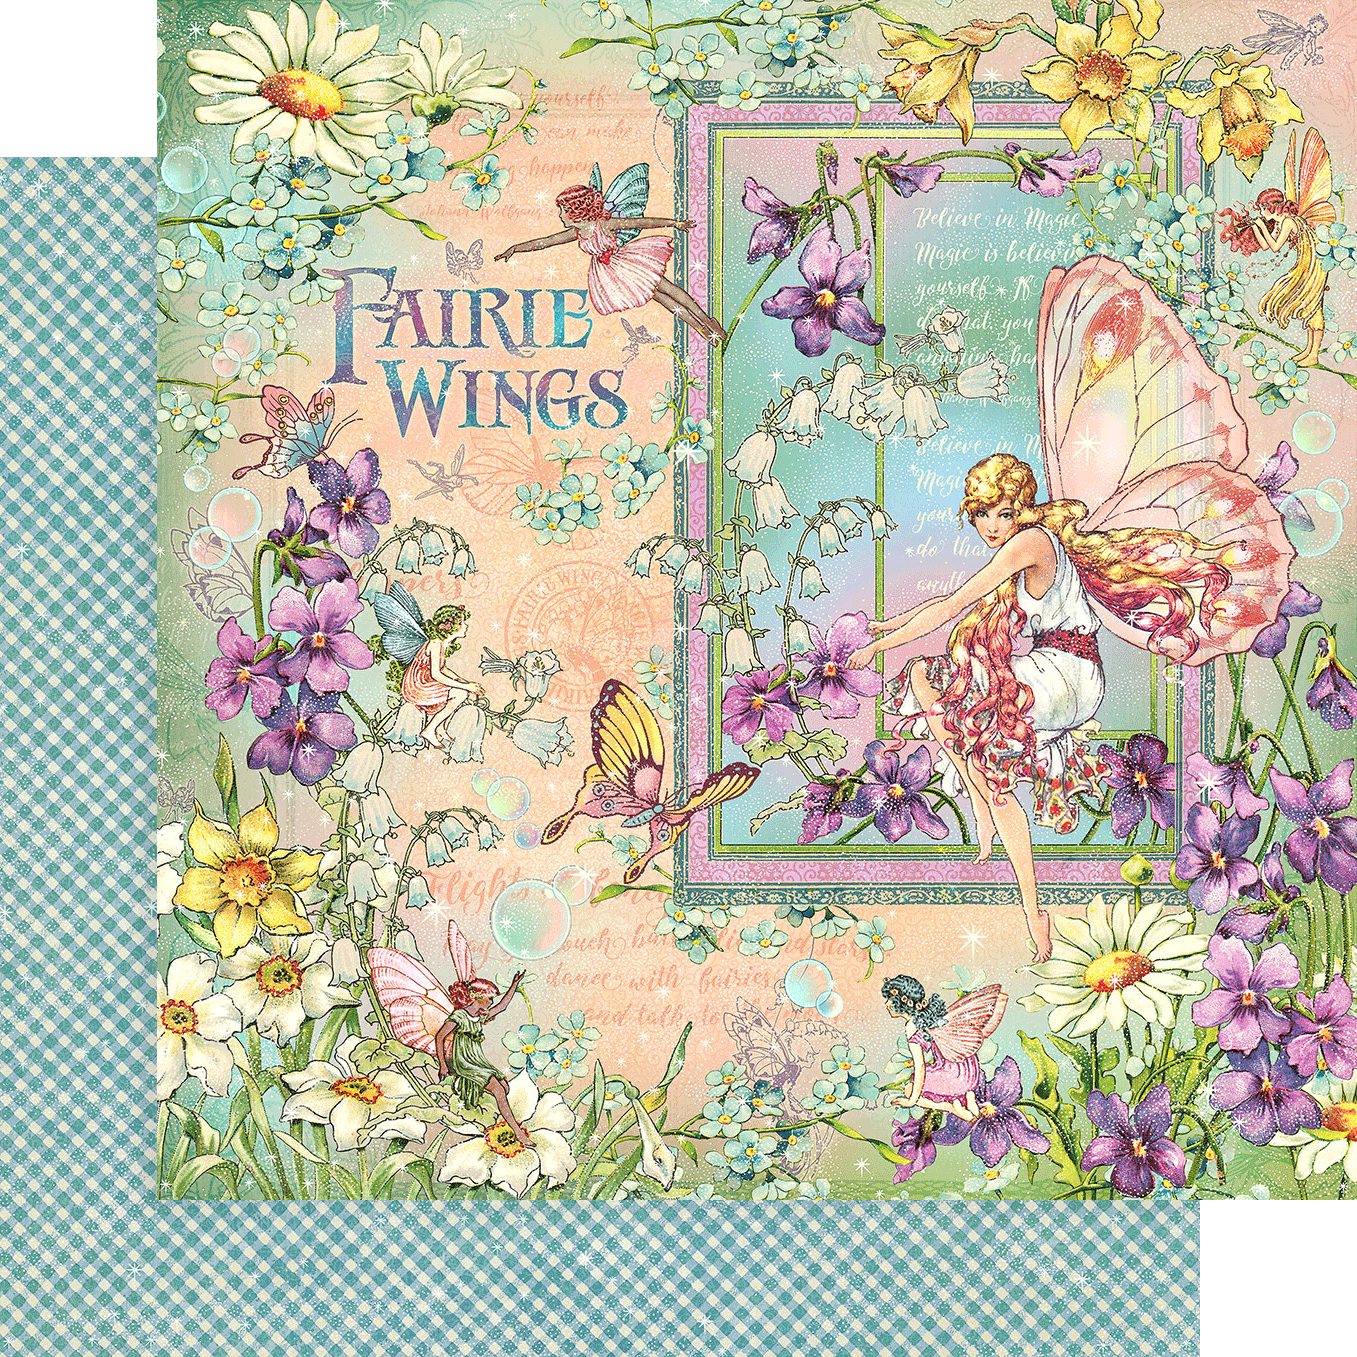
I purchased on-line the Darice Unfinished Wooden Box, 12” x 9.125” x 3.25 and painted the inside with green Chalk paint. I used Scor-Tape and Beacon 3-in-1 Advanced Glue to adhere the Graphic 45 Fairy Wings paper to the top and around the wooden box.
I hand crafted my flowers with foamiran and handmade a coral ribbon and adhered all with hot glue gun. I adhered a metal butterfly and metal covers after covering it with Prima Marketing Art Alchemey Ginger Sparks paint. I added NUVO glitter pen through the front of the box.

Throughout the card, I adhered the Dress My Crafts-Sequins-Pink Celebration to parts of the card. I love the tiny hearts and stars in this jar along with the clear shimmering sequins that add sparkle to this fairy project.


|
| Graphic 45 Fairy Wishes |
Thanks for your visit today! I have so much fun making these gift boxes and hope you will too. So have fun crafting this weekend with these products. My cards and projects are always posted on Saturday. Keep watching and thank you so much for those wonderful comments as well as suggestions.
Enjoy and Happy Crafting!
|
Thursday, June 25, 2020
Floral Fantasy Cards
Hi everyone, Steph Ackerman here today with lots of fun products from the store. Please visit the store for all the fun products I've used today.


Use the same products to create 2 coordinating cards. Start by creating cards from Bazzill Rock Candy and Gumdrop cardstocks.

Cut 2 pieces of Maja Designs Vintage Summer pattern paper to 4" x 5 1/4". Ink the edges with Tim Holtz Mahogany Distress Ink. Use a Tutti Designs Oval die to cut an oval from the center of one of the panels. Stamp the cross pattern from Gabi's Daisies stamp set on Neenah white cardstock with Memento Tuxedo Black Ink. Adhere behind the die cut panel. Add drops of Liquid Pearls Merlot and Raspberry to the flower pieces.

Place 2 Tutti Oval dies on Simple Stories Brick cardstock and die cut. Pull apart the ovals. Use the outer piece to create the frame around the opening and place the center piece aside for the 2nd card. Use Sizzix Funky Foliage dies to die cut mushrooms, leaves and flowers from left over papers. Ink the mushrooms with Tim Holtz Old Paper Distress Ink before assembling. Adhere the flowers, leaves and mushrooms around the oval.
Add the panel to Brick cardstock then to the Gumdrop card. Stamp a phrase from the Tim Holtz Tiny Text stamp set on a scrap of the pattern paper, die cut with a small Tutti Designs oval and mat with a larger die. Add to the card with Scrapbook Adhesives.

For my 2nd card, I used the same Gabi's Daisies stamp, and stamped it on the left over oval from above using VersaMark Watermark stamp pad and Lawn Fawn White embossing powder. Heat set and adhere to a larger oval die cut from gray cardstock and place in the center of the panel.

Using the same papers, die cut additional flowers and leaves and place around the oval. Stamp another phrase from the Tiny Text stamp set. Die cut and mat with 2 additional larger layers.
Add the panel to the Rock Candy card with Scrapbook Adhesives for dimension. Add Merlot Liquid Pearls to the flower centers.
Thank you for visiting
Subscribe to:
Posts
(Atom)


